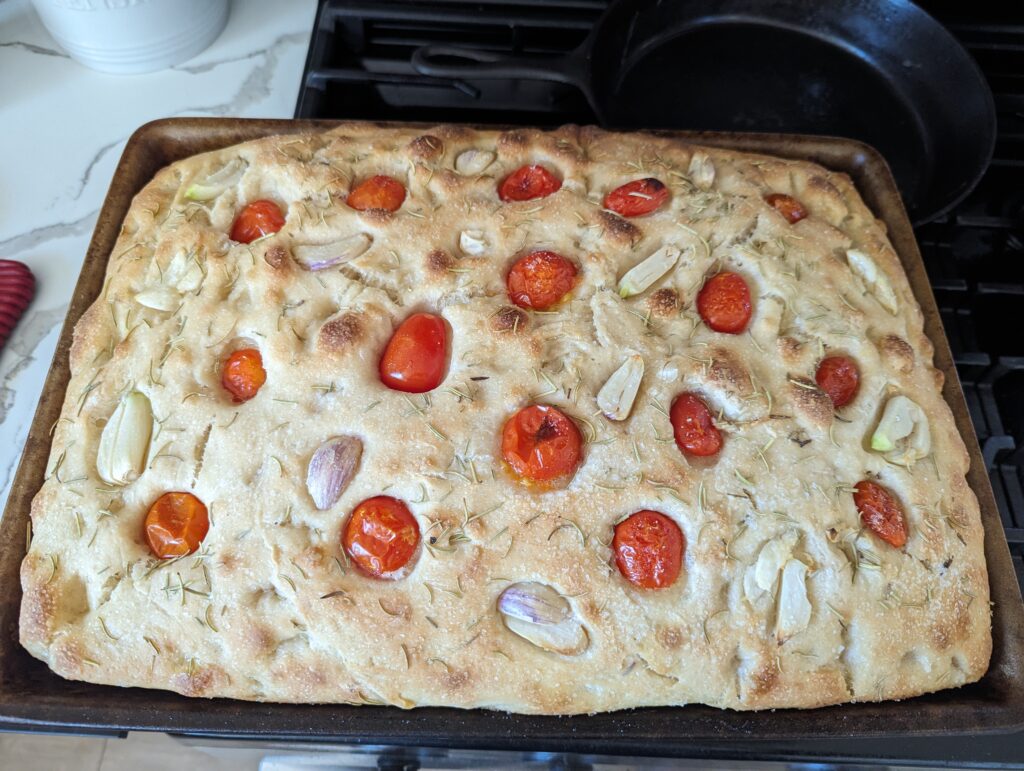
Simple Sourdough Focaccia Garden Bread Recipe
Jump to RecipeImagine bringing the beauty of a sourdough focaccia garden into your kitchen, combining it with the deliciousness of homemade sourdough focaccia. This isn’t just baking; it’s creating a piece of edible art that delights both the eyes and the taste buds. Welcome to the world of the sourdough focaccia garden, where fresh herbs and vibrant vegetables come together on a canvas of golden brown, bubbly focaccia bread.
In this guide, I’ll explore how to achieve the perfect garden focaccia, from ensuring your dough rises beautifully at room temperature to mastering the art of a golden brown crust. Whether you’re new to sourdough baking or a seasoned baker, this journey promises to blend creativity with the timeless joy of baking.
This post contains affiliate links, where I earn a small commission at no cost to you. For more information please see our terms and conditions page.
Sourdough Bread Basics
Sourdough bread, a staple in many kitchens, stands out for its rich flavor and chewy texture, which come from its unique fermentation process. Unlike breads made with commercial yeast, sourdough relies on a natural fermentation process involving wild yeast and lactic acid bacteria. This method not only imparts a distinctive tangy flavor but also makes the bread easier to digest and can even enhance its nutritional benefits.
A key component in sourdough baking is the active sourdough starter. This starter is a live culture of yeast and bacteria that needs regular feeding to stay active and bubbly. As you progress on your sourdough journey, you’ll find that maintaining a healthy starter is essential for achieving that perfect rise and flavor in your bread. The natural fermentation also improves the bread’s shelf life, meaning you can enjoy your sourdough for days after baking.
Focaccia Dough vs. Pizza Dough
When comparing focaccia dough and pizza dough, there are several important differences and similarities to note. Both doughs share a common base of flour, water, yeast, and salt, which provides their foundational structure. However, focaccia dough is generally more enriched with olive oil, resulting in a softer, more tender crumb and a slightly chewy texture. This oil not only adds flavor but also helps create the characteristic crispy crust.
In contrast, pizza dough often uses less oil, which contributes to a firmer, more crisp texture suited for holding up under various toppings. Focaccia dough is typically allowed to rise for a longer period, which gives it a fluffier and airier quality compared to pizza dough. Despite these differences, both types of dough benefit from careful handling and proper fermentation to achieve their best results.
Preparing the Dough
Ingredients Needed
To make the perfect sourdough focaccia, you’ll need to gather several key ingredients. Begin with 500 grams of all-purpose flour. This forms the base of your dough and provides the necessary structure. You can substitute with whole wheat flour if you prefer a denser texture, but remember to adjust the moisture levels accordingly.
Next, you’ll use 50 grams of an active sourdough starter. This starter is essential for the natural fermentation process, giving your focaccia its characteristic flavor and airy texture. Combine this with 400 grams of cool filtered water to help the flour and starter mix smoothly. Add 20 grams of raw honey for a hint of sweetness and 9 grams of mineral or sea salt, avoiding table salt to maintain the best flavor. Finally, you’ll need 4 tablespoons of olive oil to coat the pan and the dough, enhancing its richness and ensuring it bakes up golden brown and crispy.
Mixing the Dough
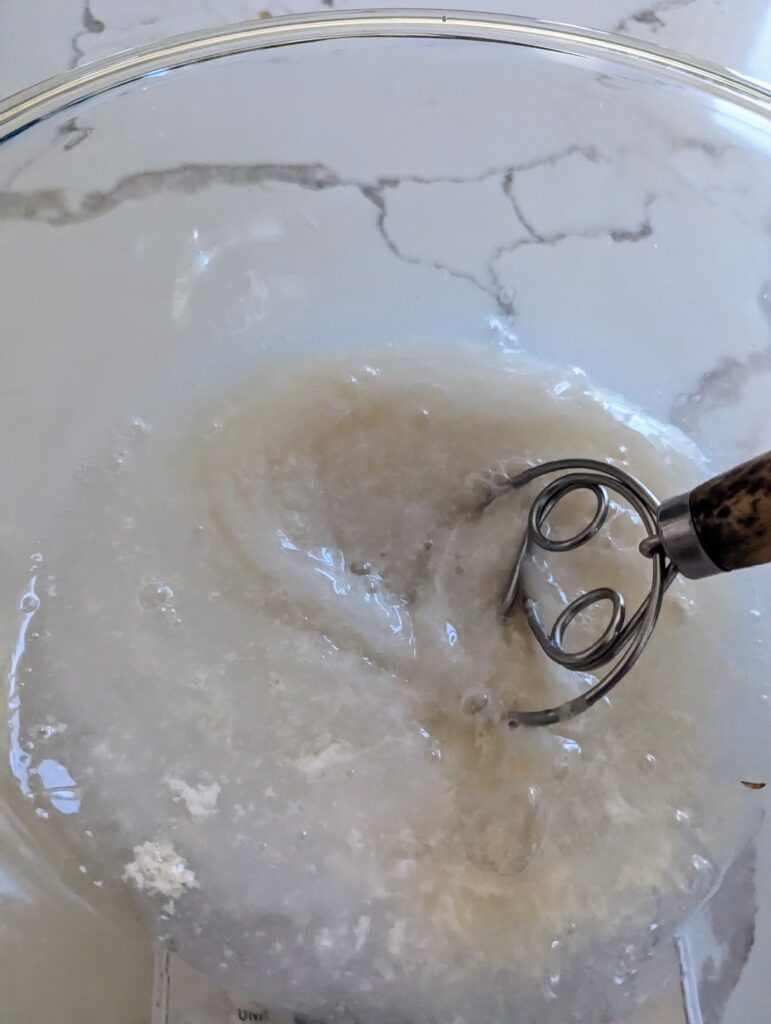
To begin mixing your dough, start by combining the sourdough starter, water, honey, and salt in a large mixing bowl. Mix these ingredients well to ensure they are fully incorporated. I love to use my Danish dough whisk.
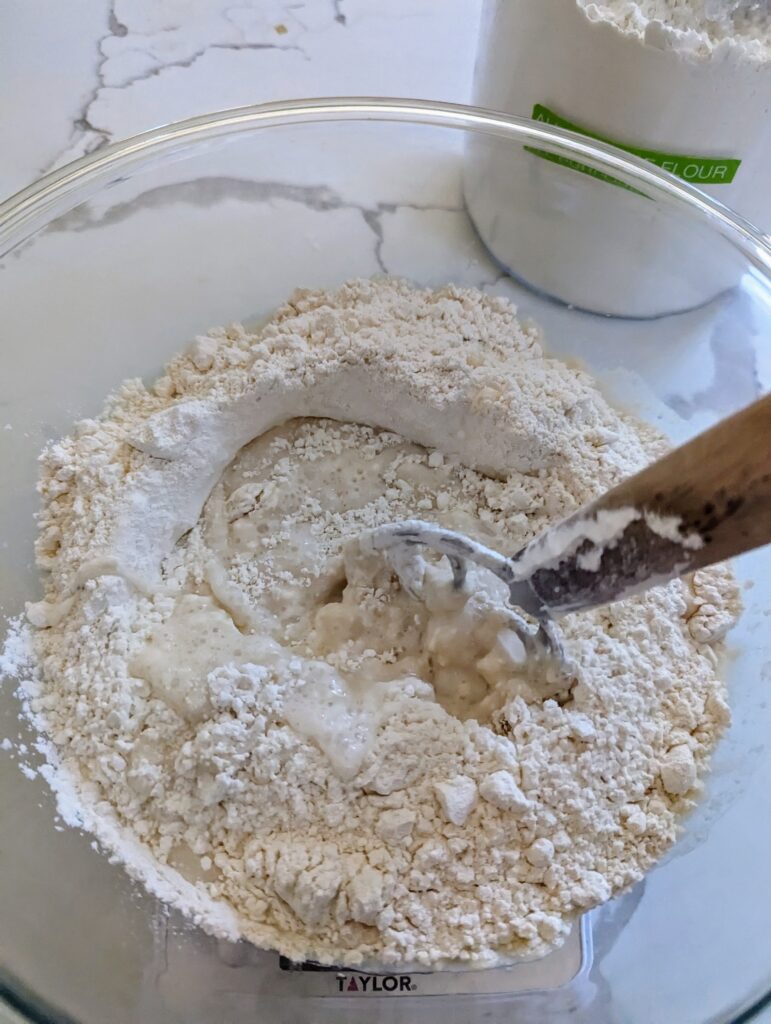
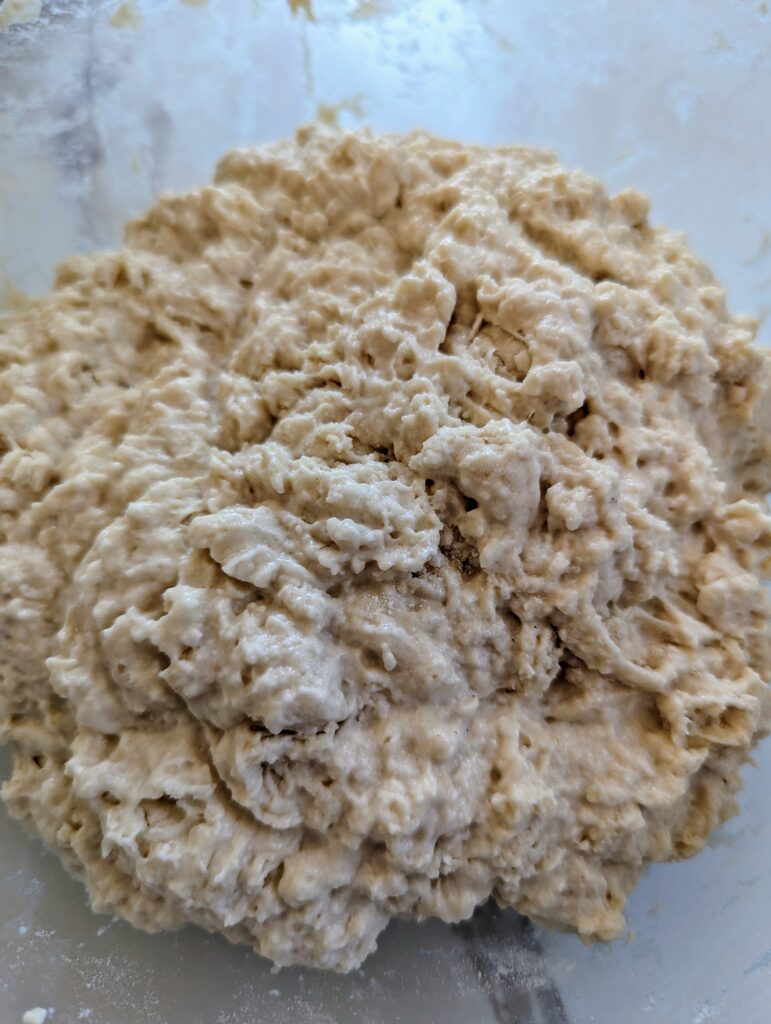
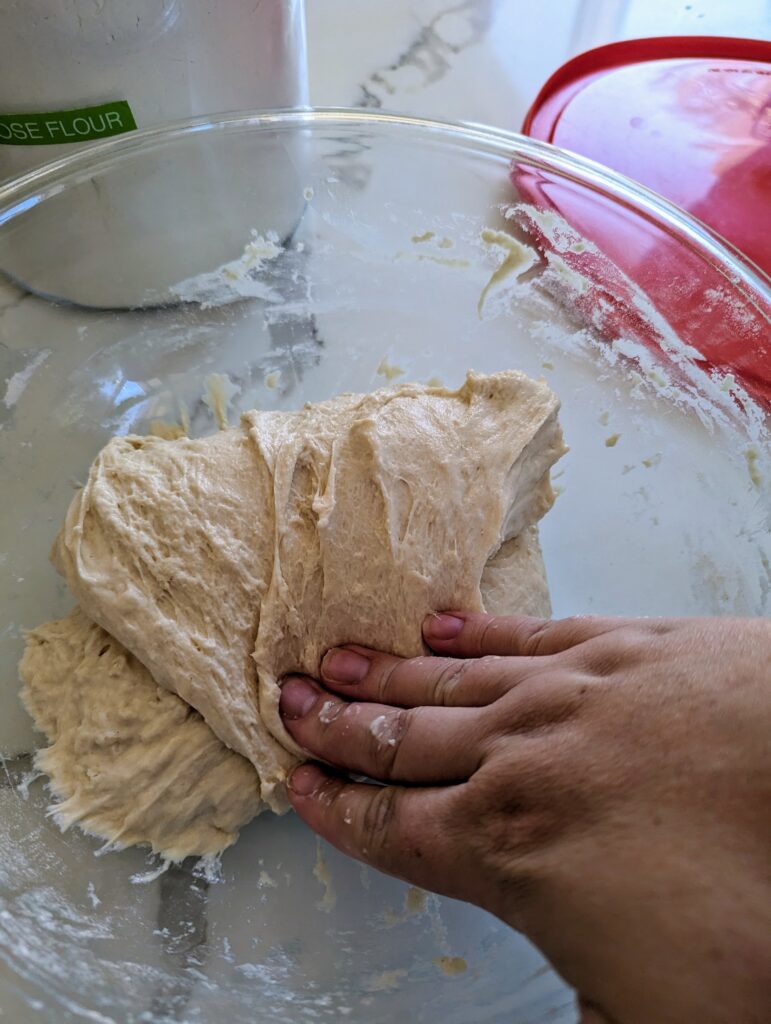
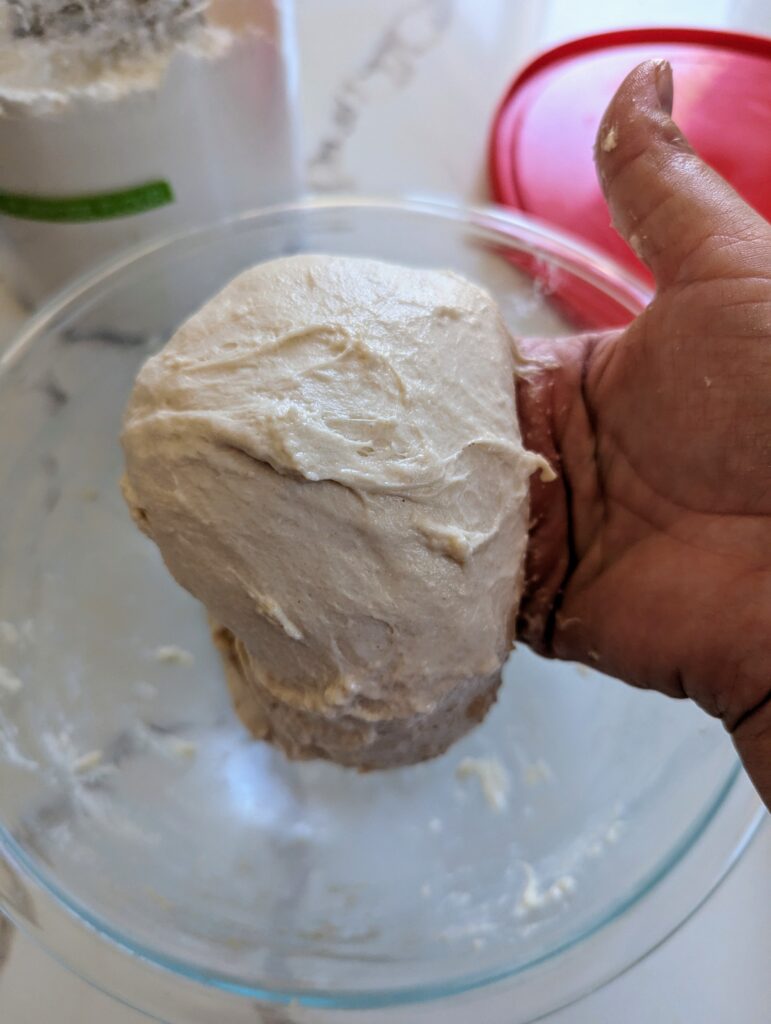
Next, gradually add 500 grams of flour to the mixture. Mix the flour thoroughly without overworking the dough. Once together it will be shaggy in texture. Cover and let rest for 30 minutes. After 30 minutes to stretch and folds until you get the dough texture you want. Generally this take at least 2 different sessions. Approximately 1 hour of time total after mixing.

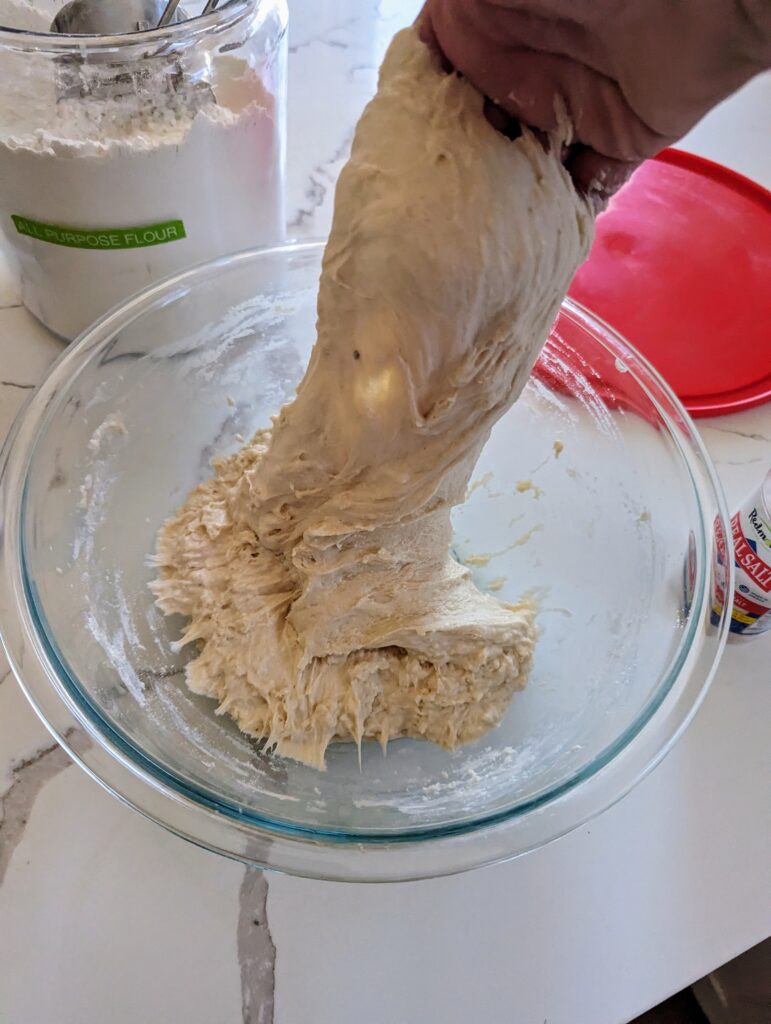
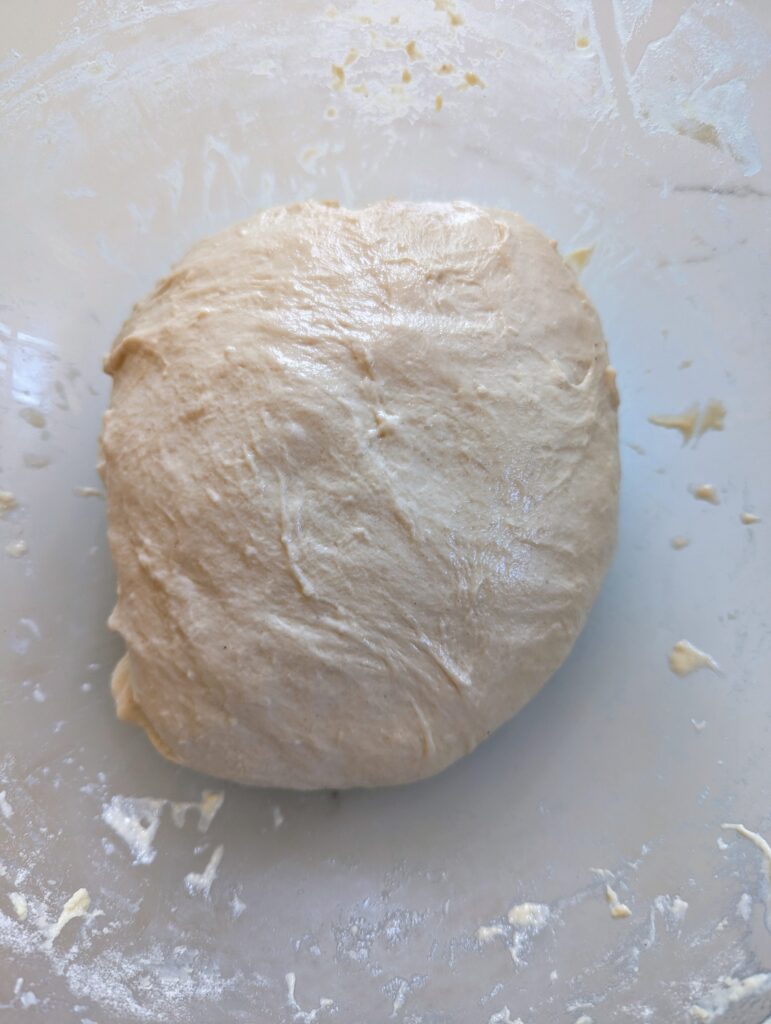
Once the dough starts to come together, transfer it to a warm spot to rise.
The Art of the Rise
Initial Rise
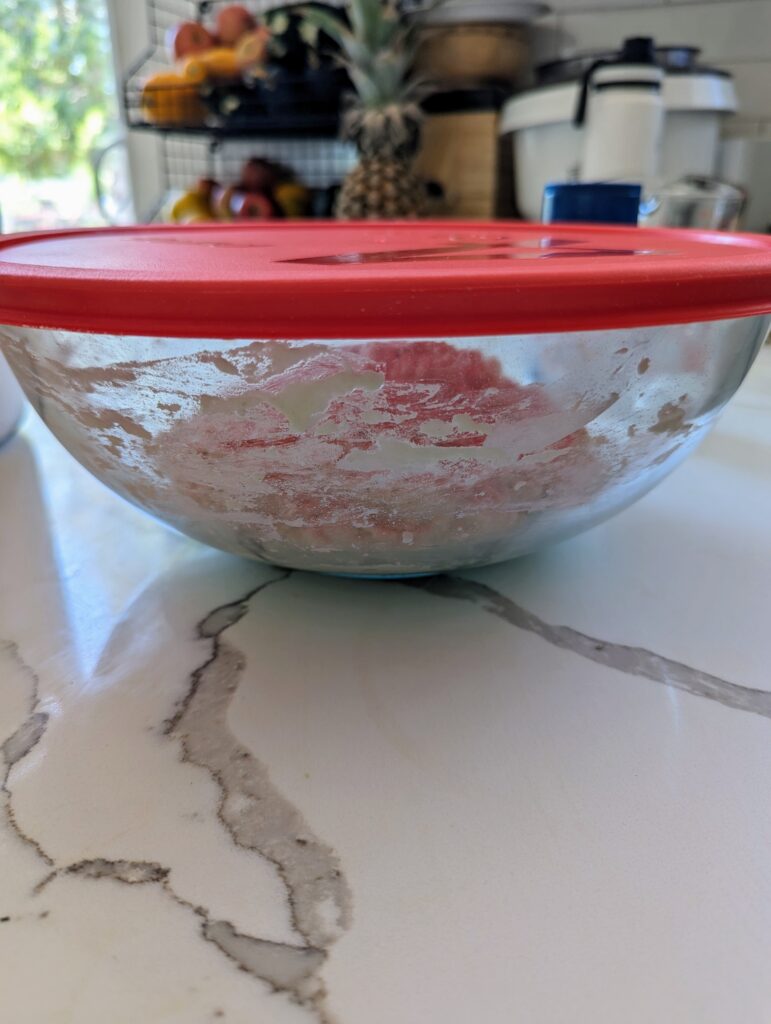
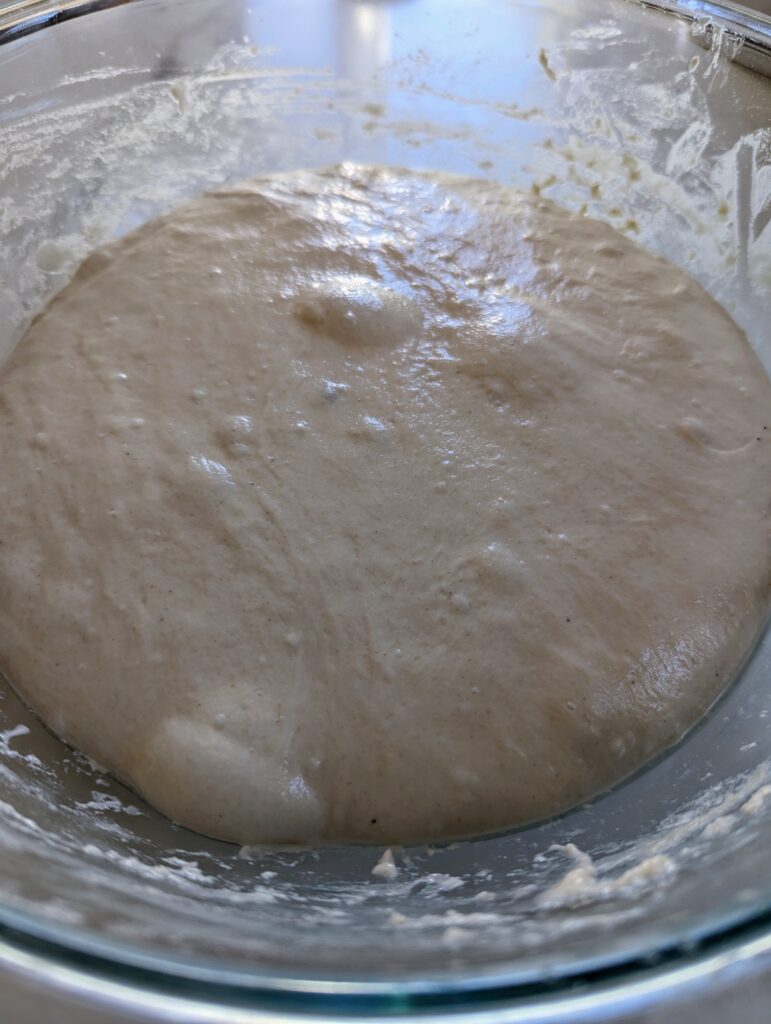
The initial rise is a crucial step in making sourdough focaccia. It allows the dough to rest and ferment, developing its flavor and texture. For the best results, let the dough rise at room temperature in a warm place. This long slow rise is essential for achieving the perfect airy and light texture. Depending on the temperature of your kitchen, this process can take anywhere from 12 to 18 hours. During this time, the dough will double in size and become more elastic, ready for the next steps in creating your focaccia.
Second Rise
Once your dough has completed its initial rise, it’s time to prepare for the second rise. Gently remove the dough from the bowl and transfer it to your baking pan. You may need to flip it to coat the dough in olive oil and ensure it doesn’t stick. To achieve an even rise, stretch the dough out to fit the pan without forcing it. Cover the dough with a damp cloth or plastic wrap to keep it moist.
Let the dough rise again, which is often referred to as the second time or the next day. This second rise will be shorter, typically lasting 1 1/2 to 2 hours, and helps the dough achieve its final puffiness. This step ensures that the top of the dough becomes bubbly and airy, ready to be topped with your favorite ingredients, and baked to perfection.
Shaping Your Focaccia Garden
Creating a Blank Canvas
Once your dough has completed its second rise, it’s time to shape it into a focaccia garden. Start by spreading the dough evenly on the baking sheet or a rectangular pan. This step is crucial to ensure that the dough covers the entire surface of the pan, providing a uniform base for your toppings. Gently stretch and press the dough to fit the pan, but avoid forcing it. The dough should naturally spread to cover the pan, creating a perfect canvas for your garden design.

Decorating with Fresh Herbs and Vegetables
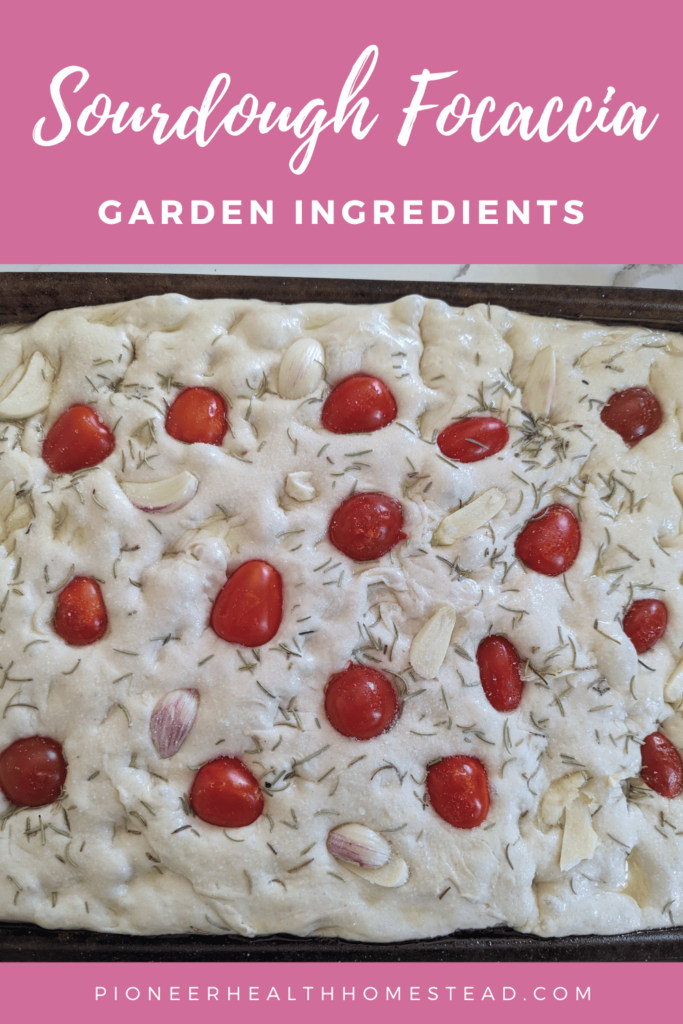
Now comes the fun part—decorating your focaccia garden. Start with using your fingers to press dimples all over the dough. Then begin arranging fresh herbs such as rosemary, scatter cherry tomatoes, red onion slices, and kalamata olives across the dough. Feel free to get creative with your placement to mimic beautiful garden scenes. You can experiment with different vegetables and herbs from your garden, adding variety and color. Let your creative side shine as you design a unique and appetizing focaccia art piece. The result will be a visually stunning and delicious focaccia that showcases your artistic flair.
Baking to Perfection
Final Preparations
Before baking, give your focaccia a final touch by drizzling it generously with olive oil. This will help create a crisp, golden-brown crust and enhance the flavor of the bread. Next, sprinkle coarse sea salt over the top of the dough. This adds a pleasant crunch and a burst of flavor to the finished focaccia. Make sure the entire surface of the bread is well-coated with both olive oil and salt to ensure an even and delicious result.
Baking Instructions
Preheat your oven to 425°F (220°C). Place the focaccia in the preheated oven and bake for 25-30 minutes. The baking time can vary slightly depending on your oven, so keep an eye on the bread as it cooks. The focaccia is done when it develops a golden brown crust and looks crisp on the top. To achieve the best texture, let the focaccia cool on a wire rack after baking. This helps prevent the bottom from becoming soggy. Once cooled, cut the focaccia with a sharp knife or pizza cutter, and enjoy your delicious, freshly baked bread.
Save for Later!
Enjoying Your Sourdough Focaccia Garden
Serving Suggestions
Your freshly baked sourdough focaccia garden is now ready to be enjoyed. The best part of this focaccia is its versatility. It pairs wonderfully with a variety of meals, whether you’re serving it as an appetizer, alongside a hearty soup, or as a side to your favorite pasta dish. For a simple yet delightful touch, serve it with a bowl of olive oil and balsamic vinegar for dipping. If you have leftovers, store them in an airtight container at room temperature for up to a few days. For longer storage, you can freeze slices of focaccia and reheat them in the oven to restore their crispiness.
Sharing Your Creation
I’d love to see how your sourdough focaccia garden turns out! Share your creations on social media and tag us in your posts. If you’re inspired by TikTok trends, use hashtags related to sourdough baking and focaccia art to join the conversation. Feel free to link to this blog article or use our affiliate links if you’re sharing the recipe with friends and followers. Your unique twists and beautiful designs might just inspire others to create their own focaccia gardens. Enjoy sharing and celebrating your delicious results!
Summary
Creating a sourdough focaccia garden is not only a delicious experience but also a fun and creative way to showcase your baking skills. By following the steps for preparing, shaping, and baking, you can enjoy the art of making beautiful and flavorful focaccia. Whether you’re experimenting with different garden scenes or simply enjoying the classic flavors, the process of baking sourdough focaccia is both rewarding and enjoyable.
Let Me Know!
I encourage you to try this easy sourdough focaccia recipe and share your results with us! Feel free to use the recipe card for easy printing or saving. Your creations might just inspire others, so don’t forget to share your photos and experiences. I’d love to hear how your focaccia garden turns out and any unique twists you add!
Additional Notes
Tips for Best Results:
- Monitor the temperature of your kitchen as it can affect dough rise and texture. A warmer environment helps the dough rise better.
- Avoid using too much flour, which can lead to a denser texture. Adjust flour as needed for a chewier and lighter focaccia.
FAQs:
- Can I use commercial yeast instead of sourdough starter? While you can use rapid rise yeast for quicker results, it won’t provide the same depth of flavor or health benefits as natural ferments, sourdough.
- What if I don’t have an active sourdough starter? You may need to adjust the recipe and process if using active dry yeast or another leavening agent. Follow package instructions for yeast substitutions.

Simple Sourdough Focaccia Garden Recipe
Ingredients
Equipment
Method
- The night before, or very early the morning of, feed your start to make it active and bubbly.
- Later in the day, combine the starter, water, honey, and salt in a bowl and mix well.
- Add in the flour and mix well.
- Cover the bowl with a damp cloth or lid. Do stretch and folds every 20-30 minutes until the dough has a smooth texture. This varies from 3-6 times total.
- Let rise, double in size, for aproximately 12-18 hours. Can be less if left in a very warm spot.
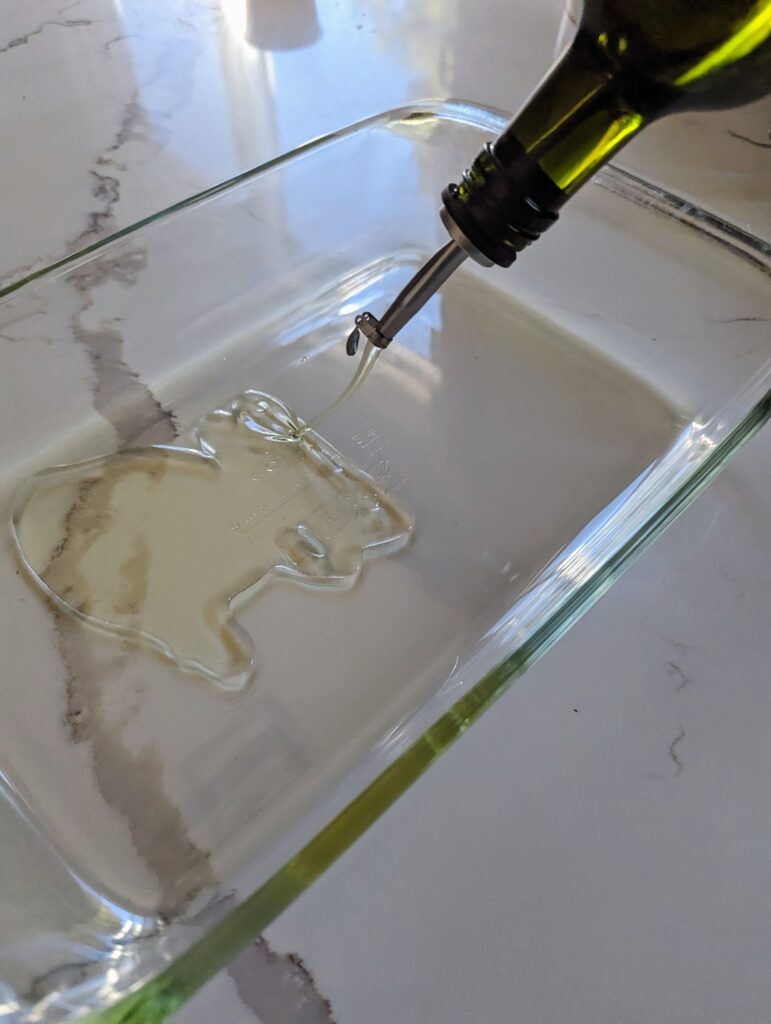
- After the dough has risen, and has some bubbles on top, pour the olive oil into your chosen baking pan and coat it well.
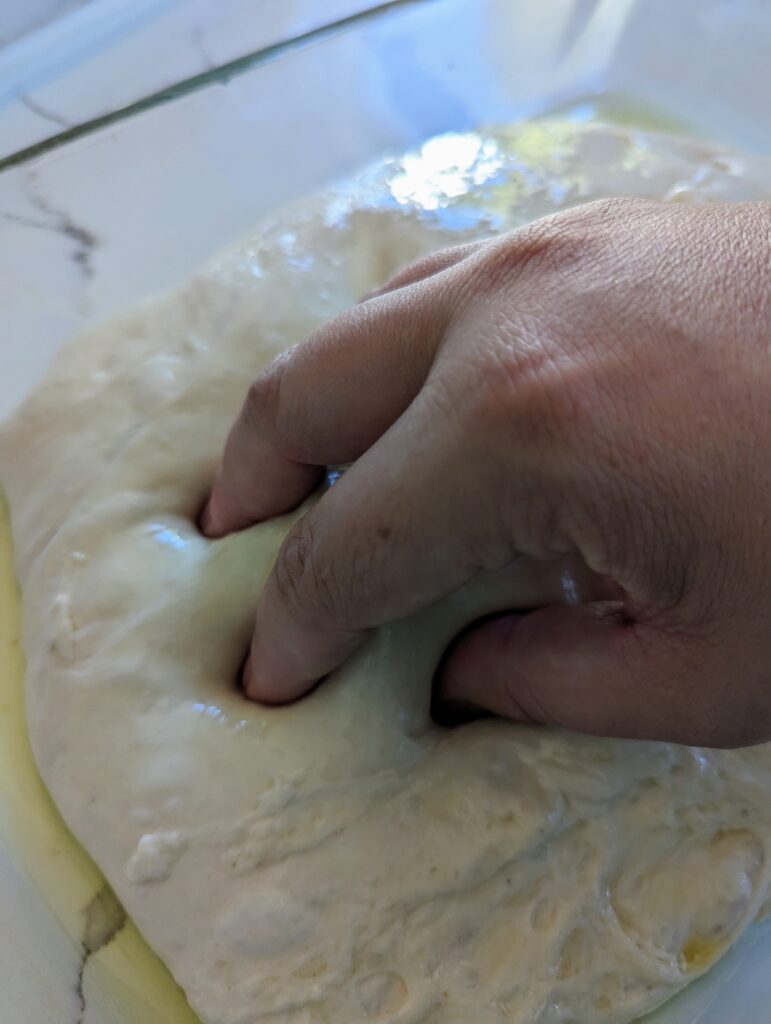
- Remove the dough from the bowl and place onto your baking pan. Flip it to coat the dough.
- You can start to stretch the dough out a little to fit the pan, but do not force. Cover with a damp towel and let rise again for 1 1/2-2 hours until very puffy and bubbly.
- Preheat your oven to 425 degrees F (220 degrees C).
- Gently finish stretching the dough out to fit your pan.
- Use your fingers to create dimples all over the dough.
- Add your desired toppings by pushing them down into the dough just like with your fingers. Have fun! Make a design if you would like.
- Bake the focaccia for 25-30 minutes, allowing for elevation differences as needed. Bake until crisp and lightly brown on top.
- Remove from oven and cut with sharp knife or pizza cutter. Best served warm.
Notes
-
Easy Herbal Conditioner Bar Recipe with Chamomile & Calendula
Easy Herbal Conditioner Bar Recipe with Chamomile & Calendula This herbal conditioner bar recipe combines nourishing oils, cocoa butter, BTMS-50, and vitamin B5 for soft, manageable hair. It also features chamomile-infused coconut oil and calendula-infused olive oil for a special herbal touch. Unlike traditional bottled conditioner, solid conditioner bars are highly concentrated and require very…
-
The Best DIY Honey Foaming Face Wash | Glowing, Healthy Skin
The Best DIY Honey Foaming Face Wash for Glowing, Healthy Skin A Simple, Gentle Daily Cleanser You Can Feel Good About I have tried many cleansers over the years, both as a nurse and a busy mom. However, I kept coming back to simple, nourishing ingredients. This honey foaming face wash has become a favorite…
-
Simple Gentle Liver Detox Tea Recipe (Natural & Nourishing)
Gentle Liver Detox Tea Recipe (Natural and Nourishing) A Simple Way to Support Your Body Naturally As the seasons begin to shift, I often notice my body asking for a slower, gentler reset. After months of heavier foods and busy days, everything can start to feel a little sluggish. Instead of turning to harsh detoxes,…
-
Easy Apple Cinnamon Baked Oatmeal Recipe
Apple Cinnamon Baked Oatmeal Recipe This apple cinnamon baked oatmeal recipe is one of those breakfasts that brings calm to busy mornings. I started making baked oatmeal when I needed something nourishing that could feed my family without extra work. This recipe comes together quickly, uses simple pantry staples, and bakes while the rest of…
-
Herbal Calendula and Chamomile Sugar Scrub
Herbal Calendula and Chamomile Sugar Scrub There is something deeply satisfying about making simple body care products with herbs you already know and trust. Over time, I’ve learned that our skin responds best to gentle, nourishing ingredients, especially when they come straight from the apothecary shelf or pantry. This calendula chamomile sugar scrub is one…
-
Apple Mint and Lemon Balm Calm Tea
Apple Mint and Lemon Balm Calm Tea A Gentle, Comforting Blend for Stressful Days When the day feels a little too loud, or your mind just won’t slow down, apple mint and lemon balm calm tea is one of my favorite ways to create a pocket of peace. As a mom of five and an…