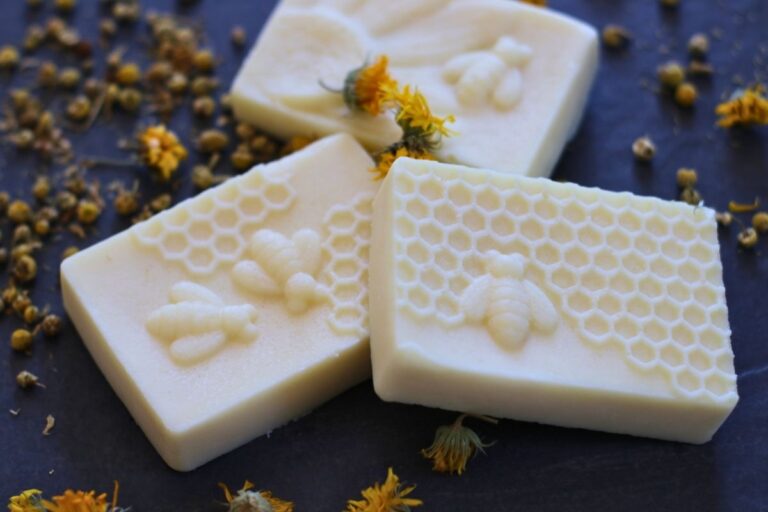
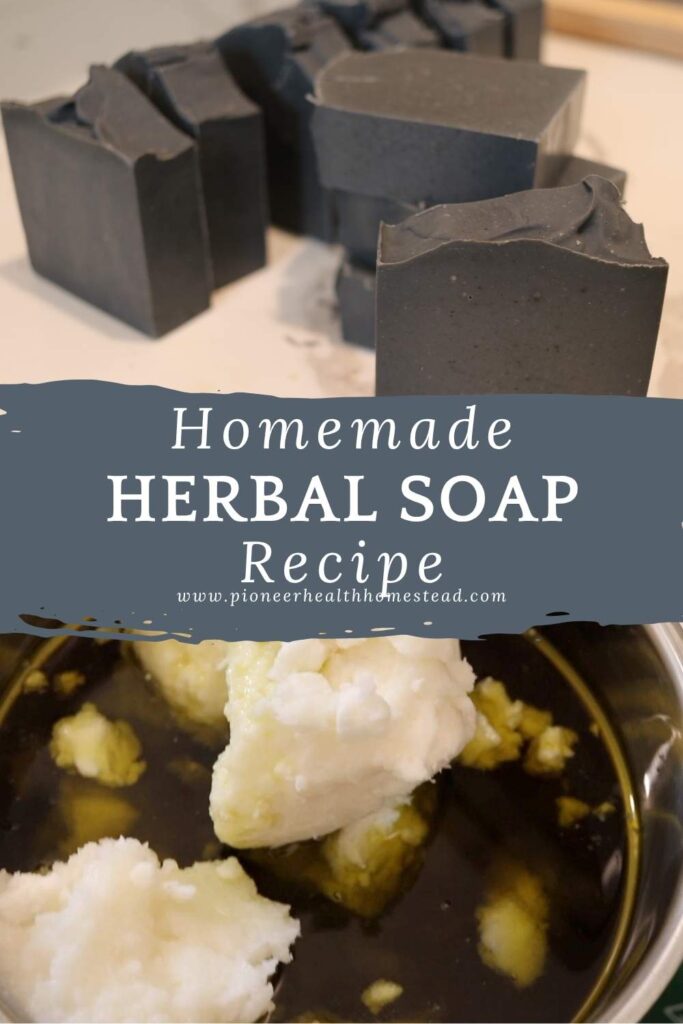
Simple Natural Cold Process Soap Recipe for Beginners
Getting Started with Your First Cold Process Soap
Making your own soap at home is a great way to create something safe, natural, and nourishing for your family. Unlike store-bought soaps, a cold process soap recipe gives you full control over the natural ingredients you use.
This simple, natural cold process soap recipe for beginners is perfect if it is your first attempt at soap making. With just a few oils, a lye solution, and patience, you can make beautiful homemade soap bars.
Cold process soap making is based on the saponification process, which is the chemical reaction between sodium hydroxide and oils. It may sound intimidating, but with the right guidance, your first batch of soap can be a success.
In this blog post, I will share a good recipe with oils like olive oil, coconut oil, and shea butter. These oils are gentle, moisturizing, and perfect for sensitive skin. By following these easy soap recipes, you will soon prefer your own soap over store-bought soaps.
This journey is not just about learning a skill, but also about creating cold process recipes that fit your personal preference. Whether you use essential oils, fragrance oils, or keep it unscented, you will find that homemade soap is a wonderful and rewarding project.
Save for Later!
What is Cold Process Soap Making
Understanding the Process
Cold process soap making is a traditional method that combines a lye mixture with oils to form handmade soap bars. A cold process soap recipe relies on the saponification process, which is the chemical reaction of sodium hydroxide and oils. This reaction creates both soap and glycerin, resulting in a moisturizing bar.
Choosing Your Oils and Butters
The beauty of a cold process soap recipe is choosing which natural ingredients go into your soap batter. Olive oil, coconut oil, and shea butter each bring unique qualities. Some oils create lather, others harden the bar, while butters like cocoa butter soothe dry skin. By combining different oils, you create a balance that makes homemade soap better than store-bought soaps.
Creativity in Soap Making
One reason many new soap makers love cold process soap is the freedom to experiment. Once the soap batter reaches trace, you can pour soap into molds, add essential oils, or swirl in colors. Many also add kaolin clay, coconut milk, or flower petals for a natural finish. Unlike hot process soap, cold process recipes cure slowly, allowing smoother designs.
A Beginner-Friendly Method
For beginners, a cold process soap recipe may feel intimidating. Working with sodium hydroxide requires caution, but practice builds confidence. Starting with a small batch is often a good idea for your first attempt. Each second batch will teach you more about oil amounts and fatty acid profiles.
Why It’s Worth Learning
Cold process soap making is not just for experts. It is a great way to create soap tailored to sensitive skin and personal preference. Many who try their first batch soon find a lifelong passion. With every new recipe or base recipe, the process becomes easier and more rewarding.
Safety First
Protect Yourself During Soap Making
Before starting any cold process soap recipe, safety should be your first focus. Making homemade soap involves sodium hydroxide, also called lye. This ingredient is essential for the chemical reaction but can be dangerous if not handled properly.
My First Time With Lye
When I made my first batch of soap, I was nervous about the lye solution. Mixing lye with water felt overwhelming. Wearing safety glasses, gloves, and long sleeves gave me the confidence I needed. These steps are important, even when making a small batch.
Working With Lye Safely
Always mix your lye solution in a ventilated space. Avoid leaning over the container, since fumes rise at first. Allow the lye mixture to cool to room temperature before combining with oils. Keep all supplies away from the reach of children and pets.
Preparing Your Workspace
Get organized before you begin the soap-making process. Cover your area with freezer paper to prevent damage from spills. Keep your stick blender, digital scale, and soap molds close at hand. Having tools ready helps you focus on your cold process recipes without stress.
Tools That Improve Safety
A good digital scale is essential for accuracy. The right oil amounts keep the saponification process balanced. A lye calculator or soap calculator will confirm your recipe is safe. Vinegar nearby can help neutralize any small lye splashes.
Creating a Confident Routine
Wearing gloves and eye protection may feel unnecessary, but they protect you from burns or irritation. As a new soaper, these steps help you relax and enjoy the process. With time, they will become second nature.
Building Confidence Over Time
Every first attempt brings lessons, and every second batch builds confidence. The best handmade soap bars always begin with patience, care, and safe habits. By respecting the process, you can fully enjoy making your own recipes with natural ingredients.
Tools and Equipment Needed
Using a Digital Scale
A digital scale is one of the most important tools for cold process soap making. Measuring oil amounts by weight, not volume, keeps your cold process soap recipe accurate. Even a small mistake can affect the chemical reaction and change the outcome of your first batch of soap.
The Role of a Stick Blender
A stick blender, also called an immersion blender, speeds up the soap-making process. Instead of stirring by hand, the blender mixes the oils and lye solution evenly. Use short bursts to reach trace without overmixing. For new soap makers, this tool makes it easier to pour soap at the right stage.

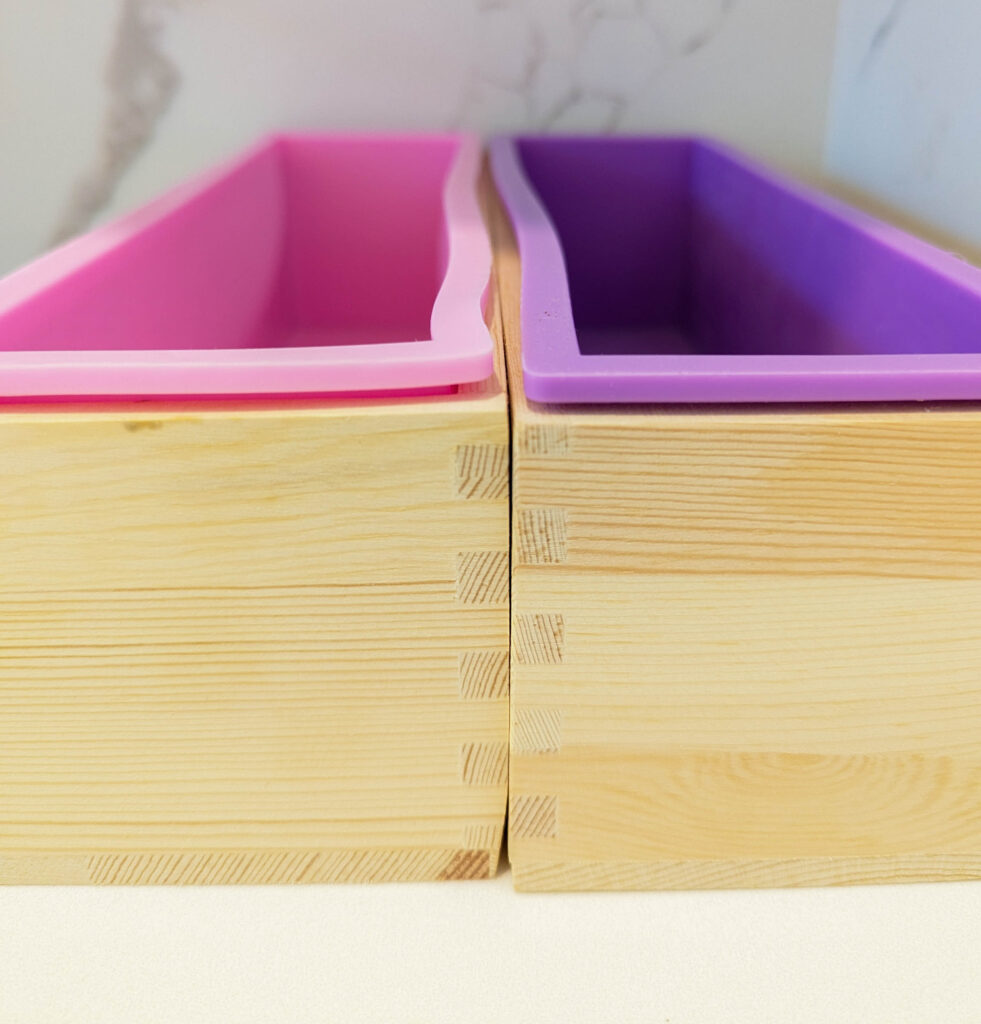
Choosing the Right Soap Molds
Soap molds give your handmade soap bars their final shape. Silicone mold options are easy to clean and release soap smoothly. If you use a wooden mold, line it with freezer paper to prevent sticking. For a first attempt, start with a small batch mold until you learn how the soap batter behaves.
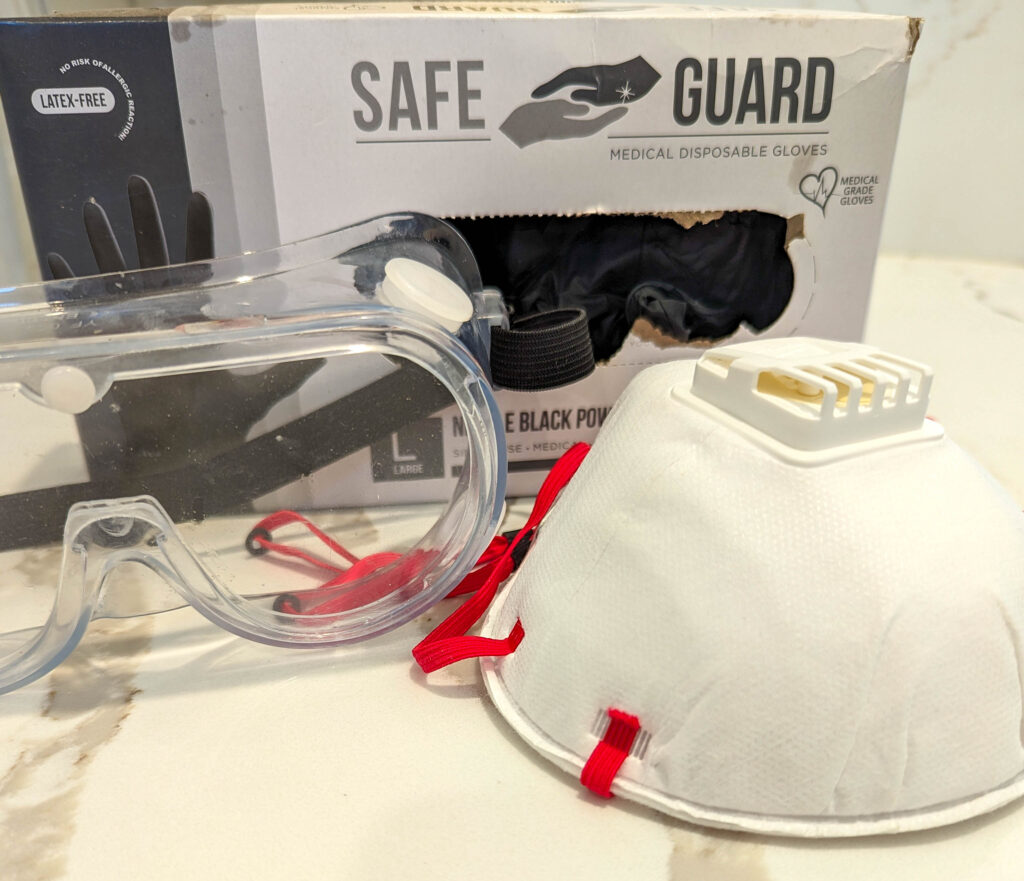
Safety Tools for Beginners
Eye protection, safety glasses, and gloves are not optional when working with sodium hydroxide. Wearing long sleeves protects your arms from splashes. Keeping vinegar nearby is also a good idea, since it helps neutralize spills. These safety tools allow you to focus on your cold process recipes with peace of mind.
Calculators and Guides
A soap calculator or lye calculator is essential when making your own recipes. These tools confirm that the oil amounts balance correctly with the lye mixture. They also let you experiment with different oils like olive oil, coconut oil, or sweet almond oil. New soap makers should use a calculator every time, even when following easy soap recipes.
Other Helpful Equipment
Other tools make the soap-making process smoother. Heat-safe containers for mixing, stainless steel spoons, and a thermometer for checking room temperature are all useful. Some hobby soap makers also keep a separate immersion blender just for homemade soap. Having dedicated equipment prevents cross-contamination with kitchen tools.
Creating a Beginner-Friendly Setup
Organizing your tools before starting is a great way to feel more confident. Keep everything within reach so you can move smoothly from the lye solution to soap batter. This preparation helps new soapers avoid mistakes and makes the process more enjoyable. With time, you will discover your personal preference for tools and methods.
Ingredients for This Simple Cold Process Soap Recipe
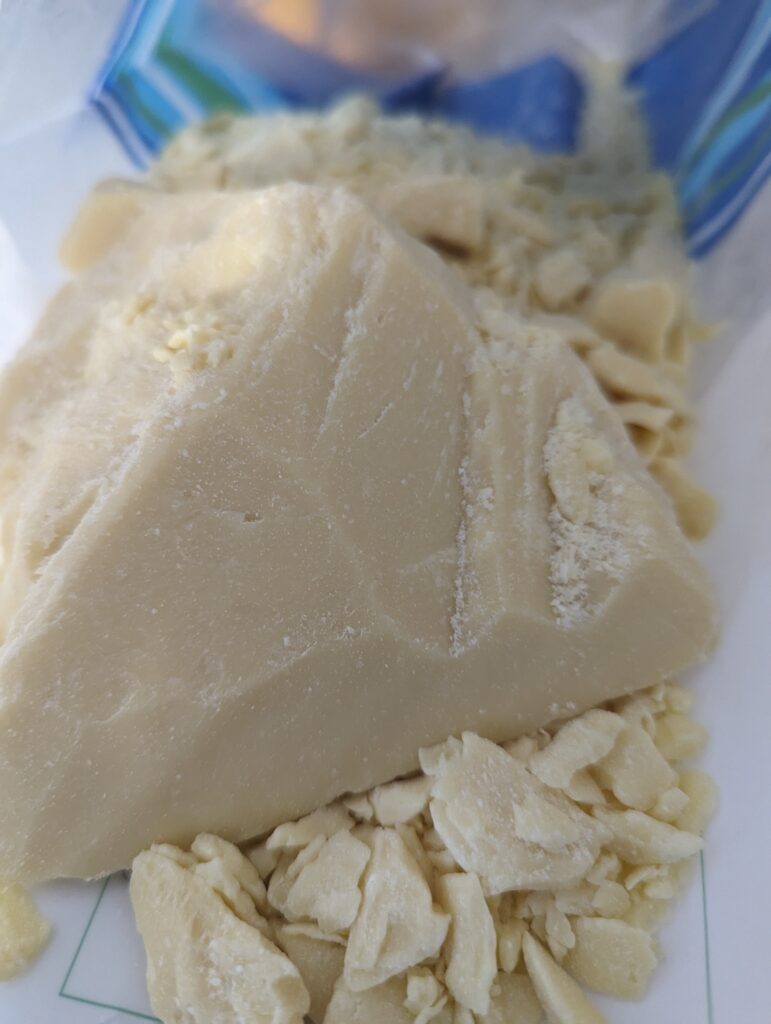
Cocoa Butter
Cocoa butter adds richness to this cold-process soap recipe. At twenty percent of the total oils, or eight ounces, it adds creaminess and helps the bars stay firm. This butter is perfect for dry skin and leaves homemade soap feeling silky.
This can come in a block (as shown below) or in waffers. Waffers are much easier to use as they melt faster, and you have better control when measuring. However, the waffers will cost more.
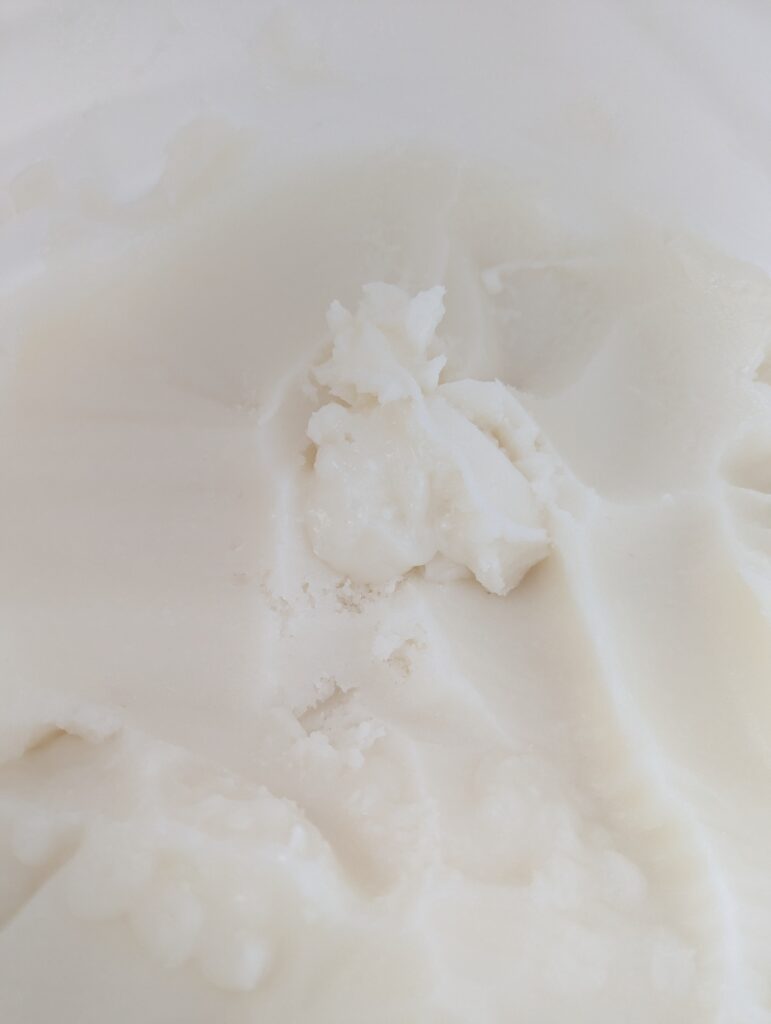
Coconut Oil
Coconut oil is another twenty percent, or eight ounces, of this recipe. It brings cleansing power and helps the soap harden. Balanced with shea butter and olive oil, it creates a bar that is gentle and long-lasting.
Castor Oil
Castor oil makes up ten percent of the total, or four ounces. Though used in a small amount, it improves lather and gives the soap a stable, bubbly foam. Castor oil is a favorite for new soap makers who want their first batch of soap to feel luxurious.

Olive Oil Infused with Calendula and Nettle
Olive oil makes up thirty percent, or twelve ounces, of this recipe. It is gentle, moisturizing, and perfect for sensitive skin. I infused this olive oil with calendula and nettle to boost its skin-healing and anti-inflammatory properties.
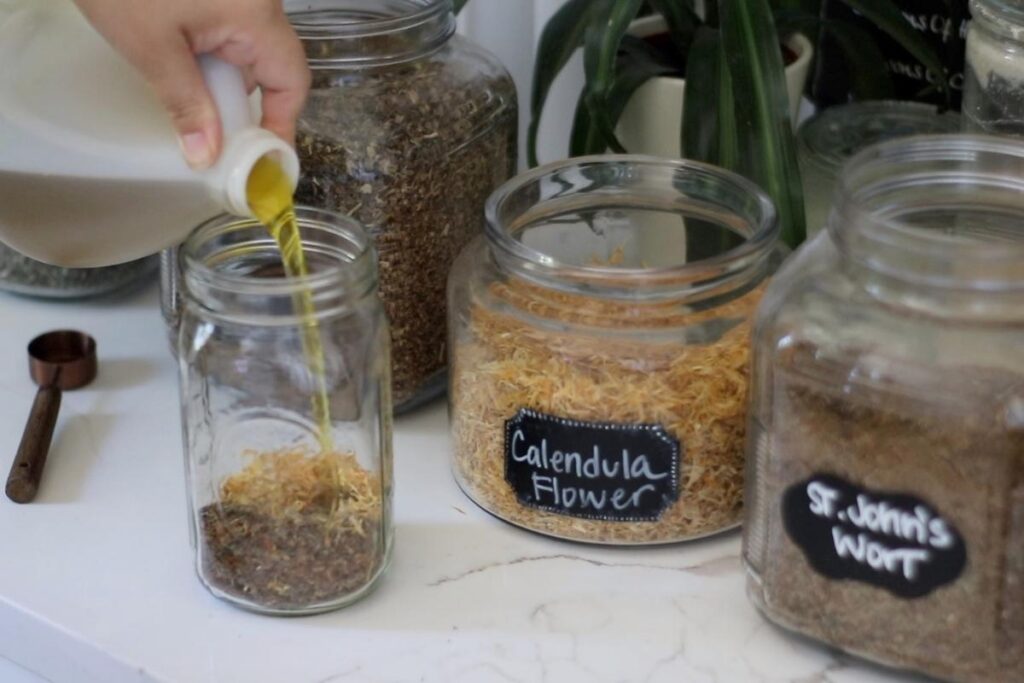
Calendula is excellent for skin healing, and nettle helps ease inflammation and allergic reactions. Combined, they create a nourishing bar that supports dry or sensitive skin. If you prefer convenience or are a new soaper, you can use standard olive oil instead of infusing herbs. Just remember that swapping oils or other ingredients changes the balance of the recipe. Always check your new combination with a soap calculator like SoapCalc to ensure your batch is safe and effective.
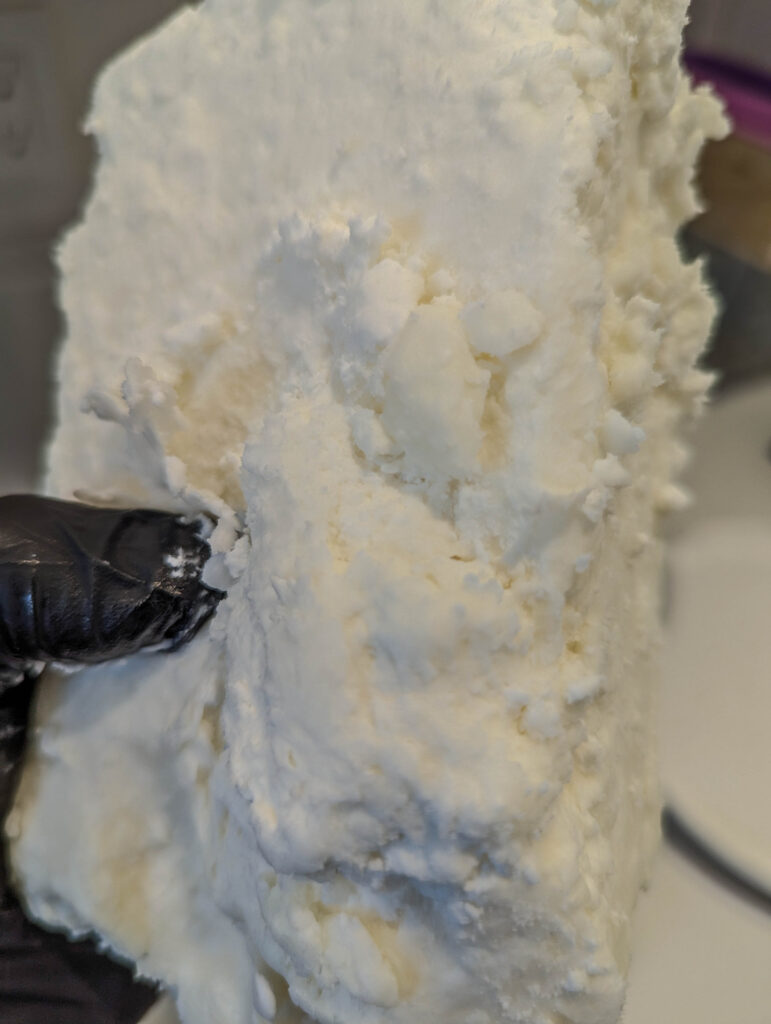
Shea Butter
Shea butter completes the formula at twenty percent, or eight ounces. Like cocoa butter, it nourishes dry skin, making the soap bar feel rich. It balances the cleansing power of coconut oil and helps create a good recipe for everyday use.
Optional Add-Ins
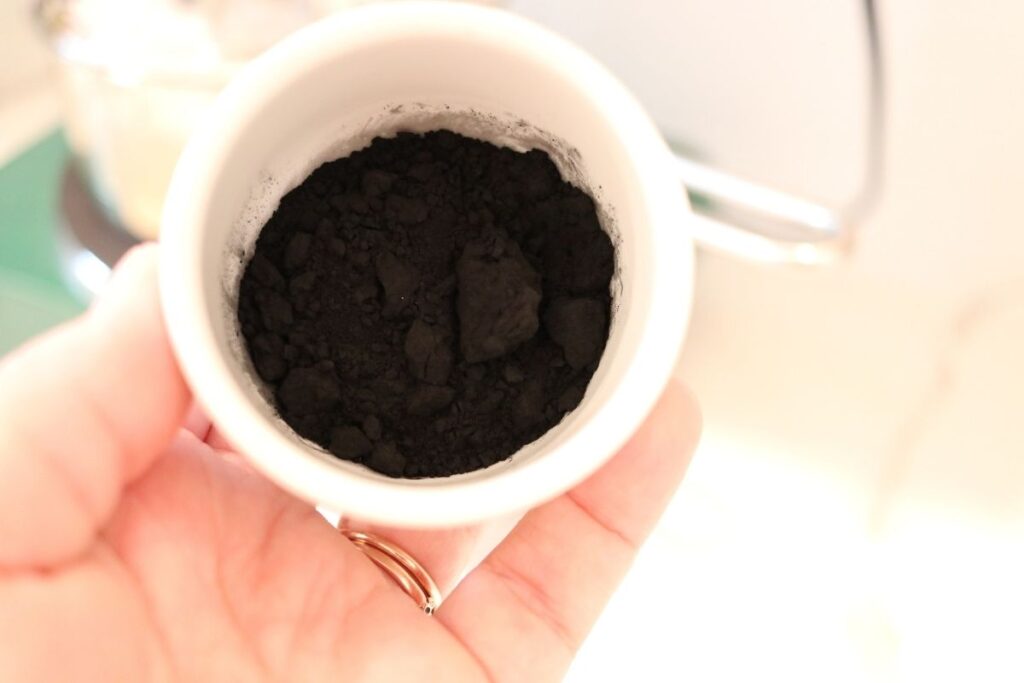
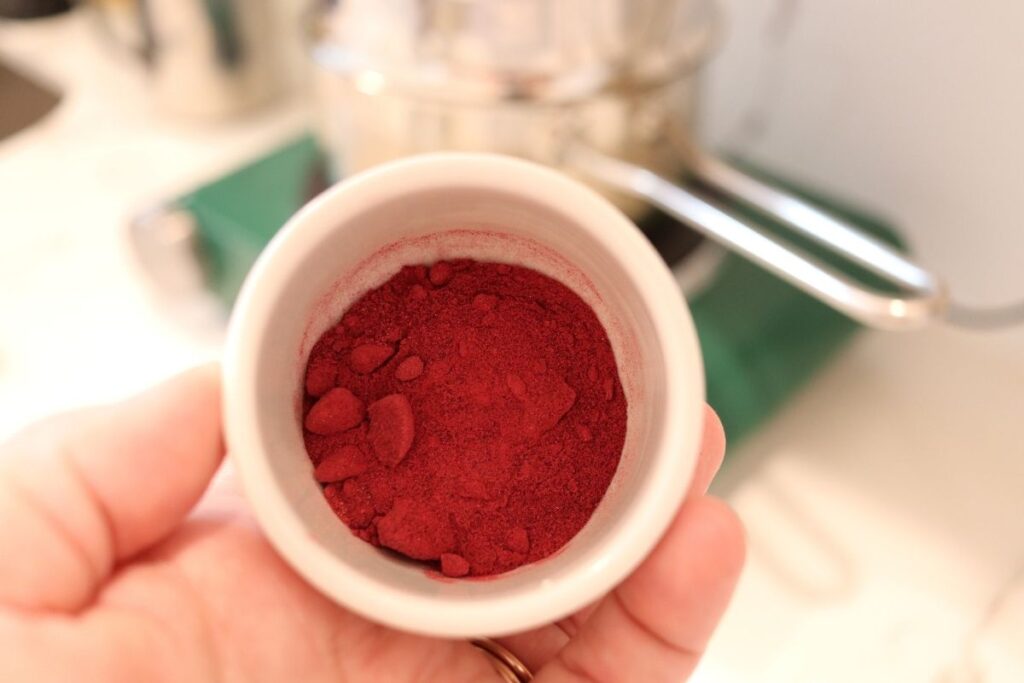
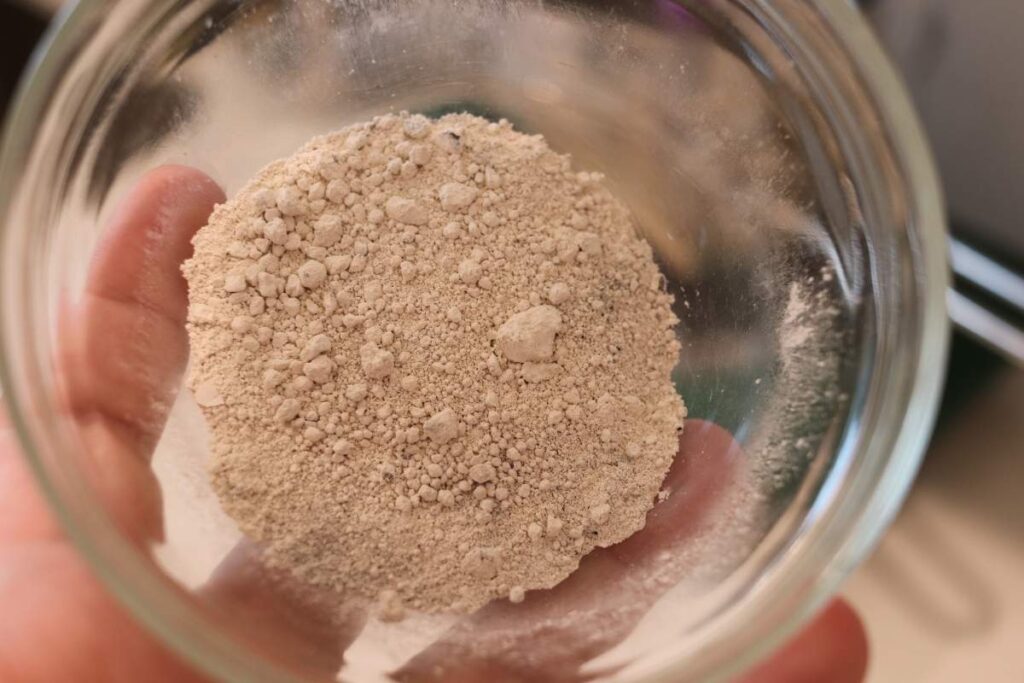
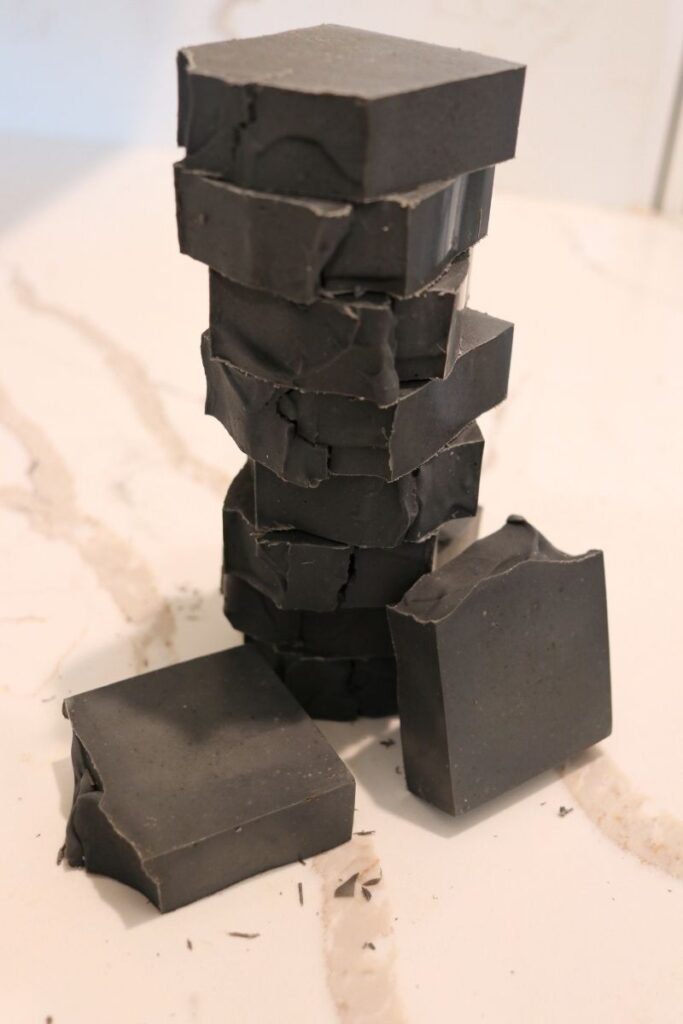
Optional natural ingredients can enhance the skin benefits of your handmade soap. Beet powder supports skin health, while chamomile powder soothes and calms sensitive or irritated skin. Activated charcoal gently detoxifies, and kaolin clay adds slip, a silky feel, and also helps detox the skin. Each of these extras can be used at about 0.5-1 tablespoons per batch.
Beginners can skip these add-ins if desired, but remember that altering ingredients may change the soap’s texture, so using a soap calculator is recommended.
Adjusting Recipes with a Soap Calculator
The recipe above makes a balanced bar, but many new soapers want to try different oils or butters. A soap calculator is the best tool for creating safe and effective cold process recipes. I recommend using SoapCalc, which helps you design your own recipes with specific ingredients. By adjusting oil amounts and checking fatty acid profiles, you can create bars of soap that meet your personal preference and skin needs.
Olive Oil Infused with Calendula and Nettle
Olive oil makes up thirty percent, or twelve ounces, of this recipe. It is known for being gentle, moisturizing, and perfect for sensitive skin. To make this bar even more beneficial, I infused the olive oil with calendula and nettle.
Calendula is one of my favorite herbs for skin because of its natural healing properties. Over the years, I have used it for cuts, scrapes, and general skin irritation, and I always keep some on hand. It feels soothing in soap and is especially comforting during the winter months when dry skin is common.

Nettle brings its own powerful benefits. Known for easing inflammation and calming allergic reactions, it adds another layer of care to this recipe. I wanted this cold process soap recipe to be more than cleansing—it’s also about supporting the skin naturally. Combining calendula and nettle in the infused olive oil is a good idea for anyone who wants a gentle bar that nourishes and calms.
If you prefer convenience or are a new soaper, you can use standard olive oil instead of infusing herbs. Just keep in mind that swapping oils or other ingredients changes the balance of the recipe. Always check your new combination with a soap calculator like SoapCalc to ensure your first batch of soap comes out safe and effective.
Step-by-Step Cold Process Soap Instructions
Prepare Your Workspace
Cover surfaces with freezer paper or newspaper to catch spills. Gather all tools: stick blender, immersion blender, soap molds, digital scale, and thermometer. Wear long sleeves, gloves, and safety glasses. If you are sensitive, wear a mask when handling the lye solution.
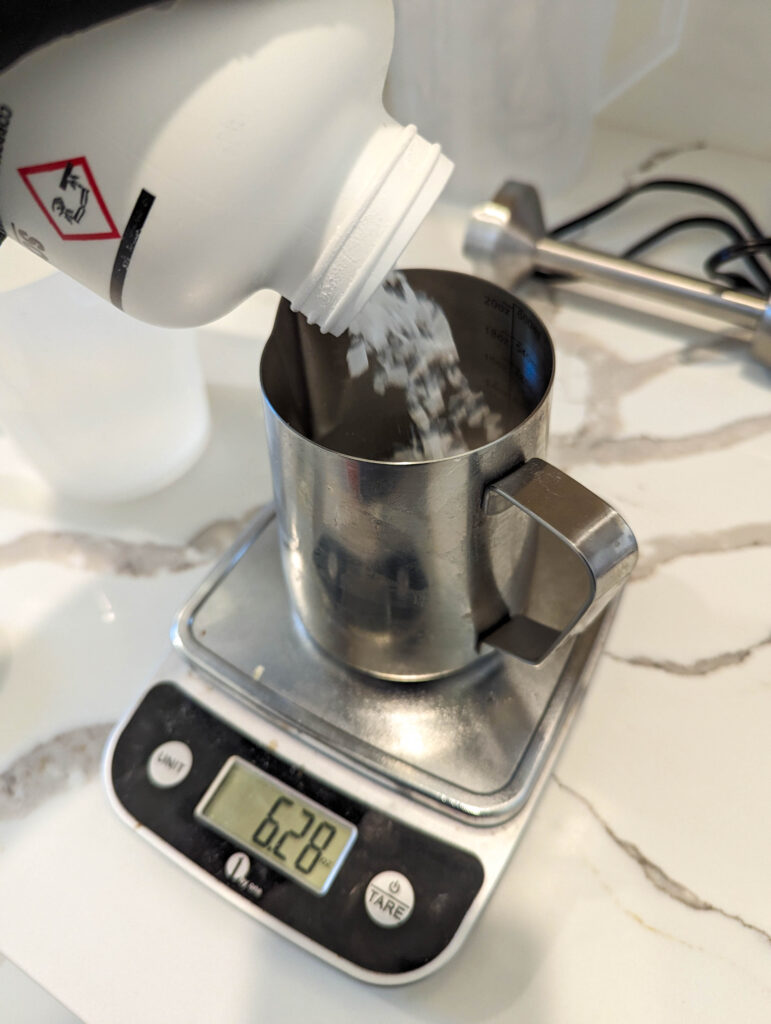
Make the Lye Solution First
Slowly add sodium hydroxide to distilled water in a heat-safe container. Always pour lye into water, not the reverse. Allow the lye solution to cool to room temperature before combining with oils. Proper cooling is essential for a safe, successful batch.
Measure and Melt Oils
Weigh each oil and butter accurately with a digital scale. Place them in a heat-safe container large enough to hold both the oils and the lye solution. Gently melt solid oils and butters using a microwave or double-boiler method until fully liquid.


Check Temperatures
Before combining, oils and the lye solution should be roughly the same temperature—around room temperature or slightly warmer. An infrared thermometer is the best tool for checking this accurately. Matching temperatures helps the saponification process proceed smoothly.
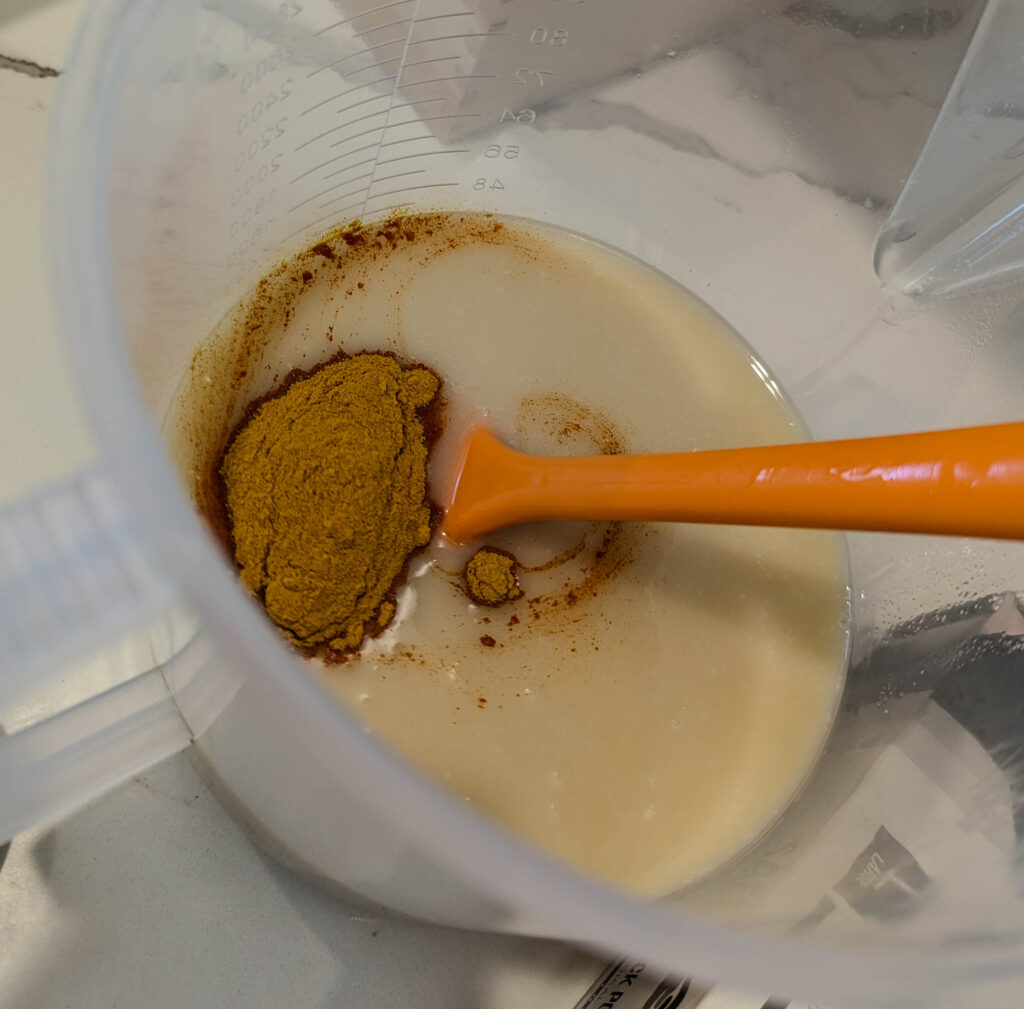
Add Optional Ingredients
While oils are cooling, stir in any powders, clays, or essential oils. This is the stage to add kaolin clay, beet powder, chamomile powder, or activated charcoal to enhance the skin benefits of your soap. Stir gently to incorporate evenly.
Combine Oils and Lye
Slowly pour the cooled lye solution into the melted oils. Blend carefully with a stick blender or immersion blender in short bursts until a light trace is reached. Trace is when the soap batter thickens and leaves a faint trail when drizzled over the surface.
Pour Soap into Molds
Carefully pour the soap batter into prepared molds. Tap molds lightly to release air bubbles. Optionally, sprinkle flower petals or herbs on top. Cover with a lid, cardboard, or freezer paper to retain heat during the gel phase.


Gel Phase and Curing
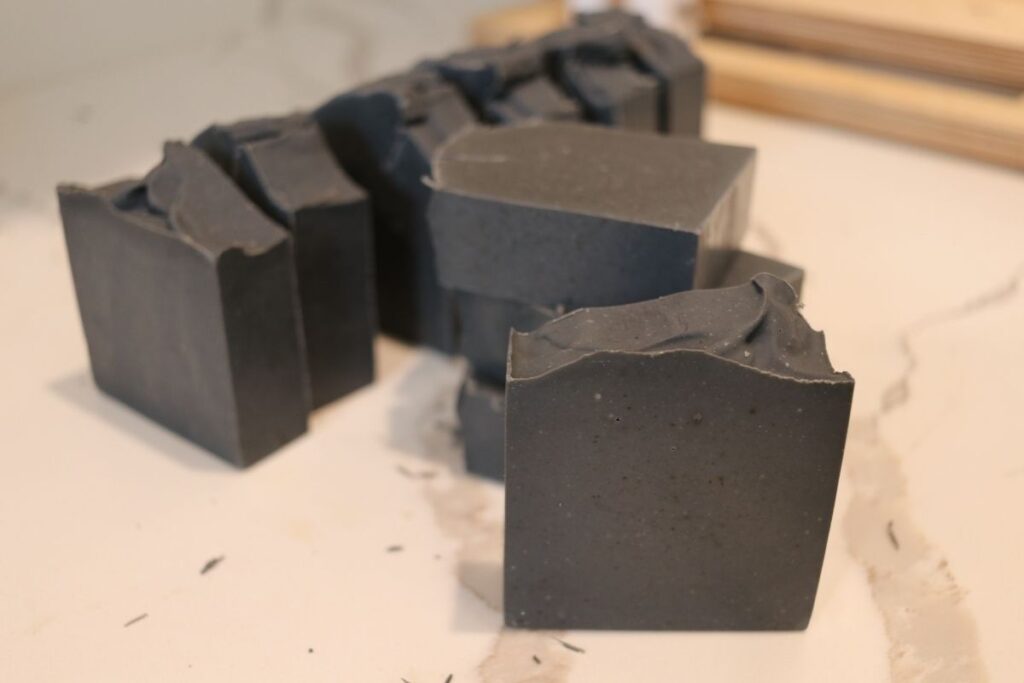
Cold process soap may go through a gel phase, turning slightly translucent as it warms. Let soap sit undisturbed in molds for 24–48 hours. After unmolding, cut into bars and allow them to cure at room temperature for 4–6 weeks. Proper curing completes the saponification process and hardens the bars.

Troubleshooting Common Issues
New soap makers may see a thin white film (soda ash) on the surface or minor cracks. These are normal and do not affect the quality of the soap. Each batch teaches you more, and your second batch and future recipes will improve.
Enjoying Your Handmade Soap
After curing, your cold process soap bars are ready to use. They are gentle, moisturizing, and made with natural ingredients tailored to your skin’s needs. Making your own soap is a rewarding hobby and a great way to create personalized, handmade soap bars that replace store-bought soaps.

Soothing Nettle Soap
Ingredients
Equipment
Method
- Prepare Workspace – Cover surfaces, gather tools, and wear gloves, long sleeves, and safety glasses. Wear a mask if sensitive to lye.
- Make the Lye Solution First – Slowly add sodium hydroxide to distilled water in a heat-safe container. Let cool to room temperature. Always pour lye into water.
- Measure and Melt Oils – Weigh oils and butters accurately. Place in a heat-safe container large enough to hold oils plus lye solution. Melt gently in a microwave or double boiler until fully liquid.
- Check Temperatures – Oils and lye solution should be roughly the same temperature (room temperature or slightly warmer) before combining. Use an infrared thermometer for accuracy.
- Add Optional Ingredients – Stir in powders, clays into oils while they are cooling. Mix gently to incorporate evenly.
- Combine Oils and Lye – Slowly pour cooled lye solution into melted oils. Blend in short bursts with a stick or immersion blender until light trace is reached.
- Pour into Molds – Carefully pour soap batter into molds. Tap lightly to release bubbles. Optionally sprinkle flower petals or herbs on top. Cover to retain heat during gel phase.
- Gel Phase & Cure – Allow soap to sit 24–48 hours in molds. Unmold, cut, and cure at room temperature for 4–6 weeks to complete saponification and harden bars.
Video
Notes
Tips for Beginners
- Start with a small batch to make handling easier.
- Track your recipes for future adjustments.
- Use a soap calculator for swaps or changes to oils or amounts.
- Expect minor imperfections like soda ash or slight cracks—they are normal.
- Have patience and enjoy the creative, hands-on process of making natural handmade soap.
Tips for New Soap Makers
Start Small
If this is your first batch of soap, begin with a small batch. Small batches are easier to manage and reduce the chance of mistakes. They are also a good way to experiment with different oils like olive oil, coconut oil, or shea butter without wasting ingredients.
Use a Soap Calculator
Whenever you change oils or swap ingredients, use a soap calculator like SoapCalc. This ensures your recipe is safe and balanced. Fatty acid profiles affect hardness, lather, and moisturizing properties, so adjusting without a calculator can result in a less effective bar.
Be Patient with Trace
Reaching the trace with a stick blender or immersion blender can take time. Use short bursts to avoid overmixing. Trace is the point where the soap batter thickens and leaves a faint trail when drizzled on top. Patience here ensures your soap pours easily and sets properly in molds.

Customize Gradually
It’s tempting to add many colorants, clays, or fragrance oils on your first attempt. Start with small amounts, like 1–1.5 tablespoons of optional ingredients such as kaolin clay, beet powder, or chamomile. This helps you see how additives affect texture and color without overwhelming the soap.
Keep Safety in Mind
Even small mistakes with lye can be dangerous. Always wear gloves, long sleeves, and eye protection. Work on a covered surface away from children and pets. A safe setup allows you to focus on the cold process soap-making process with confidence.
Track Your Recipes
Write down the oils, amounts, and optional add-ins you use for each batch. This habit helps when trying new recipes or tweaking your first batch. Over time, you’ll develop your own soap formulas that reflect your personal preference and skin needs.
Expect Imperfections
Your first batch of soap may have minor cracks, uneven colors, or a thin white film called soda ash. This is normal and does not affect the quality of the bar. With each batch, your confidence and skill improve, and your handmade soap bars will become smoother and more consistent.
Enjoy the Process
Cold process soap making is as much about creativity as it is about chemistry. Have fun experimenting with different oils, essential oils, and natural ingredients. Each first attempt teaches valuable lessons, and creating your own soap is a rewarding way to replace store-bought soaps with gentle, natural bars.
Final Thoughts on Your First Cold Process Soap
Making your own cold process soap is a rewarding and practical way to create natural soap at home. This simple, natural cold process soap recipe combines cocoa butter, coconut oil, castor oil, shea butter, and olive oil infused with calendula and nettle for a gentle, nourishing bar.
Even if it is your first attempt, following safety steps, measuring oils accurately, and using a soap calculator like SoapCalc ensures a successful batch. Beginners can start with small batches, optional add-ins, and standard olive oil if infusions feel intimidating.
Cold process soap making allows creativity, from choosing essential oils to adding clays, natural powders, or flower petals. Each batch teaches valuable lessons, and over time, you can develop new soap recipes that suit your skin and personal preference.
Homemade soap is not only practical but also a fun hobby. It’s a great way to replace store-bought soaps with bars made from natural ingredients tailored to sensitive or dry skin. With patience and practice, you can enjoy your own handmade soap bars for years to come.
Making soap at home is more than a craft—it is a way to care for yourself and your family naturally. Take your time, follow the steps, and enjoy the process of creating beautiful, nourishing soap with ingredients you trust.
-
Easy Herbal Conditioner Bar Recipe with Chamomile & Calendula
Easy Herbal Conditioner Bar Recipe with Chamomile & Calendula This herbal conditioner bar recipe combines nourishing oils, cocoa butter, BTMS-50, and vitamin B5 for soft, manageable hair. It also features chamomile-infused coconut oil and calendula-infused olive oil for a special herbal touch. Unlike traditional bottled conditioner, solid conditioner bars are highly concentrated and require very…
-
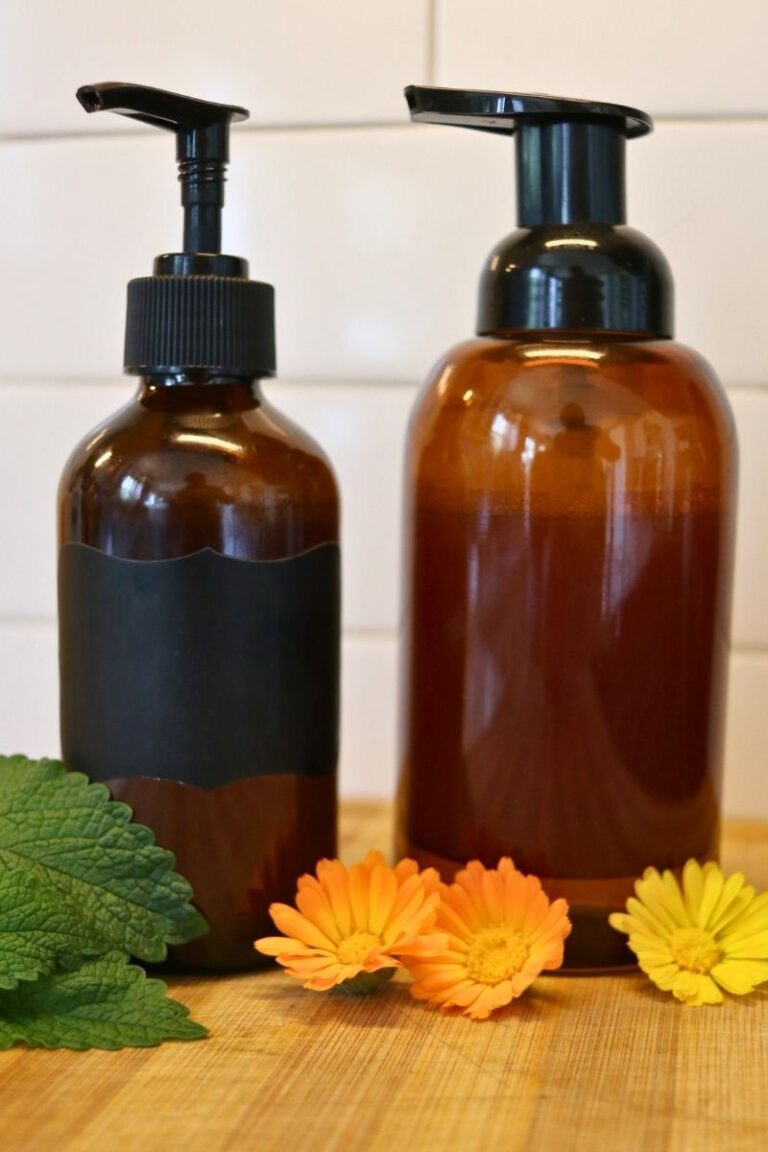
The Best DIY Honey Foaming Face Wash | Glowing, Healthy Skin
The Best DIY Honey Foaming Face Wash for Glowing, Healthy Skin A Simple, Gentle Daily Cleanser You Can Feel Good About I have tried many cleansers over the years, both as a nurse and a busy mom. However, I kept coming back to simple, nourishing ingredients. This honey foaming face wash has become a favorite…
-
Simple Gentle Liver Detox Tea Recipe (Natural & Nourishing)
Gentle Liver Detox Tea Recipe (Natural and Nourishing) A Simple Way to Support Your Body Naturally As the seasons begin to shift, I often notice my body asking for a slower, gentler reset. After months of heavier foods and busy days, everything can start to feel a little sluggish. Instead of turning to harsh detoxes,…
-
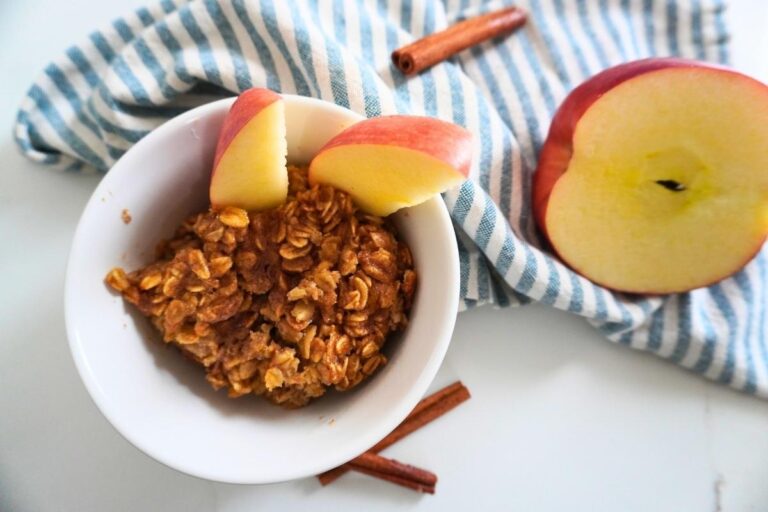
Easy Apple Cinnamon Baked Oatmeal Recipe
Apple Cinnamon Baked Oatmeal Recipe This apple cinnamon baked oatmeal recipe is one of those breakfasts that brings calm to busy mornings. I started making baked oatmeal when I needed something nourishing that could feed my family without extra work. This recipe comes together quickly, uses simple pantry staples, and bakes while the rest of…
-
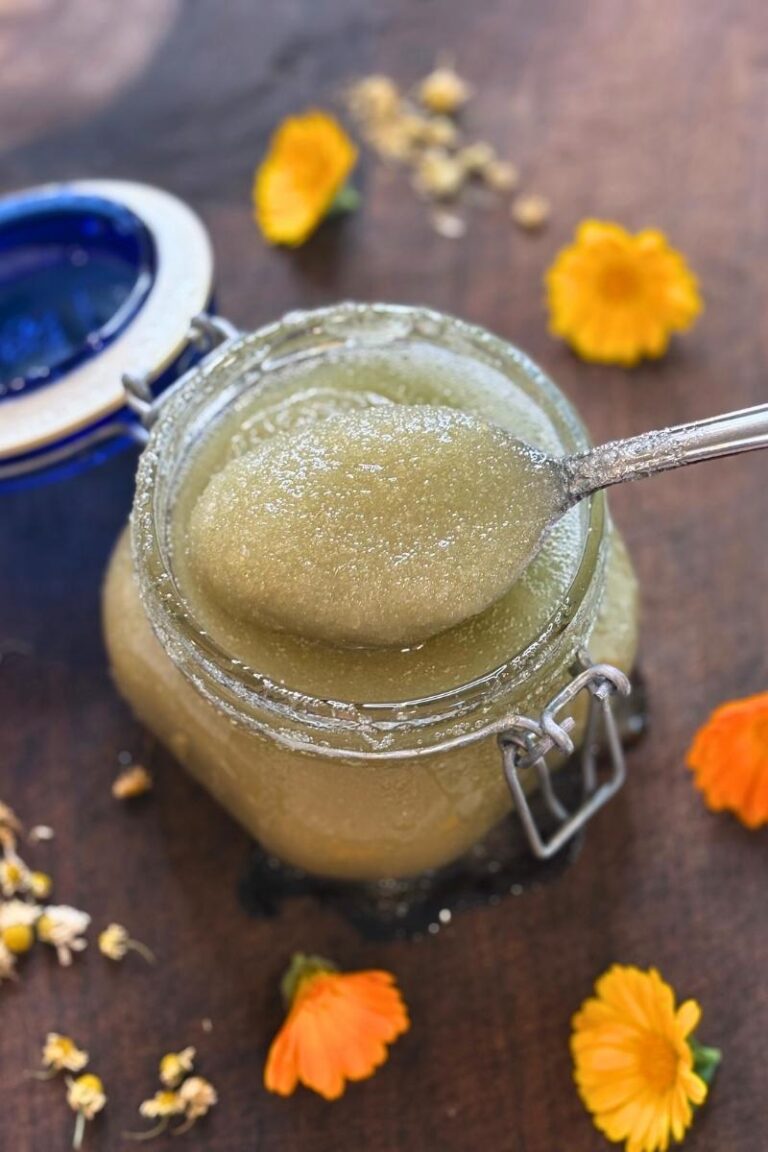
Herbal Calendula and Chamomile Sugar Scrub
Herbal Calendula and Chamomile Sugar Scrub There is something deeply satisfying about making simple body care products with herbs you already know and trust. Over time, I’ve learned that our skin responds best to gentle, nourishing ingredients, especially when they come straight from the apothecary shelf or pantry. This calendula chamomile sugar scrub is one…
-
Apple Mint and Lemon Balm Calm Tea
Apple Mint and Lemon Balm Calm Tea A Gentle, Comforting Blend for Stressful Days When the day feels a little too loud, or your mind just won’t slow down, apple mint and lemon balm calm tea is one of my favorite ways to create a pocket of peace. As a mom of five and an…