How to Make a Tincture for Herbal Medicine
How to Make a Tincture
How to make a tincture for herbal medicine was one of the first things I taught myself as a young mom searching for natural options. I remember standing in my kitchen, chopping up fresh lemon balm from the garden and pouring vodka over it in a mason jar. I wasn’t sure what I was doing at the time, but I knew I wanted something better for my family.
Over the years, herbal tinctures have become one of my favorite herbal preparations. They’re simple to make, easy to use, and full of the therapeutic properties our bodies can benefit from. A tincture is a concentrated herbal extract made using high-proof alcohol or another natural solvent. This process pulls out the active constituents of the healing herbs, making them more bioavailable and longer-lasting than teas or infusions.
I love that with just a few ingredients and a little patience, I can create powerful herbal remedies that support our immune systems, digestion, and even our nervous system. Tinctures have become one of my go-to forms of plant medicine, offering potent support in small doses, right when we need it.
If you’ve been curious about making your own herbal remedy, you’ll find the process approachable and rewarding. Let me show you how easy it is to make your own tincture at home, step by step.
Save for Later!

What is a Tincture?
A tincture is a liquid herbal extract made with high-proof alcohol or another natural solvent like apple cider vinegar. This simple method allows you to pull the active constituents from healing herbs and preserve their benefits in a long-lasting, concentrated form.
When I first learned about herbal tinctures, I was amazed by how effective they were in small doses. Just a dropperful of tincture added to water or tea can deliver a powerful herbal remedy. Whether you’re working with fresh plants like lemon balm or dried herb from your apothecary shelf, tinctures are a great way to capture the health benefits of medicinal herbs.
The alcohol solution acts as both a preservative and extractor, drawing out the plant’s therapeutic properties. This makes tinctures one of the strongest herbal preparations available. I keep a variety of herbal tinctures in my own home for everything from immune support to calming the nervous system.
Stored in small glass bottles, these herbal extracts are easy to use and have a long shelf life. Once you understand the basic process, making your own tinctures becomes second nature. They’re a trusted part of my plant medicine cabinet and one of the best tinctures for beginner herbalists to try at home.

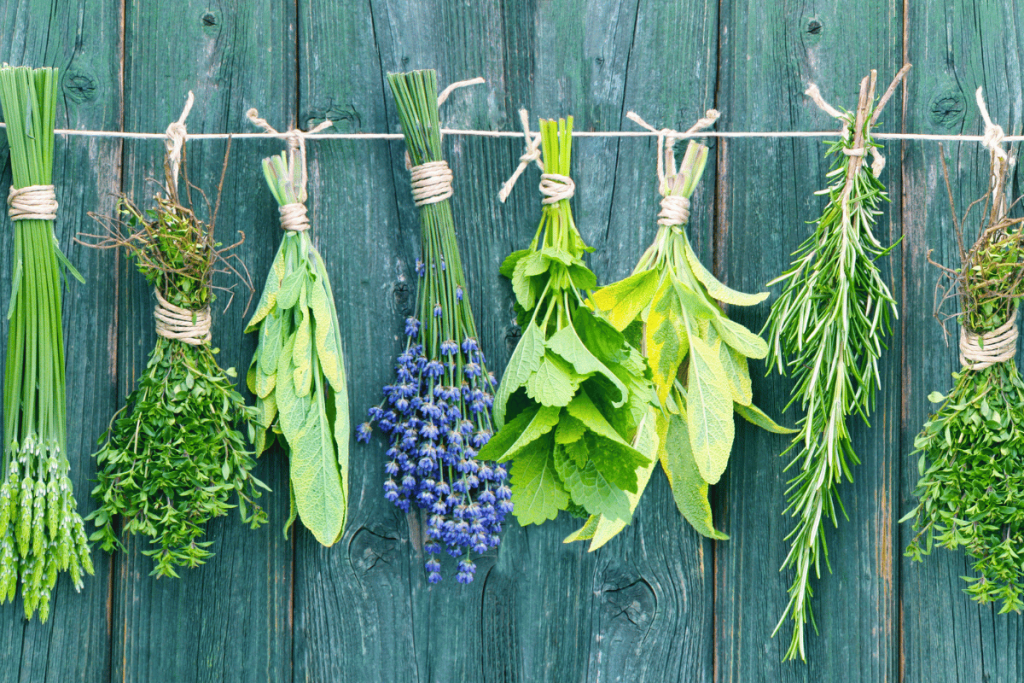
Choosing Herbs for Your Tincture
When making a tincture, the first step is choosing the right plant material. Think about what you want to accomplish with your herbal remedy. Are you looking to create a calming tincture with lemon balm, or perhaps digestive support with marshmallow root? The type of herb you choose will guide the effectiveness of your tincture.
Fresh vs. Dried Herbs
You can use either fresh herbs or dried herbs, depending on what you have available. Fresh plants contain more water content, which can dilute the alcohol slightly. This is why it’s important to use high-proof alcohol—150 proof or higher for fresh herbs and 80 to 100 proof for dried herbs. The more potent the alcohol, the better it will extract the medicinal properties of the plant material.
Some herbs are best tinctured fresh, like St. John’s wort, while others, such as marshmallow root, make stronger extracts when dried. I often source my dried herbs from trusted suppliers like Mountain Rose Herbs, or I use healing herbs I’ve grown myself.
The Type of Alcohol You Use
For alcohol-based tinctures, vodka is the most common choice. It’s widely available and has a mild flavor that won’t interfere with your tincture. If you’re making full extract tinctures, especially with high-moisture fresh plants, grain alcohol is a great option. The alcohol strength plays an essential role in drawing out the active constituents and preserving your finished tincture.
Alcohol-Free Tinctures
If you want to avoid alcohol altogether, consider using apple cider vinegar or vegetable glycerin as a base for alcohol-free tinctures. These options are ideal for children, pregnant women, or anyone who is sensitive to alcohol. However, alcohol-free tinctures may have a shorter shelf life and may require a separate process, such as gentle heating, to extract the properties of the herbs.
General Rule for Choosing Alcohol and Herbs
The general rule is to match the type of alcohol to the herb you’re using. Once you’ve chosen your plant material and alcohol, seal the mixture in a mason jar or glass jar with a non-metal lid. Then, the process becomes a simple and beautiful rhythm of herbal preparations and plant medicine in your kitchen.
The Folk Method: A Simple Way to Make Herbal Tinctures
The folk method is the easiest way to make your own tinctures at home. It doesn’t require exact measurements or fancy equipment—just a mason jar, your chosen herb, and high-proof alcohol.
Filling the Jar with Herbs
Start by filling a clean glass jar about halfway with your plant material. You can use fresh herbs or dried herb, depending on what you have. I often use freshly picked lemon balm or dried marshmallow root from my home apothecary. The quality of your herbal material really does make a difference in the strength of the tincture.

Pouring in the Alcohol
Pour your alcohol over the plant matter until it’s completely covered, leaving about an inch of space at the top. For fresh herbs with high water content, I use grain alcohol to maintain potency. For dried herbs, vodka works just fine.

Sealing and Storing
Seal the jar tightly with a non-metal lid, label it with the date and type of herb, and place it in a cool dark place. I like to tuck mine into a cabinet where I’ll remember to give it a gentle shake every day or two. This helps expose more surface area of the plant to the alcohol, drawing out all the active constituents.
Letting It Sit
Let it sit for 4–6 weeks. This waiting time allows the alcohol to fully extract the therapeutic properties of your healing herbs. It’s a slow, beautiful process that connects you with the rhythm of herbal medicine.
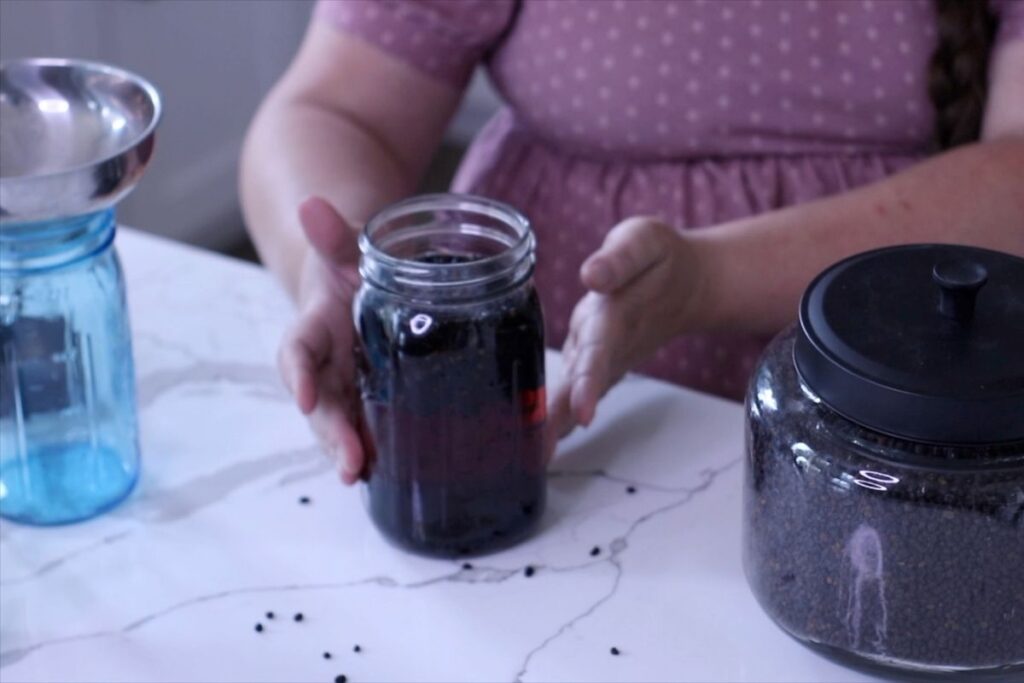
Straining the Tincture
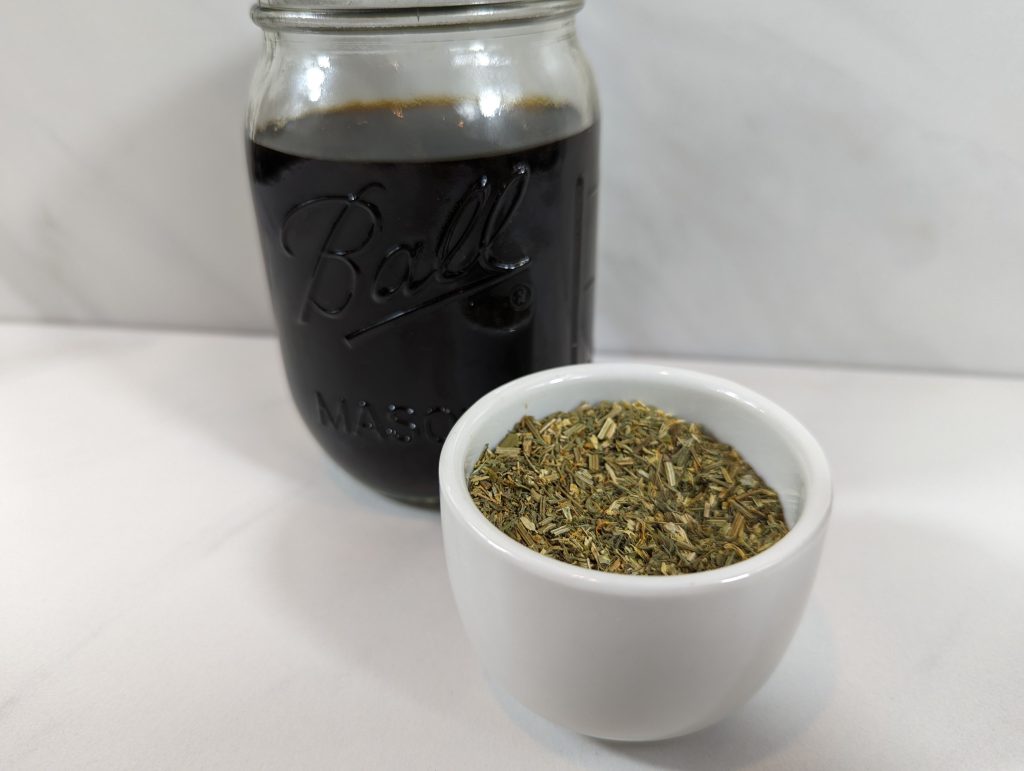
When it’s ready, strain the liquid through a fine mesh strainer or cheesecloth, pressing out every drop. This is your finished tincture—potent, shelf-stable, and ready to support your family’s wellness.


Bottling for Use
Transfer it into small glass bottles with dropper tops for easy use. These herbal extracts are powerful in small doses and can become a foundational part of your herbal remedies at home.

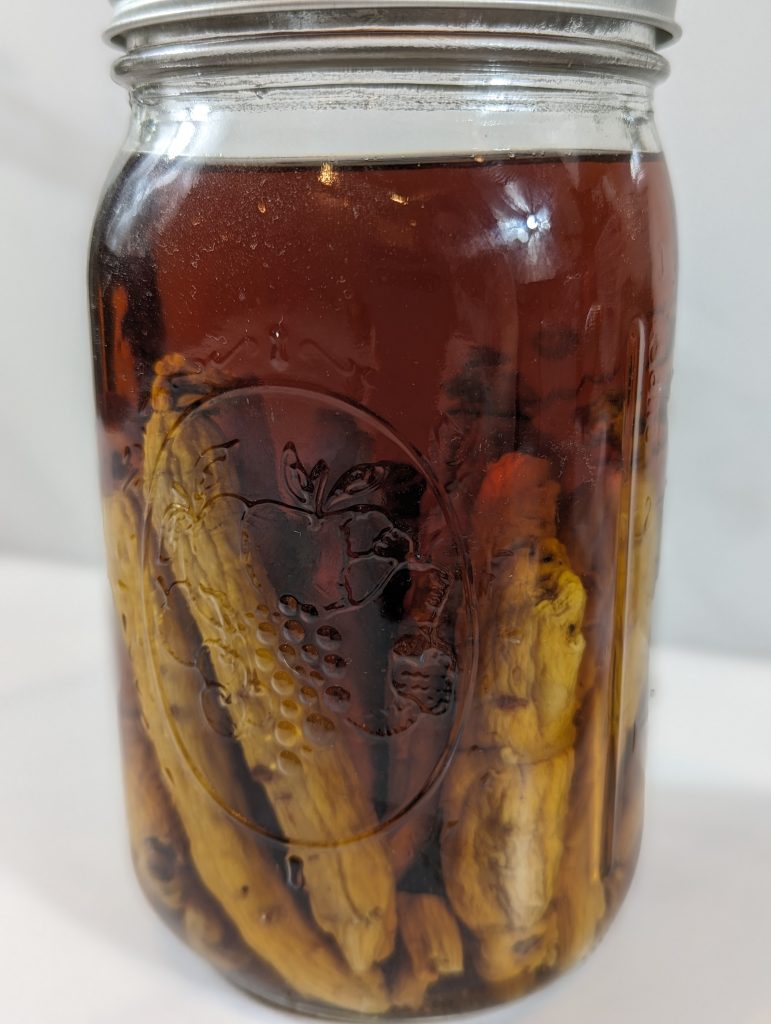
Extracting the Active Constituents: The Process
Once you’ve chosen your herbs and alcohol, the extraction process begins. This is where the magic happens—transforming raw plant material into a potent herbal remedy.
The Folk Method: Letting Time Do the Work
The folk method is a simple, tried-and-true way of extracting the healing properties of your herbs. You just fill your jar with the plant material, cover it with alcohol, and let time work its magic. Give it a good shake every day or two to help expose more surface area of the herb to the alcohol. This allows the alcohol to pull out the active constituents—the chemical compounds that give herbs their therapeutic properties.
Timing: How Long to Let It Sit
The tincture needs to sit for 4–6 weeks, although some people let theirs sit for even longer to extract a fuller range of active constituents. During this time, the alcohol extracts the medicinal compounds from the plant matter, turning it into a potent herbal remedy. The longer you let it steep, the stronger your tincture will be. Just be sure to store it in a cool, dark place to avoid the heat and light from breaking down the delicate compounds.
Shaking and Agitating the Jar
While your tincture is steeping, it’s important to shake the jar gently every few days. This helps agitate the plant material and exposes more surface area to the alcohol, ensuring a thorough extraction. You’ll notice the color of the alcohol changing over time as the plant matter releases its constituents.
Straining and Bottling the Finished Tincture
After 4–6 weeks, it’s time to strain out the plant matter. You can use a fine mesh strainer or cheesecloth to do this. Gently press the plant material to get every last drop of your tincture. Now you have a finished tincture that is ready for use! Transfer it into small glass bottles with dropper tops for easy administration.
Tips for Stronger Extracts and Longer Shelf Life
To make the most potent tinctures possible and ensure they last, there are a few important considerations and tips that can enhance both the strength and longevity of your herbal extracts.
Maximizing Potency with Higher Alcohol Strength
For a stronger tincture, it’s important to consider the alcohol strength. High-proof alcohol—such as grain alcohol—helps extract a more potent concentration of active constituents from your plant material. It also preserves the tincture better over time. If you’re working with high-moisture fresh herbs, grain alcohol (at least 150 proof) is your best choice. If you’re using dried herbs, something around 80–100 proof vodka works well, but using higher proof alcohol can increase the extraction power.
Using More Plant Material
Another way to enhance the potency of your tincture is to increase the amount of plant material in your jar. The more plant matter you include, the more of the herb’s active constituents will be available for extraction. Just be sure that your herbs are fully covered with alcohol to allow for proper extraction.
Reducing Water Content in Fresh Herbs
Fresh herbs tend to have a higher water content, which can dilute the alcohol slightly. If you’re working with fresh plants like lemon balm, consider using slightly less fresh plant material or a higher-proof alcohol. This helps keep the alcohol strong enough to pull out the full range of medicinal properties without dilution.
Storing Tinctures for Long-Term Use
Proper storage is key to preserving the effectiveness and shelf life of your tincture. After straining out the plant matter, store your tincture in dark glass bottles to protect it from light. Store it in a cool, dark place, and it will typically last for 1-3 years. Just be sure to check it periodically for any changes in color or smell, which can indicate spoilage.
Considering Alcohol-Free Tinctures
If you’re making an alcohol-free tincture, you’ll need to use apple cider vinegar or vegetable glycerin as a solvent. Keep in mind that alcohol-free tinctures usually have a shorter shelf life and may need to be stored in the refrigerator. While these tinctures are great for those who avoid alcohol, the process can be a bit slower, and the extraction may not be as strong as it would be with alcohol.

How to Use Your Tincture Effectively
Once you have your finished tincture, it’s time to start using it. Tinctures are a powerful form of herbal medicine, and it’s important to understand how to use them properly to get the best results.
Determining Dosage
The dosage of your tincture will depend on the type of herb and its intended purpose. A general rule is to start with a small dose, such as a dropperful (about 1–2 ml), and adjust as needed based on your body’s response. For most herbs, a dropperful of tincture is enough to start with. Be sure to follow any specific guidelines for the herb you’re using, especially if you’re using it for a particular health issue.
Timing and Frequency of Use
Tinctures are usually taken several times a day, depending on the strength and purpose of the herb. For example, a calming tincture like lemon balm might be taken 2–3 times throughout the day, while a tincture for digestive support may be used before or after meals. Consistency is key to seeing the health benefits of your tincture, so be sure to take it regularly as part of your herbal remedy routine.
Adjusting Dosage for Specific Conditions
If you’re using your tincture for a specific condition, such as stress relief or digestive support, you may need to adjust the dosage based on your individual needs. Some herbs are stronger than others, so pay attention to how your body reacts. If you’re unsure, start with a lower dose and gradually increase it until you find what works best for you.

Using Tinctures for Long-Term Health Benefits
Herbal tinctures are not just for immediate relief. Many people use tinctures as part of their long-term wellness plan. Whether you’re taking them to support your immune system with elderberry tincture or promote relaxation with valerian root, tinctures can provide steady, gentle support over time. Be patient, as some herbs take a bit longer to show noticeable effects.
Safety Considerations and Allergic Reactions
As with any herbal medicine, it’s important to be aware of potential allergic reactions. If you’re trying a new herb, start with a small dose and watch for any signs of an adverse reaction, such as itching, swelling, or digestive upset. If you have concerns about using a specific herb, consult with a healthcare professional, especially if you’re pregnant, nursing, or taking prescription medications.
Final Thoughts and Conclusion
Making your own herbal tinctures is a rewarding and empowering way to connect with plant medicine and create your own herbal remedies at home. With the right ingredients and a bit of patience, you can harness the power of healing herbs to support your health and well-being.
Remember, the process of making a tincture is simple, but it requires time and attention to detail. Whether you choose fresh herbs or dry herbs, high-proof alcohol or an alcohol-free option, each tincture you create holds the potential for healing and nurturing your body naturally.
If you’re interested in learning more about making tinctures, herbal remedies, and other aspects of herbalism, be sure to check out my YouTube channel. I share demonstrations of making tinctures and many other herbalism tutorials to help you feel more confident in crafting your own plant medicine.
So, get started today, and enjoy the process of creating your own potent herbal extracts—it’s a beautiful way to embrace the healing power of nature!
-
Easy Herbal Conditioner Bar Recipe with Chamomile & Calendula
Easy Herbal Conditioner Bar Recipe with Chamomile & Calendula This herbal conditioner bar recipe combines nourishing oils, cocoa butter, BTMS-50, and vitamin B5 for soft, manageable hair. It also features chamomile-infused coconut oil and calendula-infused olive oil for a special herbal touch. Unlike traditional bottled conditioner, solid conditioner bars are highly concentrated and require very…
-
The Best DIY Honey Foaming Face Wash | Glowing, Healthy Skin
The Best DIY Honey Foaming Face Wash for Glowing, Healthy Skin A Simple, Gentle Daily Cleanser You Can Feel Good About I have tried many cleansers over the years, both as a nurse and a busy mom. However, I kept coming back to simple, nourishing ingredients. This honey foaming face wash has become a favorite…
-
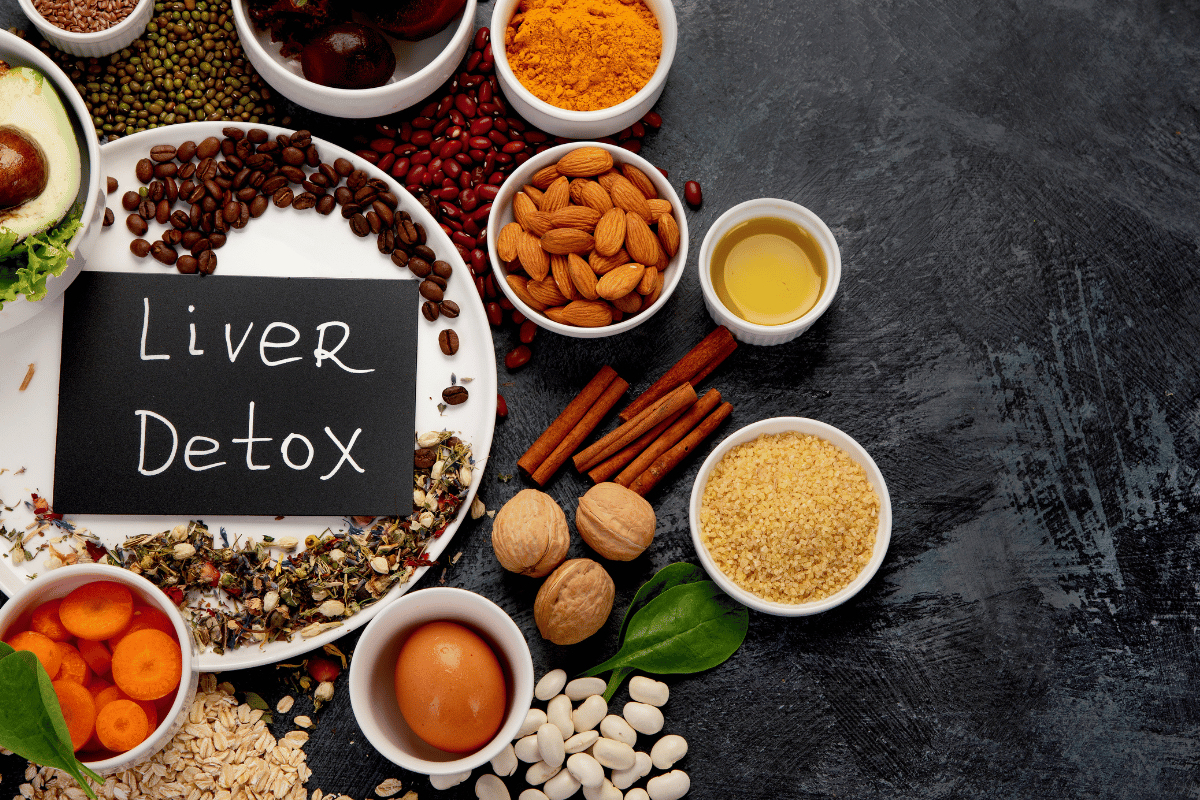
Simple Gentle Liver Detox Tea Recipe (Natural & Nourishing)
Gentle Liver Detox Tea Recipe (Natural and Nourishing) A Simple Way to Support Your Body Naturally As the seasons begin to shift, I often notice my body asking for a slower, gentler reset. After months of heavier foods and busy days, everything can start to feel a little sluggish. Instead of turning to harsh detoxes,…
-
Easy Apple Cinnamon Baked Oatmeal Recipe
Apple Cinnamon Baked Oatmeal Recipe This apple cinnamon baked oatmeal recipe is one of those breakfasts that brings calm to busy mornings. I started making baked oatmeal when I needed something nourishing that could feed my family without extra work. This recipe comes together quickly, uses simple pantry staples, and bakes while the rest of…
-
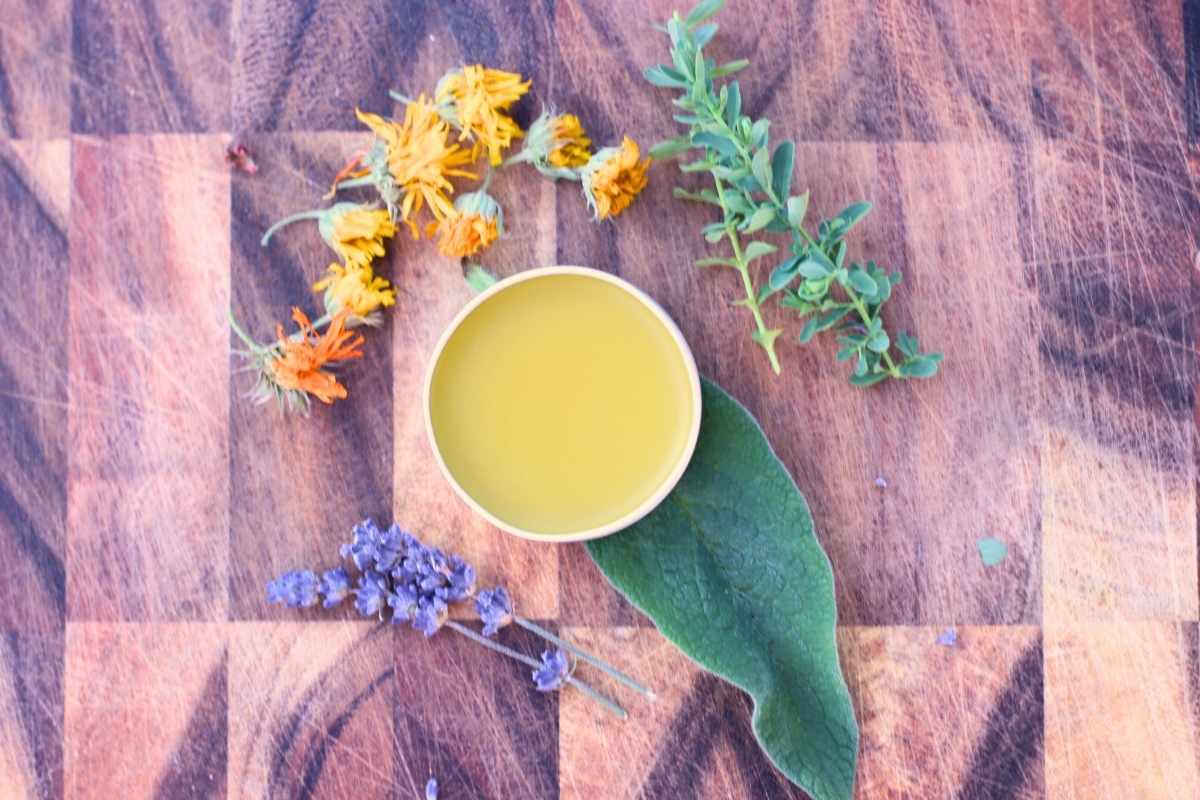
Herbal Calendula and Chamomile Sugar Scrub
Herbal Calendula and Chamomile Sugar Scrub There is something deeply satisfying about making simple body care products with herbs you already know and trust. Over time, I’ve learned that our skin responds best to gentle, nourishing ingredients, especially when they come straight from the apothecary shelf or pantry. This calendula chamomile sugar scrub is one…
-
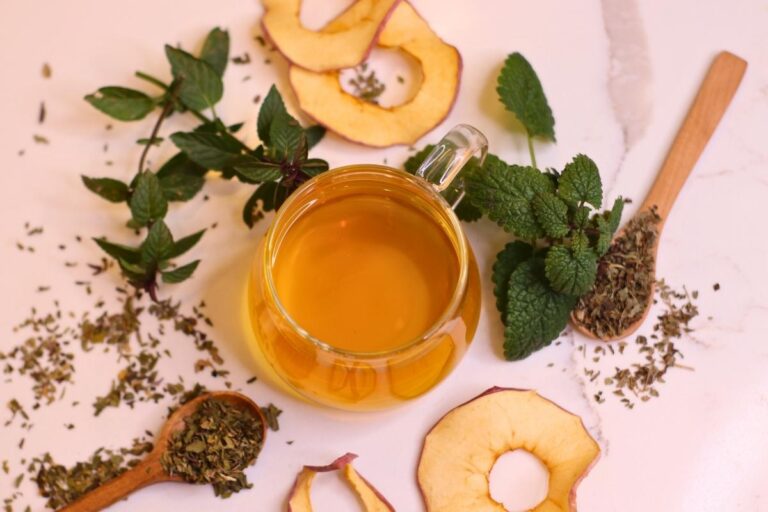
Apple Mint and Lemon Balm Calm Tea
Apple Mint and Lemon Balm Calm Tea A Gentle, Comforting Blend for Stressful Days When the day feels a little too loud, or your mind just won’t slow down, apple mint and lemon balm calm tea is one of my favorite ways to create a pocket of peace. As a mom of five and an…