Elderberry Syrup Recipe Without Honey: Easy and Free Recipe
Jump to RecipeLooking for an elderberry syrup recipe without honey that’s both easy to make and budget-friendly? You’re in the right place! This syrup is perfect for those who want to enjoy the immune-boosting benefits of elderberries without the added sweetness of honey. Whether you’re preparing for the flu season or just want a natural remedy to keep on hand, this simple recipe is a great way to support your family’s health. Plus, making your elderberry syrup allows you to control the ingredients and avoid the extra cost of store-bought versions.

Health Benefits of Elderberries
First of all, I can’t say enough good things about elderberries. These small, dark berries from the Sambucus nigra (elder tree) have been used for centuries in folk medicine. Elderberries are particularly known for their ability to support the immune system, which is exactly why I make sure to have some form of elderberry on hand, especially during flu season. Rich in vitamin C and antioxidants, elderberries help boost immunity and fight off cold and flu symptoms naturally.
One of the best parts about making your own elderberry syrup is that you can control the ingredients, which is so important if you’re trying to avoid raw honey. For those with young children or anyone with a honey allergy, using maple syrup as a sweetener ensures that you can still enjoy the syrup safely. Plus, adding apple cider vinegar can prolong the shelf life of your syrup, so you can enjoy its benefits for longer.
This post may contain affiliate links, meaning I could earn a small commission at no extra cost to you if you choose to purchase through them, which helps support my blog and keeps these recipes free. For more details, please see our Terms and Conditions page.
Ingredients Overview
Now, let’s talk about what you’ll need for this homemade elderberry syrup recipe. I love to keep things simple and natural, and this recipe is just that. Plus, the addition of maple syrup instead of raw honey makes this syrup safe for babies under 1 and those with honey allergies.
Elderberries: Dried vs. Fresh
When making elderberry syrup, you have the option to use either dried elderberries or fresh elderberries. Both types have their own benefits, so it really comes down to what you have on hand and your personal preference.
I typically opt for dried elderberries because they are shelf-stable and easy to store long-term. This means I can make a batch of syrup anytime, regardless of the season. Dried elderberries also have a more concentrated flavor because the water has been removed, so you often need fewer of them to achieve the same potency as fresh ones. You can easily find dried elderberries in health food stores or online, making them a convenient option.
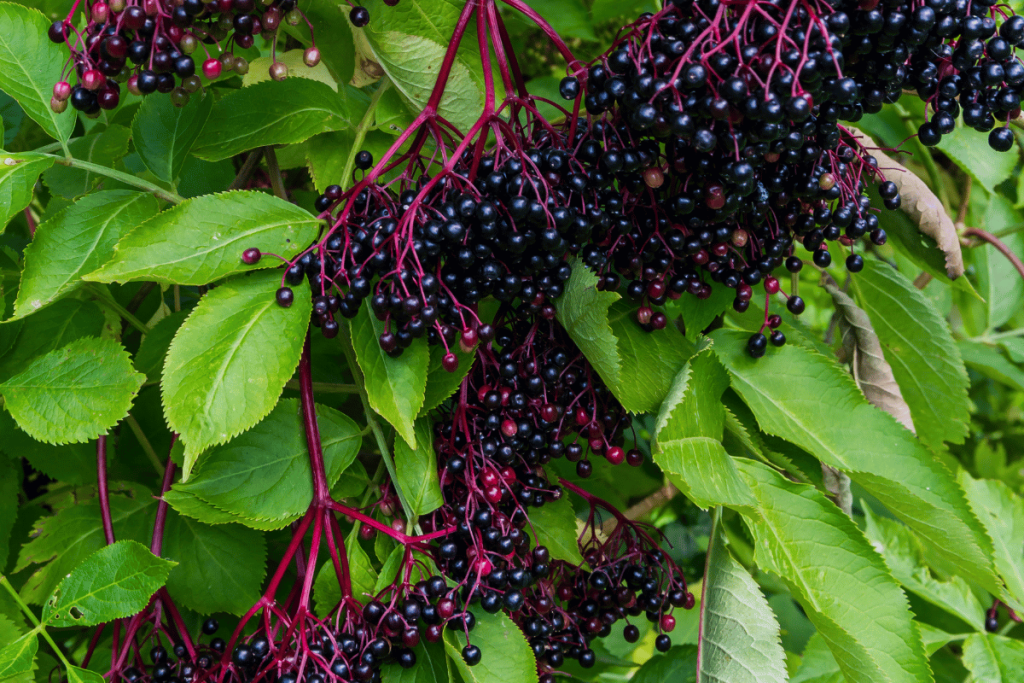
On the other hand, if you have access to fresh elderberries—maybe you grow your own elderberries or pick them up at the local farmer’s markets—they can be a great choice, especially during the harvest season. Fresh berries are rich in nutrients and can give your syrup a slightly more vibrant flavor. However, they need to be used relatively quickly before they spoil, or you can freeze them for later use.
Whichever option you choose, both dried and fresh elderberries work wonderfully in this immune-supportive recipe. The key is to ensure that the elderberries are ripe and free of stems, as unripe berries can be toxic.
Caution: Whether you’re using fresh berries or dried elderberries, it’s important to remember that raw elderberries should never be consumed directly. Uncooked berries, particularly unripe berries and their stems, contain toxic compounds that can cause nausea, vomiting, and other serious symptoms. Always cook elderberries thoroughly to ensure they’re safe for consumption, which is why this syrup recipe is perfect for transforming them into a delicious syrup packed with health benefits.
Herbs and Spices
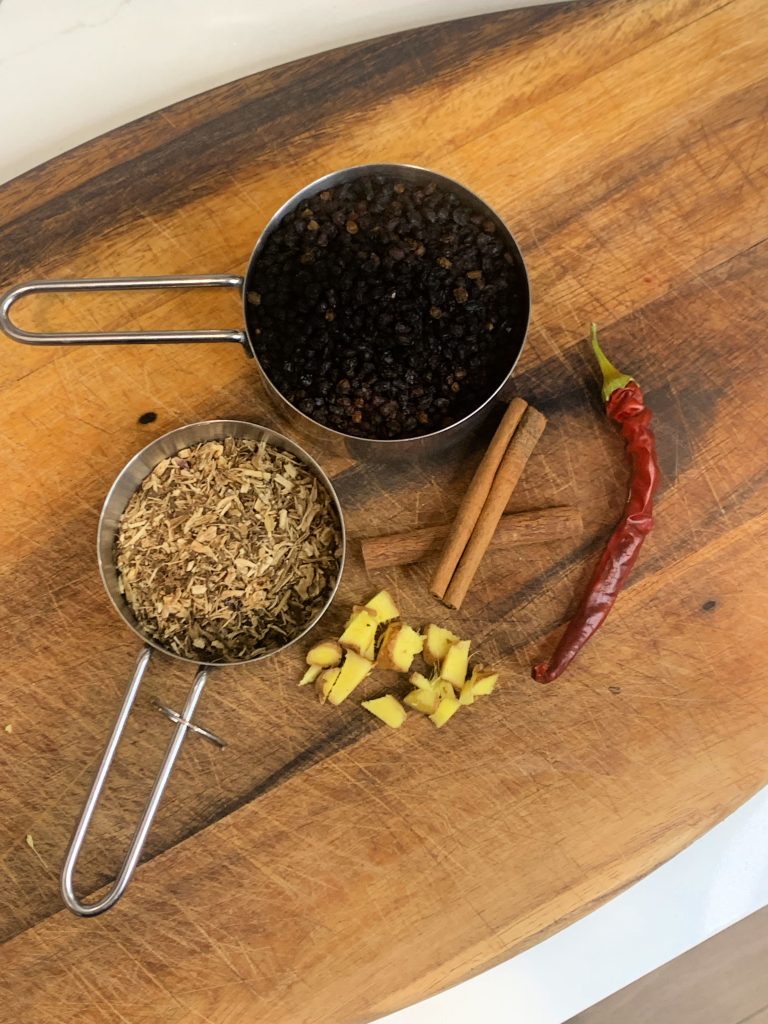
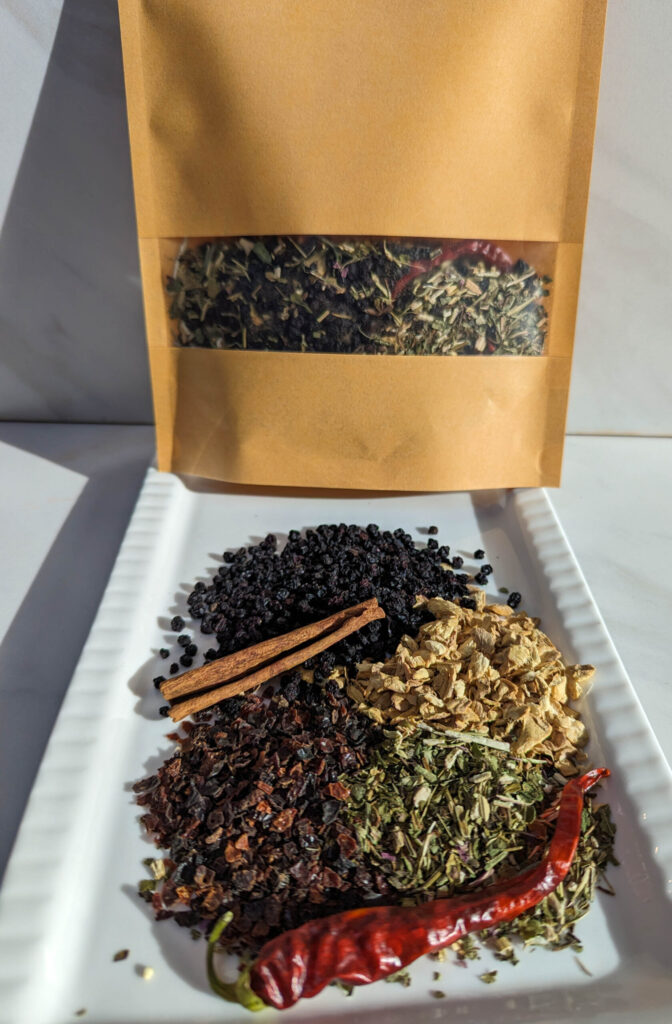
To boost the medicinal benefits and flavor, I like to add echinacea root, rosehips, fresh ginger, cinnamon sticks, and a dried cayenne pepper for a bit of warmth. This combination creates a powerful immune-supportive syrup.
Sweeteners
Since we’re making this syrup without honey, we’ll use pure maple syrup instead. It adds a smooth, sweet flavor that balances the herbs beautifully and is completely safe for babies under 1. You can adjust the amount to your preference, making it sweeter or more herbal, depending on your taste.
Additionally, if you’re planning to make a big batch of this syrup, consider adding apple cider vinegar to help extend its shelf life. This natural preservative can keep your syrup fresh for even longer, ensuring it’s ready whenever your family needs it.
Save for Later!
Elderberry Syrup Recipe Without Honey: Step-by-Step Instructions
Here’s my go-to elderberry syrup recipe that I’ve perfected over time. It’s both simple and effective, and you’ll end up with a delicious, immune-boosting syrup that’s safe for the whole family.
Equipment
You’ll need a stock pot and a mesh strainer to make the syrup. These tools help you extract all the goodness from the herbs and berries without making a mess.
Ingredients
I use a combination of elderberries and other immune-boosting herbs in this recipe, making it a powerful ally during cold and flu season. And, of course, instead of honey, we’ll be using maple syrup.
- 5 cups water
- 1 cup dried elderberries (organic is always best when possible)
- 1 tablespoon fresh ginger (can substitute with dried)
- 1/4 cup echinacea root
- 1/4 cup rosehips
- 2 sticks cinnamon
- 1 medium dried cayenne pepper (can crush before adding)
- 1 cup pure maple syrup (adjust to taste)
- Optional: 1 tablespoon apple cider vinegar or fresh lemon juice (to help extend shelf life)
Instructions
Prepare the Water and Herbs
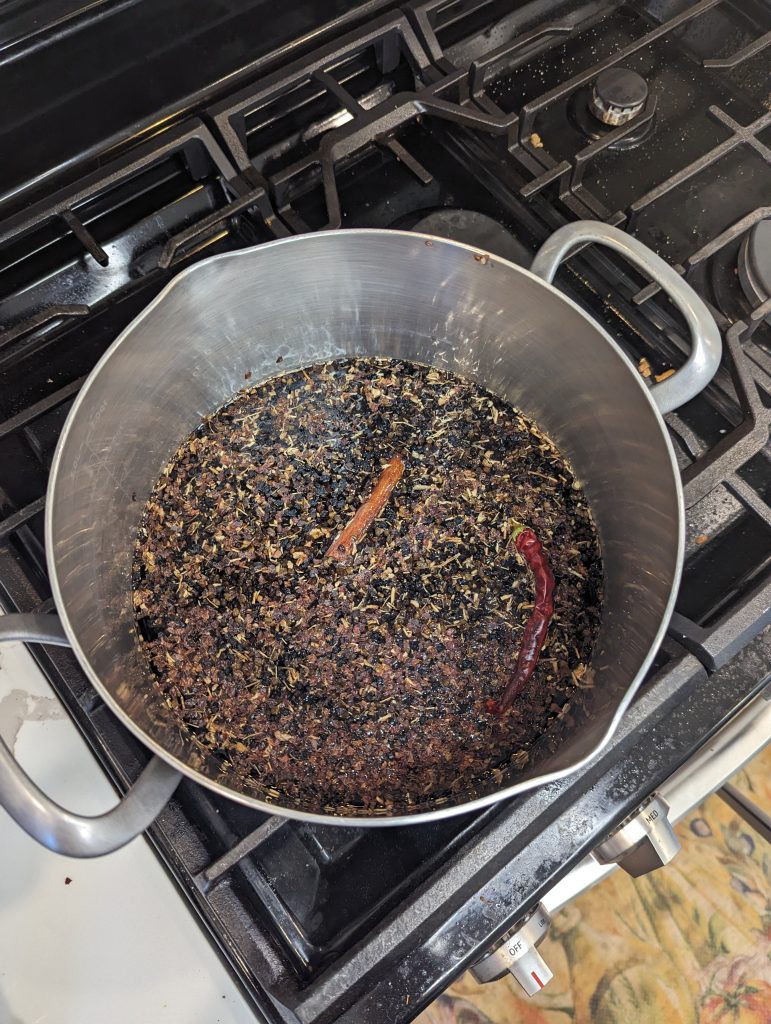
Start by pouring the 5 cups of water into your stock pot over medium to low heat. Add the elderberries, echinacea root, rosehips, ginger, cinnamon sticks, and the dried cayenne pepper. Give it a quick stir to combine.
Simmer the Mixture
Let the mixture come to a gentle simmer. This process usually takes about 2 hours. You’ll know the syrup is done when the cinnamon sticks have opened up, and the water level has reduced by at least 1 cup.
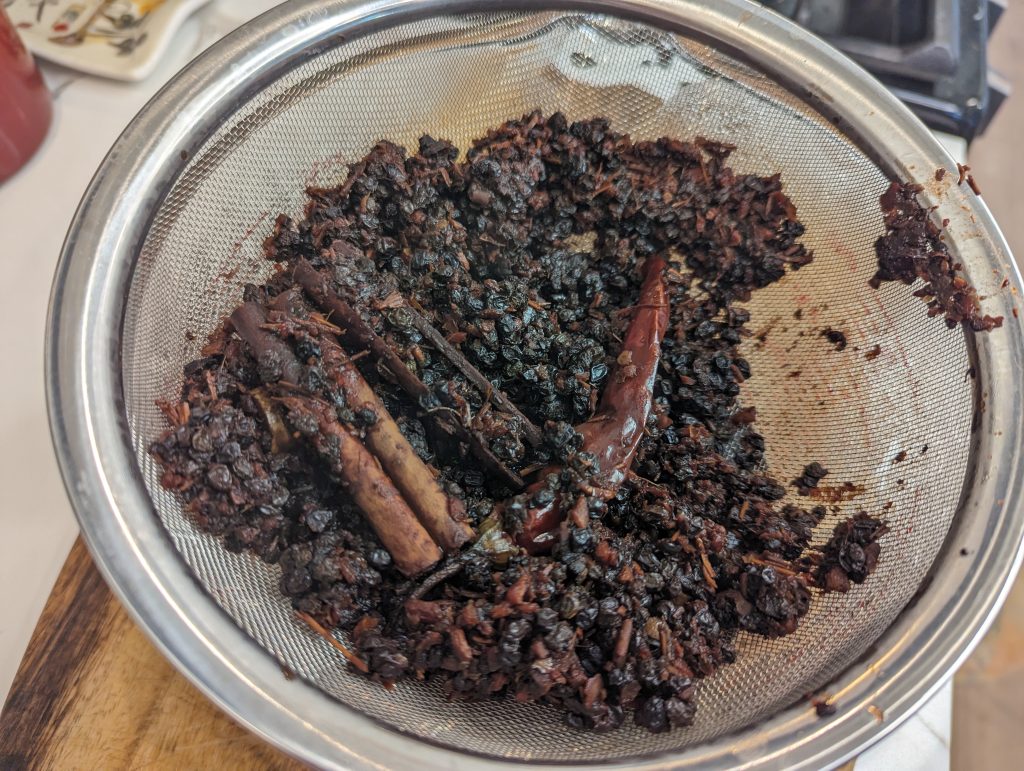
Strain the Syrup
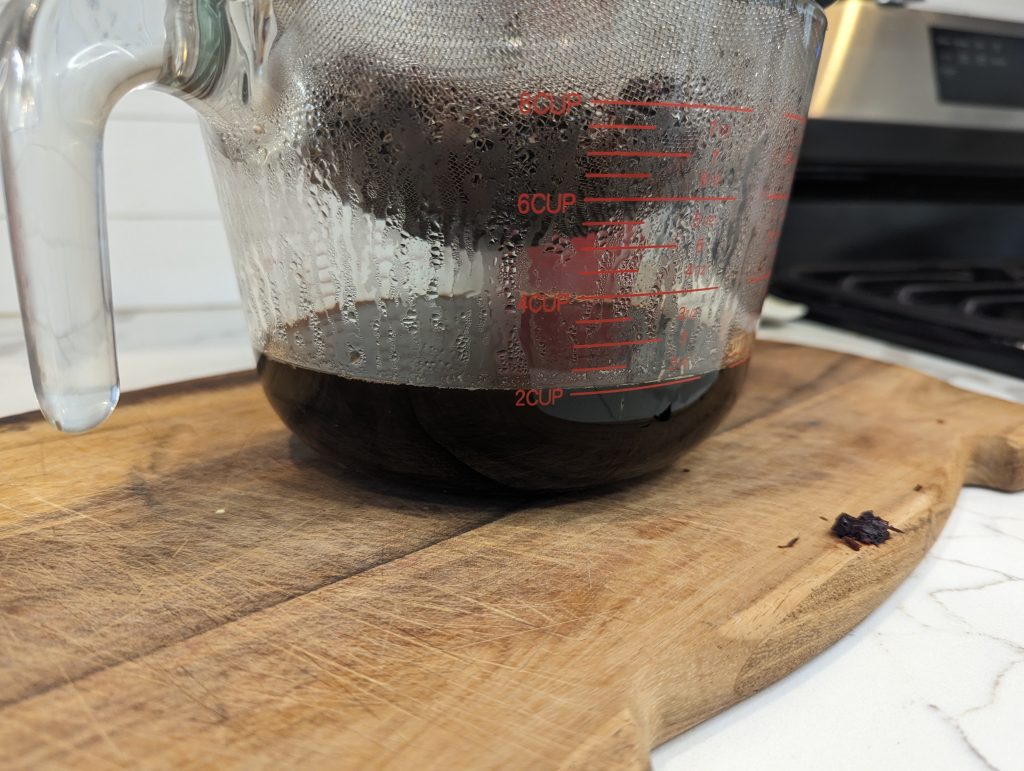
Once the syrup is ready, strain the mixture through a mesh strainer into a large measuring cup or bowl. Be sure to press down on the herbs and berries to extract as much liquid as possible.
Cool and Sweeten
Allow the mixture to cool to about 100℉ before adding your maple syrup. If you’re using apple cider vinegar for added shelf life, stir that in as well. Pour the strained syrup into a quart jar and mix until the maple syrup (and vinegar, if using) are fully combined.
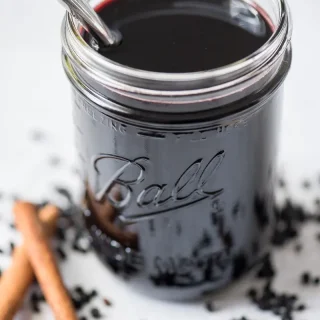
Store Your Syrup
Once your syrup has cooled completely, apply a leak-proof lid to your jar and store it in the fridge. Thanks to the addition of maple syrup and apple cider vinegar, your elderberry syrup can last up to 6 months in the fridge, ready to support your family’s immune health whenever needed.
Tips for Best Results
To get the most out of your elderberry syrup, consider making a big batch and freezing portions in ice cube trays. This is especially useful during flu season when you want quick and easy doses on hand.
Also, remember that using maple syrup makes this syrup safe for babies under 1 year old and for those with honey allergies, while still offering that lovely sweetness. Adding apple cider vinegar can also help extend the syrup’s shelf life, so you won’t have to worry about it spoiling before you use it all up.
Why Make Your Own Elderberry Syrup?
Making your own elderberry syrup is a wonderful way to control the ingredients and ensure the syrup is as natural as possible. Plus, when you make your own, you avoid the added costs and preservatives of store-bought elderberry syrup.
The best part? By using pure maple syrup, you can make this syrup safe for the entire family, including young children. It’s also a great option for those avoiding honey due to allergies. And with the addition of apple cider vinegar, you can be confident your syrup will last a little longer in the fridge.
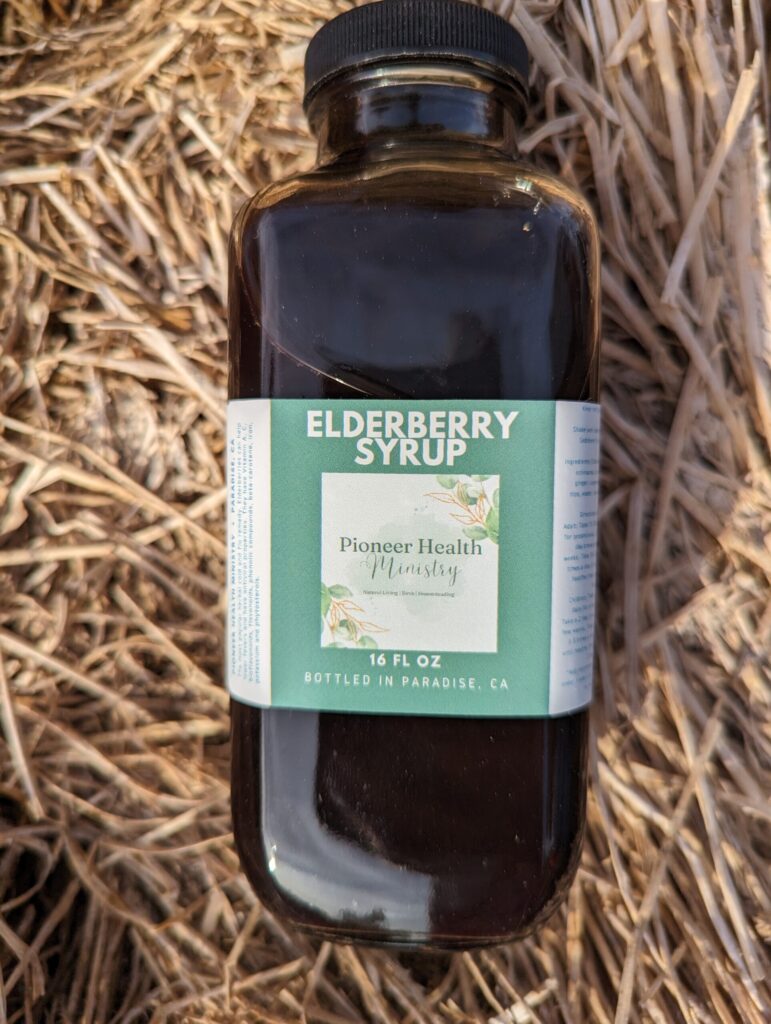
I also offer elderberry syrup quick kits on our online shop that have the herbs already measured out for you and include a brew bag for even easier use and cleanup. You can then add in your sweetener of choice.
Elderberry Syrup without Honey
Equipment
- 1 stock pot
- 1 mesh strainer
- 1 air tight container
Ingredients
- 5 cups water
- 1 cup dried elderberries organic is always best when possible
- 1 tablespoon fresh ginger can substitute with dried
- 1/4 cup echinacea root
- 1/4 cup rosehips
- 2 sticks cinnamon
- 1 medium dried cayenne pepper can crush before adding
- 1 cup pure maple syrup adjust to taste
- Optional: 1 tablespoon apple cider vinegar or fresh lemon juice to help extend shelf life
Instructions
- Pour 5 cups of water into a stock pot and set it over medium to low heat.
- Add in the herbs.
- Stir the ingredients briefly, then bring the mixture to a simmer over low heat.
- Allow the syrup to simmer gently until the water level has reduced by at least 2 cups and the cinnamon sticks have opened up. This usually takes about 2-3 hours.
- Once finished, strain the mixture through a fine mesh strainer into a large measuring cup or bowl. Press down on the herbs and berries to extract as much liquid as possible.
- Let the mixture cool slightly.
- While the syrup cools, add 1 cup of pure maple syrup to a airtight jar. For longer shelf life, you can also stir in 1 tablespoon of apple cider vinegar. or lemon juice.
- Once the mixture has cooled, pour it into the jar with the maple syrup and stir well to combine.
- Seal the jar with an airtight lid and let the syrup cool completely.
- Store in the refrigerator.
- Enjoy your homemade elderberry syrup!
Video
Other Elderberry Recipes and Uses
There are so many ways to use elderberry syrup beyond a daily tonic. I love to make elderberry gummies—my kids love them, and it’s a fun way to sneak in some immune support. You can also create an elderberry tincture, elderberry extract, or even add the syrup to your favorite elderberry tea for an extra boost.
Last year, I made an elderberry syrup that I absolutely loved, and it’s still a favorite recipe in our home. Whether you like experimenting or sticking to the basics, making your own syrup is an incredibly rewarding way to care for your family’s health naturally.
Overview
I hope you love this elderberry syrup recipe without honey as much as I do! It’s safe for the whole family, including little ones under a year old, and using maple syrup ensures that everyone can enjoy it without worry. Plus, with the optional addition of apple cider vinegar, you can keep your syrup fresh for months.
Let me know how your syrup turns out! And don’t forget to check out the recipe card below for quick reference. Happy syrup-making!