The Best Guide to Starting Seeds Outdoors: Tips and Tricks
The Joy of Starting Seeds Outdoors
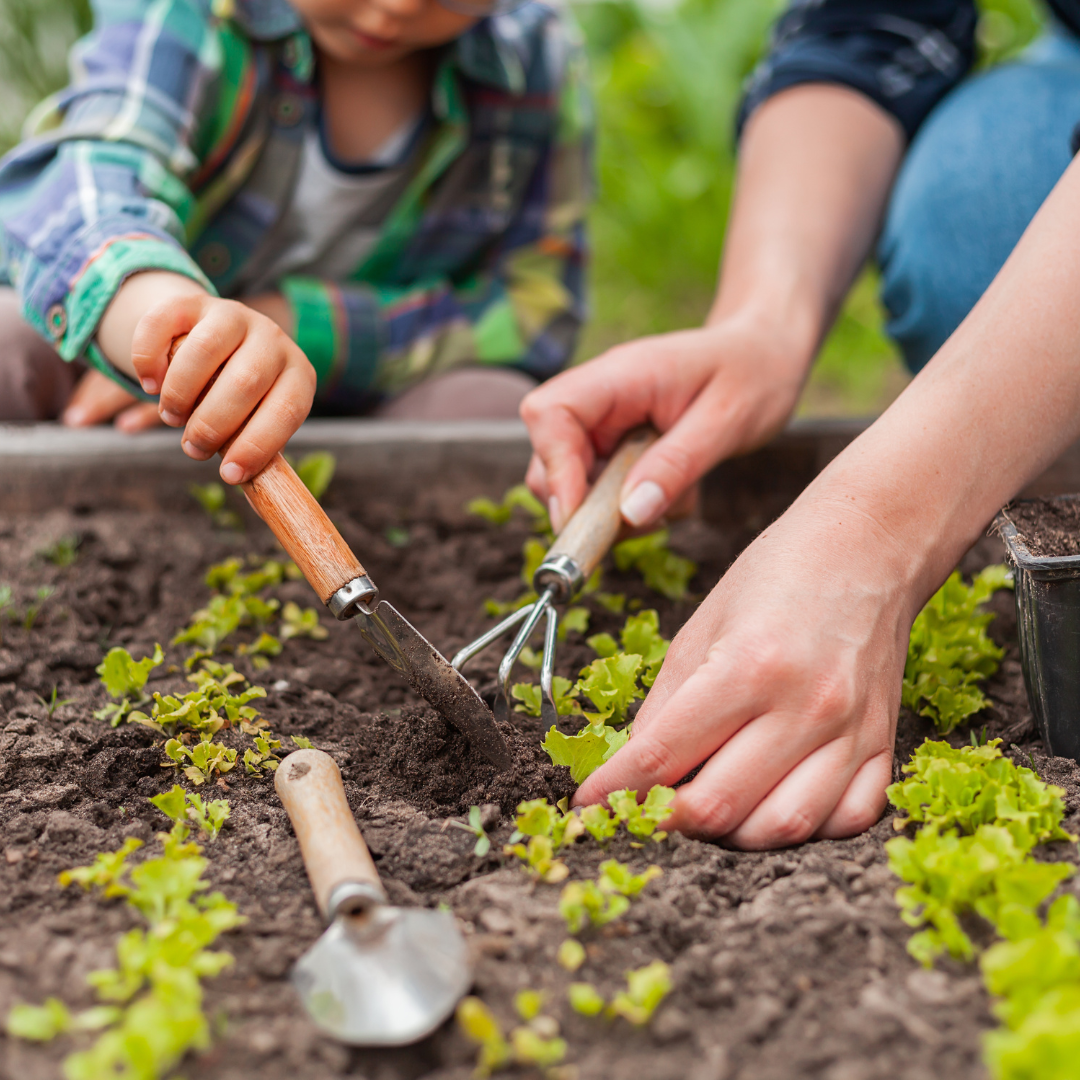
Starting seeds outdoors is a rewarding way to launch your gardening journey. Few things compare to watching a garden grow from seeds you planted yourself. With each sprout, there’s a new feeling of accomplishment. Growing from seed lets you care for each plant from the start, making the experience even more satisfying. Soon, you’ll enjoy fresh vegetables or vibrant flowers that you nurtured from the ground up.
Simple Steps for Outdoor Seed Starting
Starting seeds outdoors is simple if you follow the right steps. First, choose seeds that do well in your hardiness zone. Next, prepare the soil and pick a sunny spot. Timing matters too, so plant your seeds after the last frost date. Once your seeds are in the ground, water them well and keep an eye on the temperature. With the right care, those seeds will begin to sprout, bringing your garden to life.
Benefits of Outdoor Seed Starting
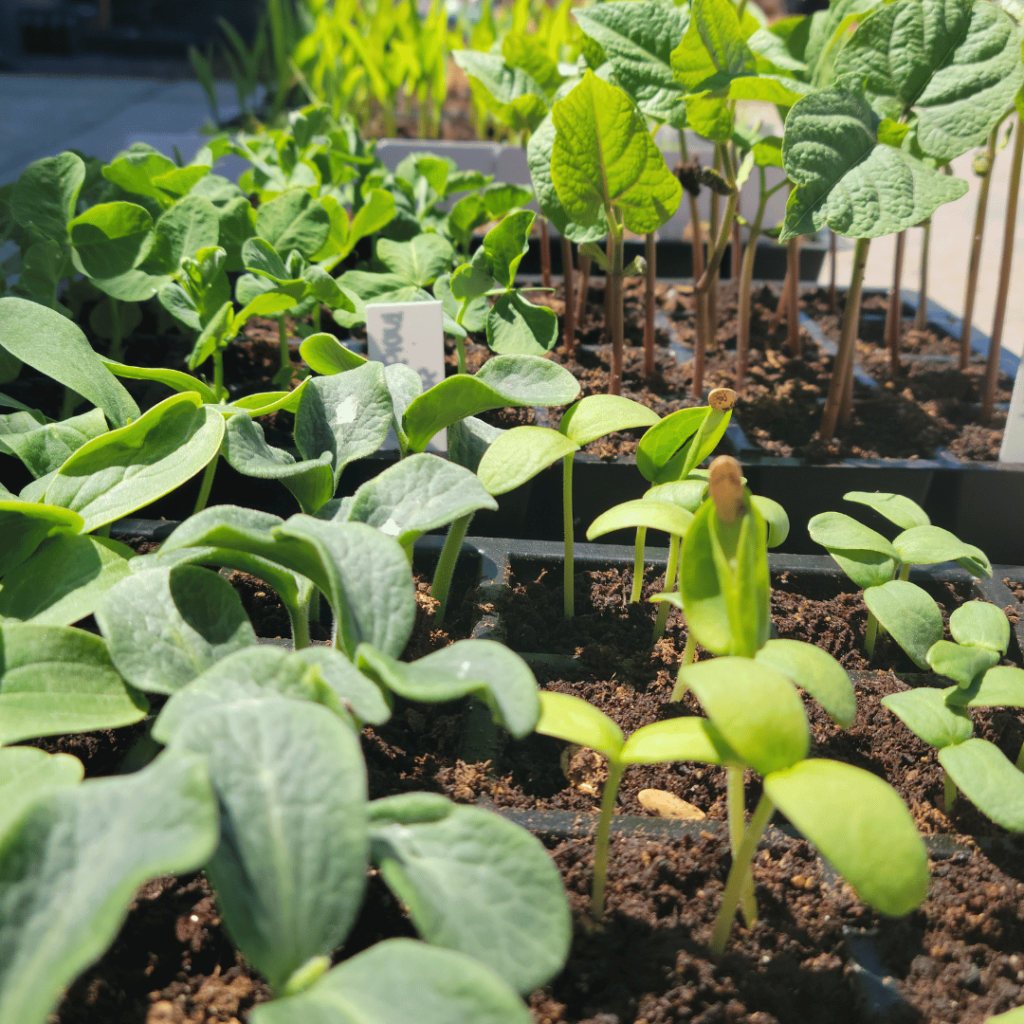
Starting seeds outdoors is a great choice for gardeners in many climates. This method saves indoor space and avoids the need for seed trays, grow lights, or heat mats. Plants that start outdoors also grow strong because they adapt to outdoor conditions from the beginning. Since they’re already where they’ll grow, they won’t go through the stress of transplanting.
For anyone with limited indoor space, starting seeds outdoors is a game-changer. It lets you grow healthy plants without cluttering your home with equipment. Starting seeds outdoors also connects you more closely to the natural cycle of gardening. There’s something special about planting seeds in the soil and seeing them transform.
Starting seeds outdoors makes gardening simpler, easier, and much more rewarding. And with each small plant that grows, you’ll feel the joy that only gardening can bring.
Understanding Outdoor Seed Starting Basics
Direct Sowing vs. Indoor Starting
When starting a garden, one of the first decisions is whether to sow seeds directly outdoors or start them indoors. Direct sowing means planting seeds directly into the garden soil where they’ll grow. This method works well for certain types of plants, especially those that don’t handle transplanting well. Hardy plants, like beans, carrots, and leafy greens, often thrive with direct sowing since they prefer staying in one place from the beginning.
Direct sowing is also simpler than indoor starting. Without the need for trays, grow lights, or indoor space, this approach makes gardening more accessible. When the seeds go directly into the soil, they adapt to their environment right away, developing stronger roots and better resistance to outdoor conditions. For gardeners with limited indoor space, direct sowing is a practical and efficient choice.
Choosing the Right Seeds for Outdoor Sowing
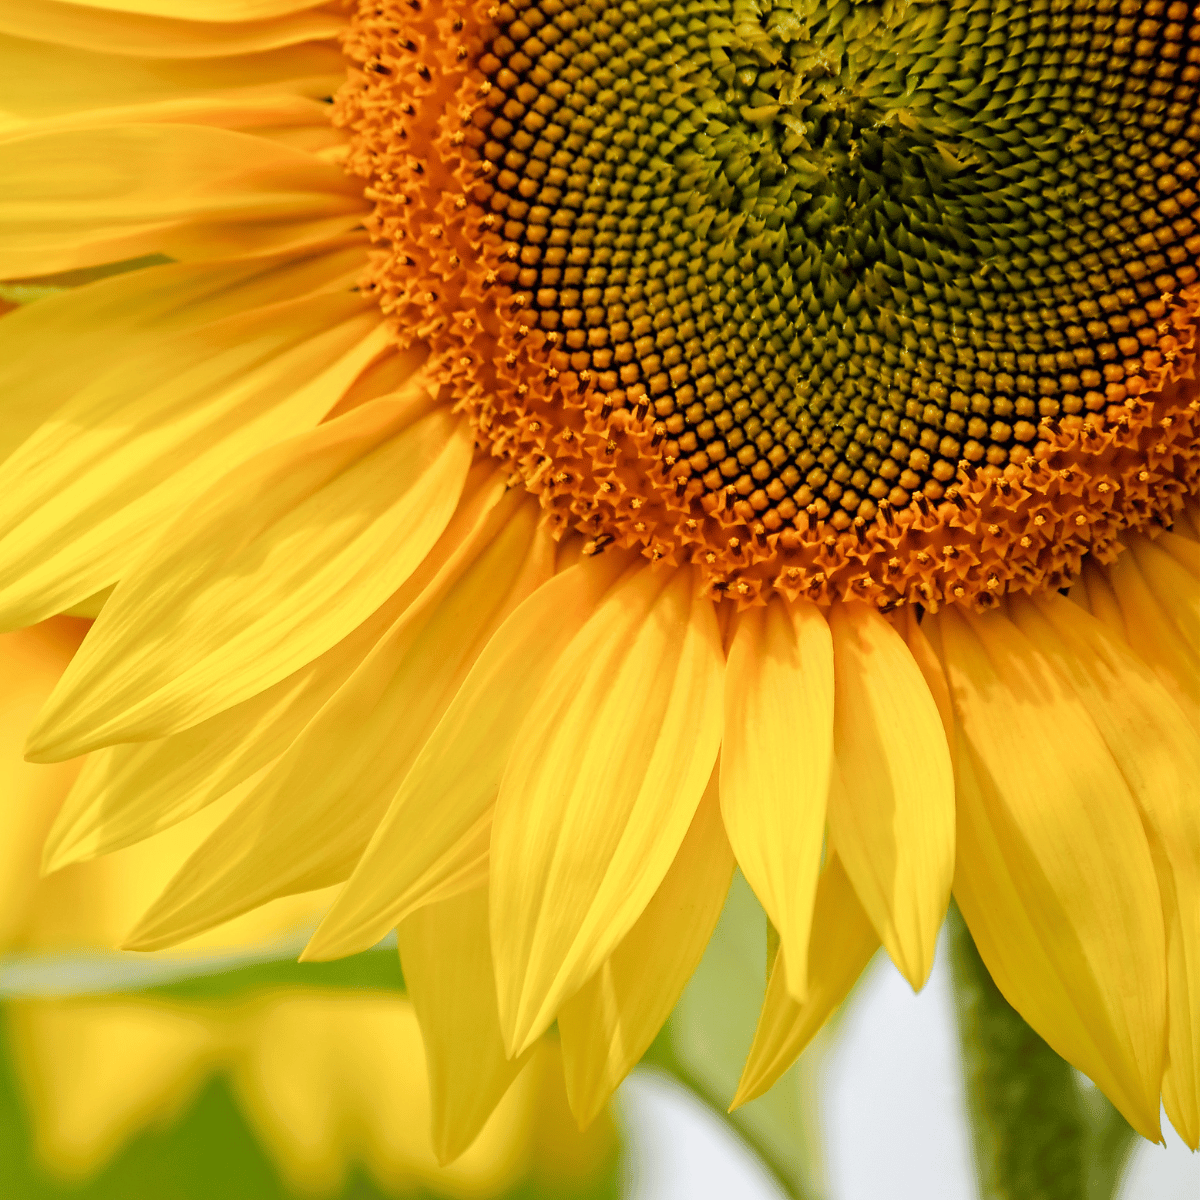
Not all seeds are suited for direct sowing, so it’s important to choose hardy plants that can withstand outdoor conditions. Hardy annuals like sweet peas, morning glories, sunflowers, and radishes are ideal choices for outdoor seed starting. These plants can tolerate cooler temperatures and don’t need the head start that delicate plants, like tomatoes or peppers, often require indoors. For beginner gardeners, focusing on hardy seeds can lead to a more successful outdoor growing experience.
Larger seeds are also easier to plant and care for when direct sown. Peas, beans, and sunflowers, for instance, germinate well outdoors without needing indoor care. By choosing hardy seeds, you’ll make the process simpler and more rewarding.
Best Timing & Hardiness Zones
Timing is key when starting seeds outdoors. For most plants, you’ll want to wait until the last frost date has passed. Knowing the last frost date in your area is essential, as planting too early can expose seeds to damaging cold. Many gardeners check their zip code and hardiness zone to find the best planting times for their region.
Hardiness zones also provide important information about your area’s climate, helping you choose seeds that will thrive in those conditions. Early spring is the best time to start seeds for hardy plants, while delicate plants may need to wait until temperatures are warmer. Understanding your hardiness zone and last frost date will help you plan for successful outdoor seed starting, ensuring your garden gets off to a strong start.
A great website to check for your zone is USDA Plant Hardiness Zone Map.
Preparing for Seed Starting Outdoors
Selecting the Right Spot for Seed Starting
Choosing the best location for starting seeds outdoors is essential for healthy, vigorous plants. Ideally, find a south-facing garden spot or window that gets plenty of direct sunlight. Sunlight is crucial for seedlings because it supports strong growth, helping prevent the leggy, weak stems that develop without enough light. A bright, sunny location also keeps the soil warm, encouraging steady germination. When seeds get at least 6-8 hours of sunlight a day, they develop into strong, resilient plants ready for the garden.
Options for Seed Starting Containers
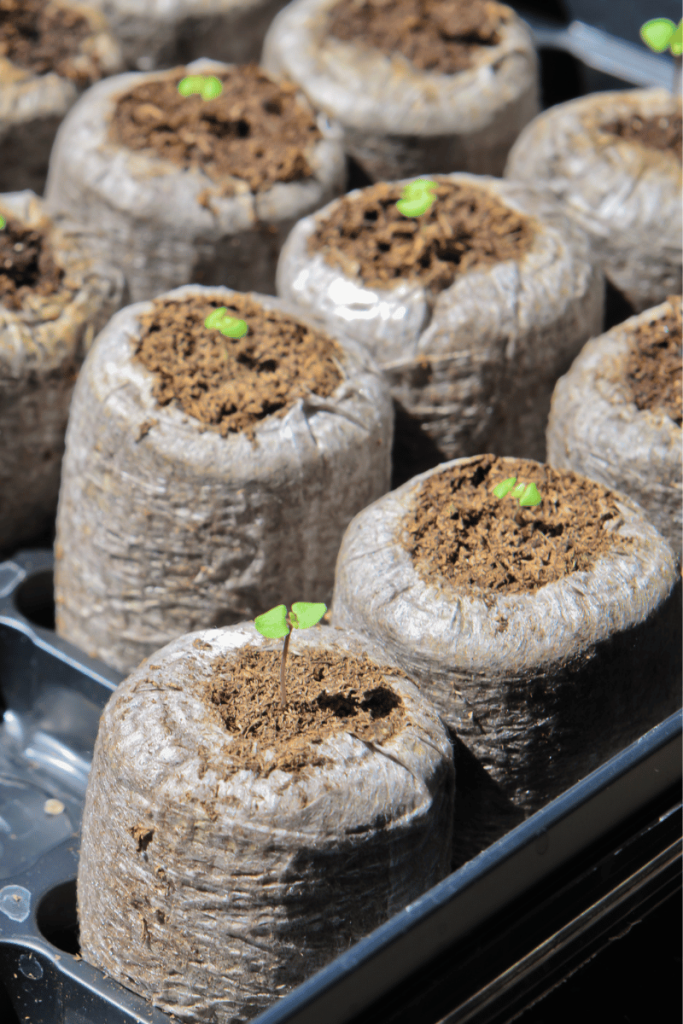
There are several practical options for seed starting containers, each with unique benefits. Seed trays and solid trays are excellent for planting many seeds at once, keeping seedlings organized and easy to care for. Peat pots are another good choice, especially if you want an eco-friendly container that can go straight into the soil without disrupting roots. Milk jugs can also make excellent mini-greenhouses, keeping seeds warm and protected during cooler nights. These containers allow you to start seeds early and transplant them later if needed, especially in unpredictable weather.
Choosing the Right Soil
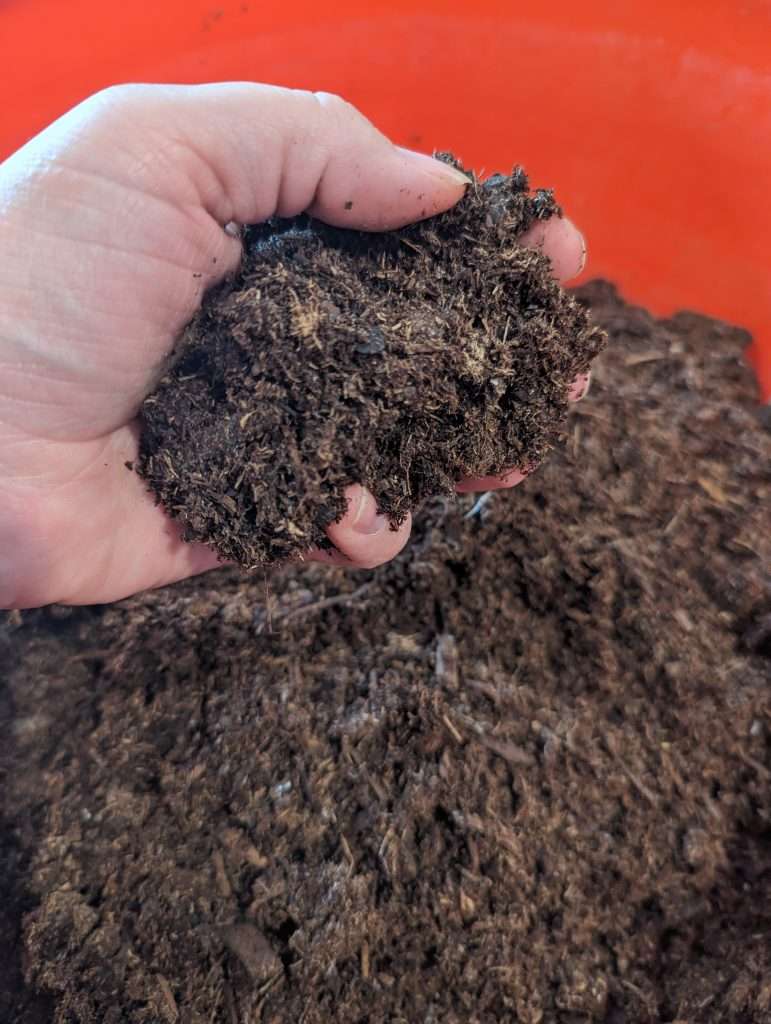
Selecting the right soil is one of the most important steps for successful seed starting outdoors. A seed-starting mix or sterile growing medium is ideal because it’s lightweight, well-draining, and free of disease. Unlike regular garden soil, a sterile mix reduces the risk of fungal diseases that can harm seedlings. Seed-starting mixes are also designed to hold the right balance of moisture and air, helping seeds germinate evenly. Using high-quality soil will give your seeds the best start, making a big difference in their overall health and growth.
Prepping the Soil Surface for Direct Sowing
If you’re planting seeds directly into the outdoor garden soil, prepare the soil surface first. Start by clearing any weeds, rocks, or debris that could disrupt seedling growth. Loosen the top few inches of soil with a rake or garden fork, ensuring it’s well-drained and free of clumps. For seeds that need a specific planting depth, create small furrows or shallow holes to match their requirements. Prepping the soil helps seeds establish themselves quickly, leading to strong, healthy plants that grow evenly in the garden.
Planting Techniques for Outdoor Seed Starting
Reading Seed Packets for Depth & Spacing
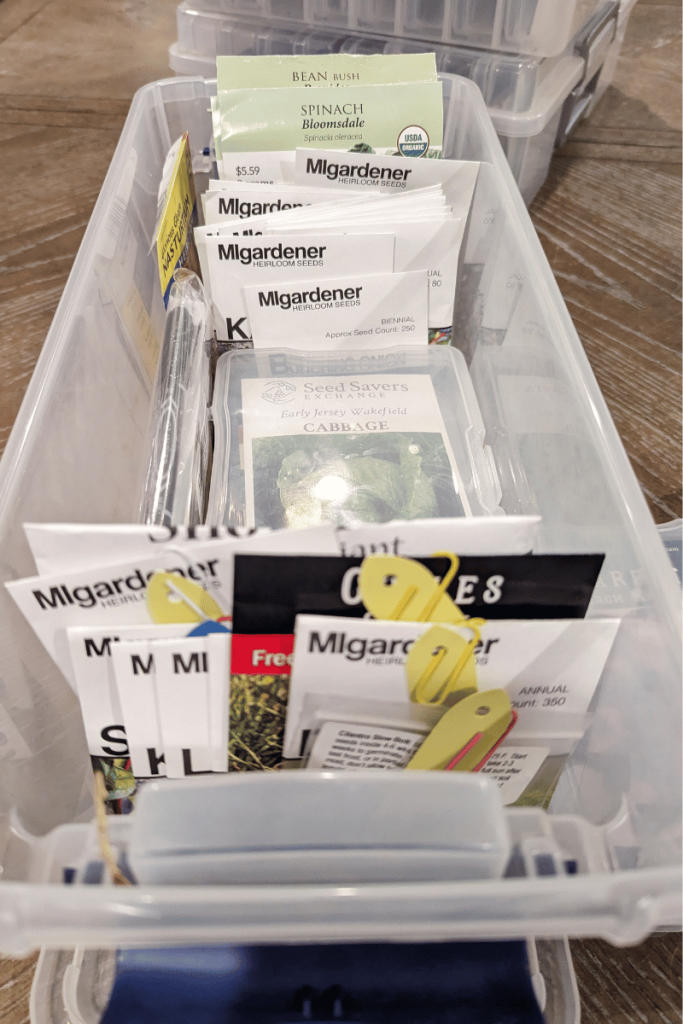
Seed packets are full of helpful information to guide your planting. Each type of seed has specific requirements for depth and spacing to ensure it grows well. Planting depth is important because seeds need the right amount of soil covering to germinate properly. Larger seeds, like peas or beans, usually go deeper, around 1 to 2 inches below the soil surface. Smaller seeds, like lettuce or carrots, only need a light covering, often less than 1/4 inch.
Spacing is also key for direct-sown seeds. Seeds planted too close together will compete for sunlight, water, and nutrients, which can slow growth. Follow the spacing guidelines on the seed packet to give each seedling the room it needs to thrive. These guidelines are a quick and reliable way to set your seeds up for success.
Handling Tiny and Very Small Seeds
Tiny seeds, such as carrots or lettuce, need a gentle touch when planting. One way to handle very small seeds is by sowing them in small groups. Sprinkle them in straight rows for easier management, which also helps with thinning later on if too many seeds sprout close together. Another technique is mixing tiny seeds with sand before planting. This can help you spread them more evenly over the soil, preventing overcrowding and making it easier to maintain even spacing.
Patience is key with small seeds, as they require close attention during planting and sprouting stages. Small seeds might take longer to establish, but the results are worth it when your garden starts to grow!

Covering and Watering Seeds
Once seeds are planted, covering and watering them correctly is essential. Cover each seed with a light layer of soil, matching the recommended depth. For small seeds, just a dusting of soil over the top is enough. After covering, mist the soil gently with a spray bottle. This keeps the surface moist without disturbing the seeds or risking root rot. A gentle spray is especially helpful for tiny seedlings, as they’re sensitive to too much water.
Watering with a parts water solution also helps keep fungal diseases in check. Since seeds need consistent moisture to germinate, try to check daily and mist when the topsoil feels dry. With this careful watering routine, your seeds will have a healthy, disease-free start!
Creating the Ideal Conditions for Seed Germination
Managing Soil Temperature
Soil temperature plays a critical role in seed germination. Each seed type has its preferred temperature range for optimal growth. If the soil is too cold, seeds may struggle to germinate or grow very slowly. On the other hand, if it’s too hot, seeds could dry out or fail to sprout altogether. To ensure your seeds are in the right conditions, it’s helpful to measure soil temperature using a soil thermometer. Simply insert the thermometer into the soil at the depth where you’ve planted your seeds. This will give you an accurate reading to help you adjust if needed, ensuring your seeds have the best chance for successful germination.
Use of Cold Frames and Mini Greenhouses
Cold frames and mini greenhouses are excellent tools to manage temperature and protect seeds from unexpected weather. A cold frame is essentially a small, unheated structure that uses the sun’s warmth to create a cozy environment for seedlings. These structures help maintain consistent warmth and humidity, especially on cool nights or early spring days when frost may still be a concern. Mini greenhouses offer similar benefits, trapping warmth and moisture to provide an ideal germination environment. These tools are especially useful if you’re working with delicate or slow-to-germinate seeds, as they create a stable microclimate that encourages seedling growth.
Providing Enough Light
Light is another critical factor for seed germination. Many seeds need plenty of light to sprout and grow strong. If your seedlings are outdoors, place them in an area that gets direct sunlight for several hours each day. A south-facing location is usually the best, as it gets the most sunlight throughout the day. However, if sunlight is limited, using artificial light can make a huge difference. Fluorescent or grow lights are excellent alternatives that help provide the necessary light intensity for strong seedling growth. These lights should be kept on for about 12 to 16 hours a day to mimic natural sunlight. By managing both light and temperature, you can create the ideal environment for healthy, vigorous seedlings.
Tips for Strong, Healthy Seedlings
Monitoring Seedling Growth
Once your seeds begin to germinate, the fun part begins! Germination starts when the seed absorbs moisture and swells, eventually breaking open to allow the seedling to emerge. You’ll see a tiny stem and the first set of leaves, known as cotyledons, begin to grow. As your seedlings develop, watch for the true leaves, which are the second set of leaves that appear. These are a sign of a healthy, strong plant. Healthy seedlings will have a vibrant green color, sturdy stems, and steady growth. On the other hand, slow-growing seedlings might have pale leaves or spindly stems. If you notice these signs, it may indicate that they aren’t getting enough light or are stressed from environmental factors.
Thinning and Transplanting Young Seedlings
As seedlings grow, they need more space to develop healthy root systems. Thinning is the process of removing weaker or overcrowded seedlings to give the remaining ones room to thrive. This also helps prevent them from competing for light, water, and nutrients. For many plants, thinning should be done when the seedlings have their first set of true leaves. Transplanting is also important once the seedlings have outgrown their pots or seed trays. When moving seedlings, be gentle with their roots and try to avoid disturbing them too much. Transplant them into larger containers or directly into the garden, depending on their size and the weather.
Preventing Common Issues
A few common issues can hinder seedling growth, but with a bit of care, they are easy to avoid. Overwatering is one of the biggest problems. Seedlings need moist soil, but too much water can lead to root rot or fungal diseases. To prevent this, ensure your containers have proper drainage and water only when the soil feels dry to the touch. Also, be mindful of fungal issues, which can show up as mold or discolored spots on your seedlings. Using a sterile growing medium and avoiding overcrowding can help prevent fungal infections. Keep an eye on the root zone to make sure the seedlings aren’t too tightly packed. Vigorous roots are essential for healthy, fast-growing plants!
Adjusting for Weather
Seedlings are sensitive to weather changes, so it’s important to protect them from extreme conditions. If temperatures drop too low, your young plants can suffer. To avoid this, place seedlings in a sheltered area or use row covers to provide warmth. As your seedlings grow stronger, gradually introduce them to outdoor conditions in a process called hardening off. This means slowly exposing them to sunlight and cooler outdoor temperatures over the course of 7 to 10 days. Start by placing them outside for a few hours each day, increasing the time and exposure each day. This helps your seedlings acclimate and builds their resilience, preparing them for life in the garden.
Save for Later!
Moving Toward Planting in the Garden
Preparing to Plant in the Garden
The time to move your seedlings into the vegetable garden comes when they are ready to thrive in their final outdoor home. For most plants, this occurs when they have reached a healthy size and are strong enough to handle the outdoor environment. Consider the number of days it took for your seeds to germinate and grow to the appropriate size, as this gives you an idea of when to transplant them. Be sure to wait until the weather has warmed up enough for your specific plants, especially for those that don’t tolerate cold well. Check the weather forecast for any risk of frost before planting, and be mindful of your region’s growing conditions, including soil temperature and air temperature. These factors will help you know when it’s time to make the move.
Transplanting Seedlings from Trays to Soil
When it’s time to transplant, handle seedlings gently to avoid disturbing their root zones. Start by preparing the garden soil, ensuring it is loose, well-draining, and rich in organic matter. Dig small holes large enough to comfortably accommodate the seedlings, leaving some space between them for future growth. Carefully remove seedlings from their trays or pots, supporting them by the leaves rather than the stems. Place the roots in the hole, ensuring they are at the same depth as they were in their containers. After transplanting, water the seedlings thoroughly to help them settle in. You can also add a layer of mulch to protect their roots and retain moisture.
Caring for Direct-Sown Seeds in the Garden
For seeds that are sown directly in the garden, care continues after planting. Keep the soil moist but not soggy, as even direct-sown seeds need consistent watering to germinate. Create a watering schedule, ensuring the seeds and young plants don’t dry out but are also not overwatered. Once the seedlings have sprouted and started to grow, they will benefit from light fertilization. Choose a balanced, organic fertilizer or compost to promote strong growth. Also, be vigilant about protecting your plants from pests. Use natural pest control methods, like companion planting or organic insecticidal soap, to keep unwanted visitors away. With consistent care, your seedlings will soon thrive in the garden, growing into healthy, productive plants.
Overview
Starting seeds outdoors can be a truly rewarding experience, and with a little patience and attention, you’ll see your efforts pay off. Watching tiny seeds grow into strong, healthy plants in your garden is an accomplishment that brings immense satisfaction. It’s not always a perfect science, but the learning journey is just as valuable as the end result.
Remember, timing is everything. Pay attention to your local soil conditions, hardiness zone, and the weather. Make sure your seeds are planted at the right time, with the proper care, and your garden will thrive. Be mindful of watering schedules and ensure your soil is nutrient-rich to support healthy growth.
Don’t be afraid to experiment with different methods and plants. Each garden is unique, and part of the fun is finding what works best for your space and conditions. Whether you’re a beginner or a seasoned gardener, outdoor seed starting offers endless possibilities for growth and discovery. Happy gardening!
Green Tea Vs Herbal Tea: The Best Complete Tea Guide
Sharing is caring! Facebook Pinterest X Green Tea Vs Herbal Tea: The Best Complete Tea Guide Understanding the Differences Green tea vs herbal tea is a popular debate among tea lovers worldwide. Both offer unique flavors, health benefits, and caffeine content. Tea has a rich history and is enjoyed in many cultures. From Chinese green…
How to Make Bath Salts Without Epsom Salt: Free Recipe
How to Make Bath Salts Without Epsom Salt: Free Recipe How to Make Bath Salts Without Epsom Salt Homemade bath salts without Epsom salt are a great way to enjoy a luxurious soak. You can use natural ingredients like coarse sea salt, baking soda, and pink Himalayan salt for a soothing experience. A relaxing bath…
Homesteading in California: How to Start at Any Stage
Homesteading in California: How to Start at Any Stage How Homesteading in California is Possible Homesteading in California is a journey that looks different for everyone, depending on where you live in this vast and diverse state. From the deserts dotted with Joshua trees in the south, to the rugged mountain ranges in the north,…
How to Make Peppers Grow Faster: Guide and Easy Tips
How to Make Peppers Grow Faster: Guide and Easy Tips How to make peppers grow faster is a common question among home gardeners seeking to maximize their growing season. Whether you’re nurturing sweet peppers, green peppers, or hot pepper plants, creating ideal conditions is essential for pepper success. The best way to achieve healthy pepper plants…
The Different Types of Cloth Diapers: Ultimate Guide
The Different Types of Cloth Diapers: Ultimate Guide The different types of cloth diapers offer a sustainable and eco-friendly alternative to disposable diapers for your baby. As a mom of five and a Registered Nurse, I’ve seen the many benefits of reusable cloth diapers firsthand. This guide will help you understand the major types of…
The Best Doula Bag Essentials Kit for Birth and Postpartum
The Best Doula Bag Essentials Kit for Birth and Postpartum The Best Doula Bag Essentials Kit for Birth and Postpartum A well-stocked doula bag is essential for supporting women during birth and postpartum. As a Registered Nurse, mother of five, and former Navy Hospital Corpsman, I’ve experienced the birthing world from many angles. I’ve worked…

