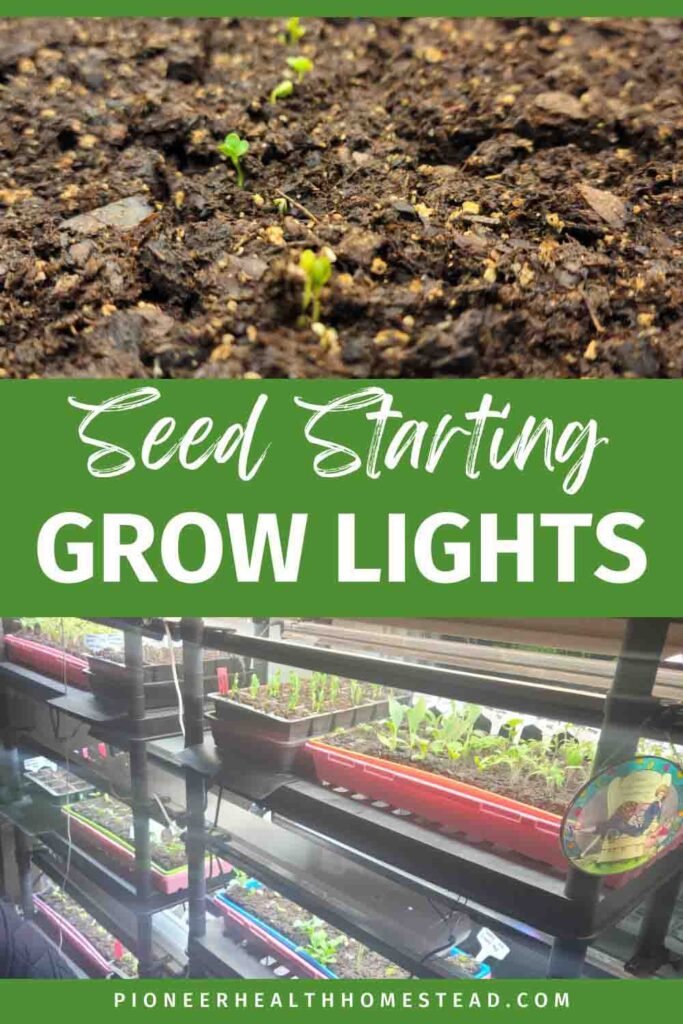
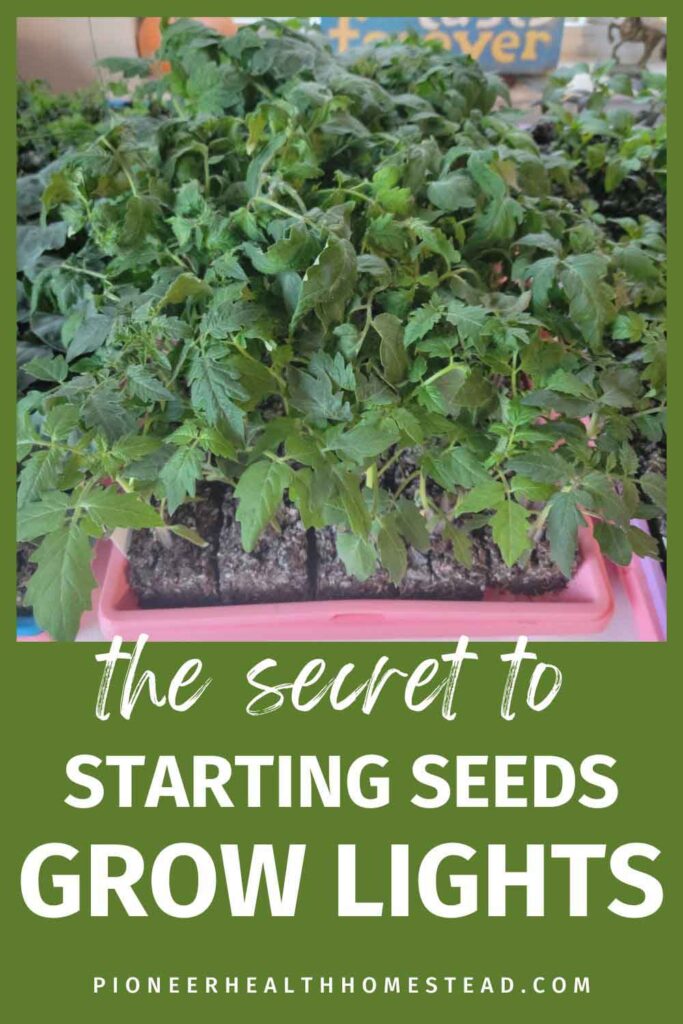
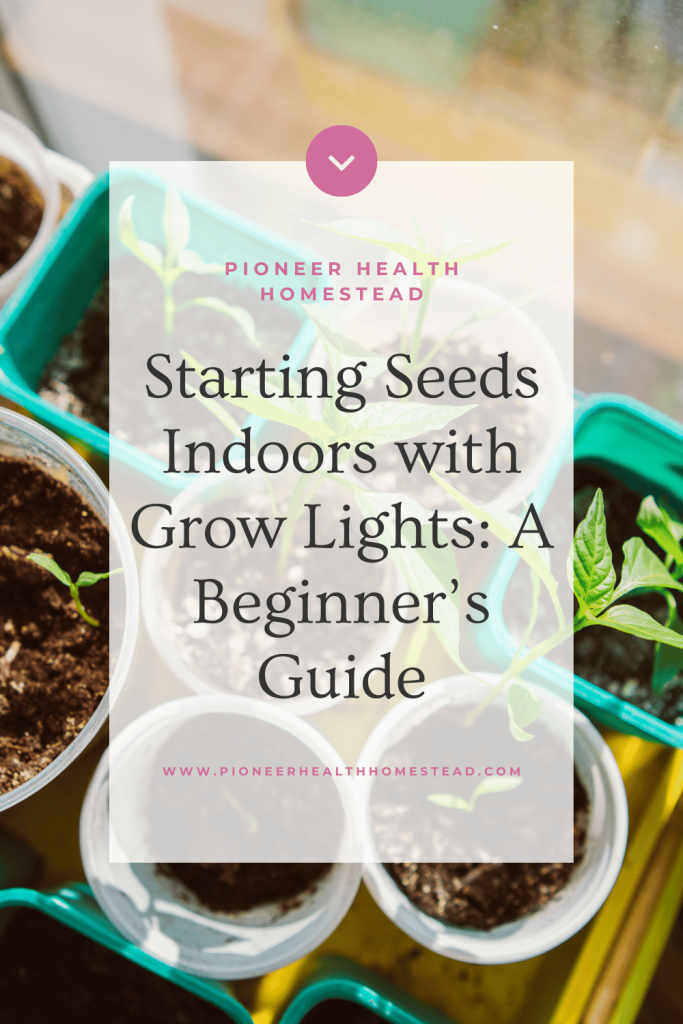
Starting Seeds Indoors with Grow Lights: A Beginner’s Guide
In this beginner’s guide to starting seeds indoors with grow lights, dive into the why and how of starting your gardening venture from seeds. Not only does this method save you money, but it also provides access to a diverse variety of plants not commonly found at local nurseries. Embarking on the journey of starting seeds indoors is a gateway to endless possibilities for your garden.
Save for Later!
As an Amazon Associate, I earn from qualifying purchases. This post contains affiliate links, which means I make a small commission at no extra cost to you. You can view our privacy policy here.
Why Starting Seeds Indoors with Grow Lights?
The question lingers: why opt for seeds over ready-made plants from the local nursery? Purchasing seedlings from nurseries may seem convenient, but starting seeds on your own offers significant advantages. Cost-effectiveness is a major perk, with a seed packet allowing you to grow multiple plants for a fraction of the price of individual seedlings.
Nurseries typically stock plants that are expected to sell well, leaving little room for rare or exotic varieties. However, when you embrace seed starting, you gain access to a vast realm of possibilities showcased in seed catalogs. This opens doors to cultivating rare and exotic plants, transforming your garden into a haven of diversity.
The answer lies in the benefits that extend beyond mere cost savings. While seedlings at nurseries can set you back $2-6 per plant, seeds offer a pocket-friendly option, providing several plants of different varieties for a fraction of the cost.
Light source options for Starting Seeds Indoors
Selecting the right light setup for your indoor seedlings is crucial to ensure their robust development. In this segment, we’ll explore the choice between relying on a south-facing window or investing in indoor light setups, shedding light on the considerations and options available.
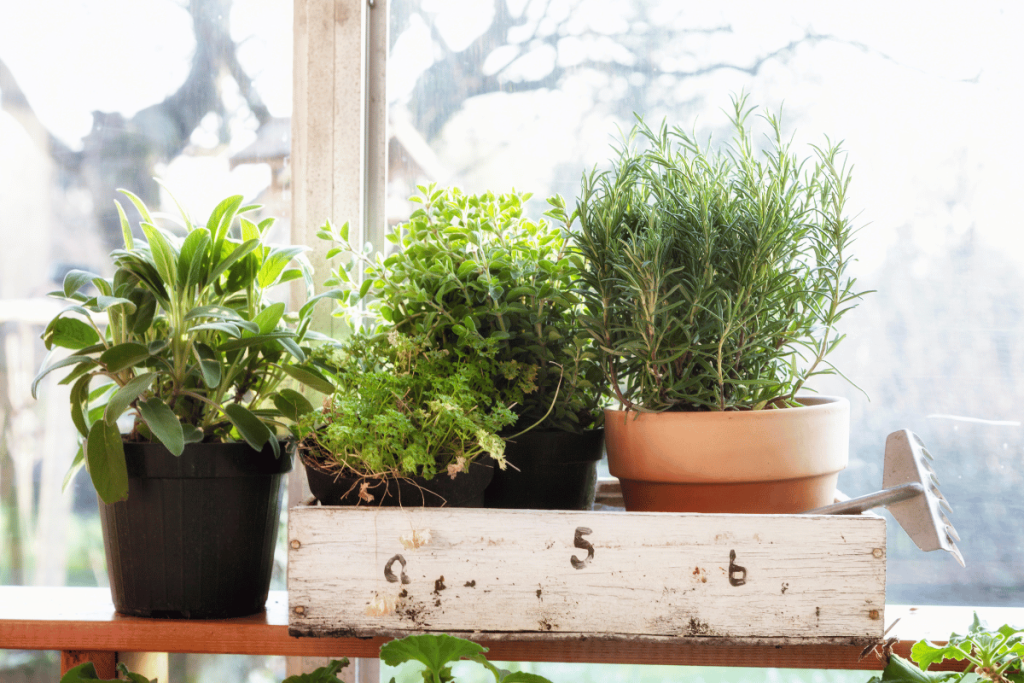
South-Facing Windowsill: A Simple Start
Utilizing a south-facing window is the uncomplicated route to initiate indoor seed starting. This method necessitates no additional equipment; all that’s required is a sufficiently spacious windowsill for your seedlings to bask in the natural sunlight. While a cost-effective option, it’s not without its limitations.
Challenges of South-Facing Windows: Light and Space
Unfortunately, not everyone possesses the ideal south-facing window with enough light and much space on a windowsill. Moreover, during the winter months, when seedlings demand over 12 hours of light for robust growth, natural sunlight may be insufficient. Having sufficient light is a must for optimal seedling growth. The space available on windowsills is generally restricted, further hindering the potential for large-scale seed starting.
When seedlings do not get the right amount of light, they become leggy seedlings. This means they have weak stems and flop over easily. Usually, leggy plants will not grow or produce fruit for you in the garden.
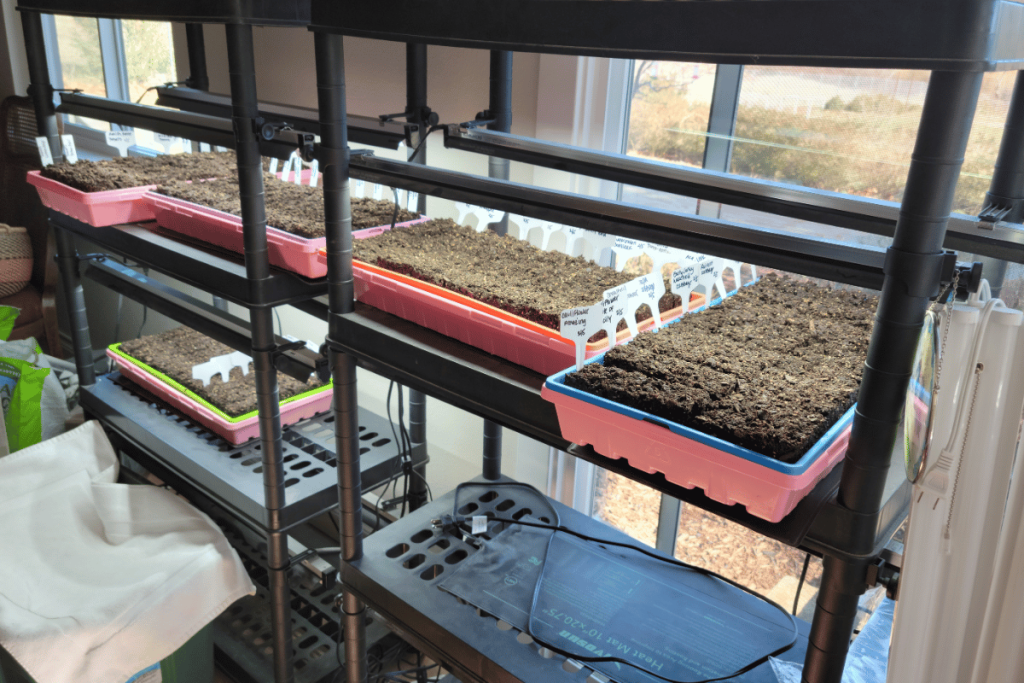
Indoor Light Setups for Starting Seeds Indoors
Indoor light setups present many possibilities, overcoming the limitations of south-facing windows. The flexibility to design a setup tailored to your needs is a significant advantage. However, a word of caution: starting small is the best way to save money, but as your garden size grows, so might your setup. Similar to pets or other endeavors, it’s challenging to resist expanding.
Choosing the Right Light for Starting Seeds Indoors: Lumens and Kelvin
When considering using an indoor light setup, the primary consideration is the type of lights employed. Whether opting for a pre-made kit or embarking on a DIY project, the fundamental factors are Lumens and Kelvin.
1. Lumens – Brightness Matters:
Lumens measure the brightness or intensity of light, and it plays a pivotal role in fostering robust seedling growth, especially during germination. Optimal lightbulbs for this stage typically range between 1500-3000 lumens. Inadequate lumens might lead to leggy and frail seedlings.
Consider using:
– Fluorescent Lights
– Fluorescent Tubes
2. Kelvin – Mimicking Sunlight:
Kelvin, representing the color temperature of the lightbulb, determines how closely the light replicates natural sunlight. Aim for a bulb within the 4500-6500K range to create an environment that closely emulates the sun.
Exploring Lighting Options: LED and CFL Bulbs:
In the expansive market of lighting solutions, two contenders, LED (Light Emitting Diode) and CFL (Compact Fluorescent Lamp) bulbs, stand out.
– LED Lights:
– Energy-Efficient: LED lights consume less energy, contributing to long-term cost savings.
– Long-Lasting: LED bulbs boast an impressive lifespan, reducing the frequency of replacements.
– Flexibility: Available in various designs and sizes, catering to different budgets.
– CFL Bulbs:
– Cost-Effective: CFL bulbs provide a budget-friendly alternative without compromising on performance.
– Adequate Lifespan: While not as long-lasting as LEDs, CFL bulbs offer satisfactory durability.
– Budget Flexibility: Like LEDs, CFL bulbs come in diverse options, accommodating various budget constraints.
Making an informed choice between LED and CFL bulbs ensures an efficient and tailored lighting setup for your indoor seed-starting endeavors.
Some options for lights to make a DIY set up are:
Convenient Kits for Grow Light Set-Up
For those seeking a straightforward start into indoor seed starting, various kits are available. Local gardening or hardware stores, as well as online platforms like Gardeners Supply, offer pre-packaged solutions, streamlining the setup process.
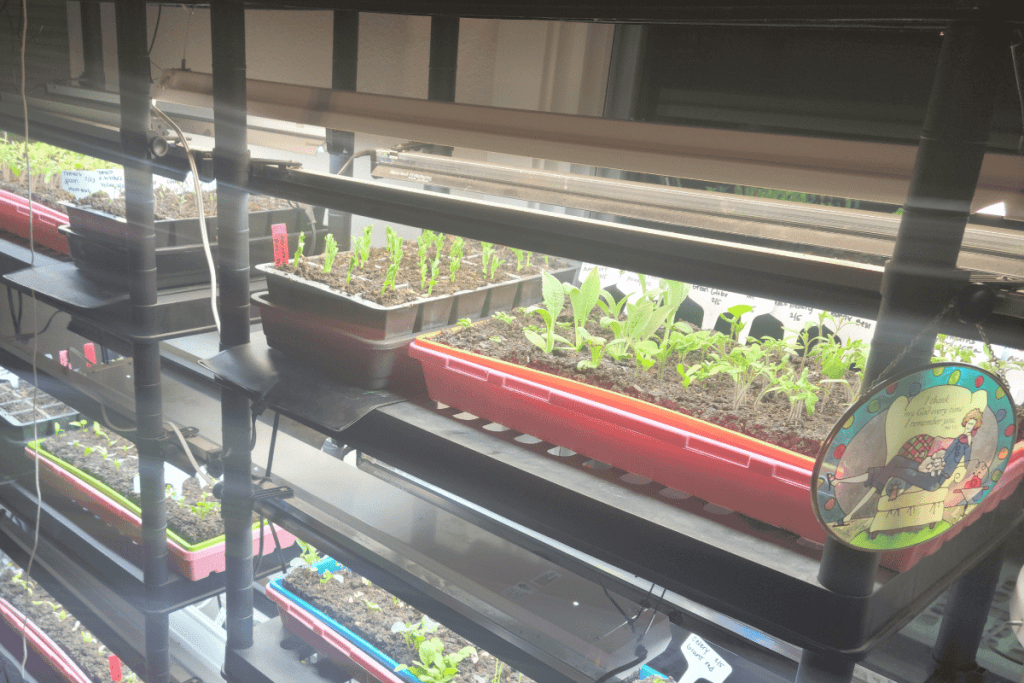
The specific grow light kit I have is from Gardners Supply. While I do like it a lot, I would prefer something with light down the middle, instead of the sides. I am having to add extra shop lights down the middle and side to make sure the seedlings are not starving for light.
I have found that the best grow lights for a small budget are shop lights. They come in various sizes and light strength of lumens and kelvin. I have purchased mine from Walmart in the past.
Illuminating Your Growth Journey
Choosing the right indoor light setup is a great way to provide good light quality for your seedlings’ journey from germination to flourishing plants. Whether opting for a humble windowsill or crafting an elaborate indoor setup, understanding Lumens, Kelvin, and lighting options will empower you to cultivate robust and healthy seedlings.
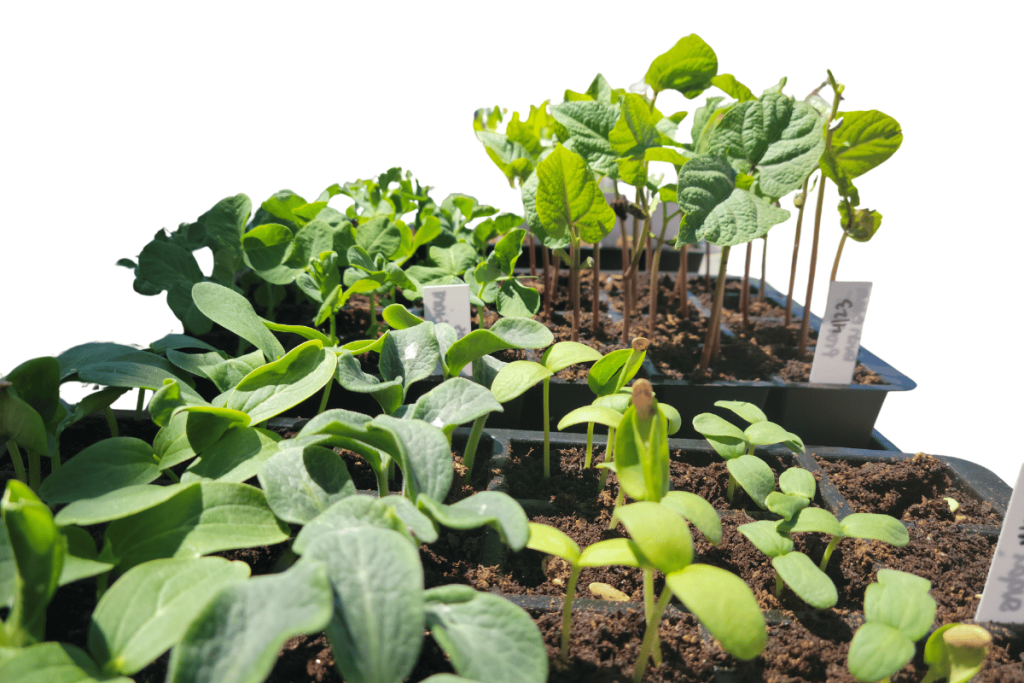
Nurturing Seeds: Selecting the Ideal Mediums for Starting Seeds Indoors
Embarking on the journey of indoor seed starting requires meticulous consideration of the mediums that will nurture your seeds into robust seedlings. Here I will explore the essential elements, from seed starting mixes to containers and various potting options, ensuring a solid foundation for your seeds’ growth.
Seed Starting Mix: Sowing the Seeds of Success
The first cornerstone of successful indoor seed starting is the choice of a quality seed starting mix. This specialized blend provides the right balance of nutrients, aeration, and moisture retention essential for the delicate germination stage. Opt for a reputable seed starting mix available at your local gardening store or consider formulating your own mix, incorporating ingredients like perlite, vermiculite, and coconut coir.

Containers: Homes for Your Seeds
Selecting suitable containers and mediums is pivotal in ensuring a conducive environment for seedling development. There are options for every budget.
Here are some container options to consider:
1. Old Yogurt Type Containers:
Reusing old yogurt containers is an eco-friendly and cost-effective choice. Ensure proper drainage by poking holes in the bottom, repurposing these containers to give your seeds an initial home.
This is by far the least expensive option. These are regular household items you can save throughout the year and use when you’re ready to start seeds.
2. Bought 2-4” Plastic Containers:
Investing in purpose-built plastic containers provides uniformity and durability. These containers are available in various sizes, allowing flexibility based on the seeds you’re cultivating.
I use the ones from Bootstrap Farmer as they are very durable and will last for many years.
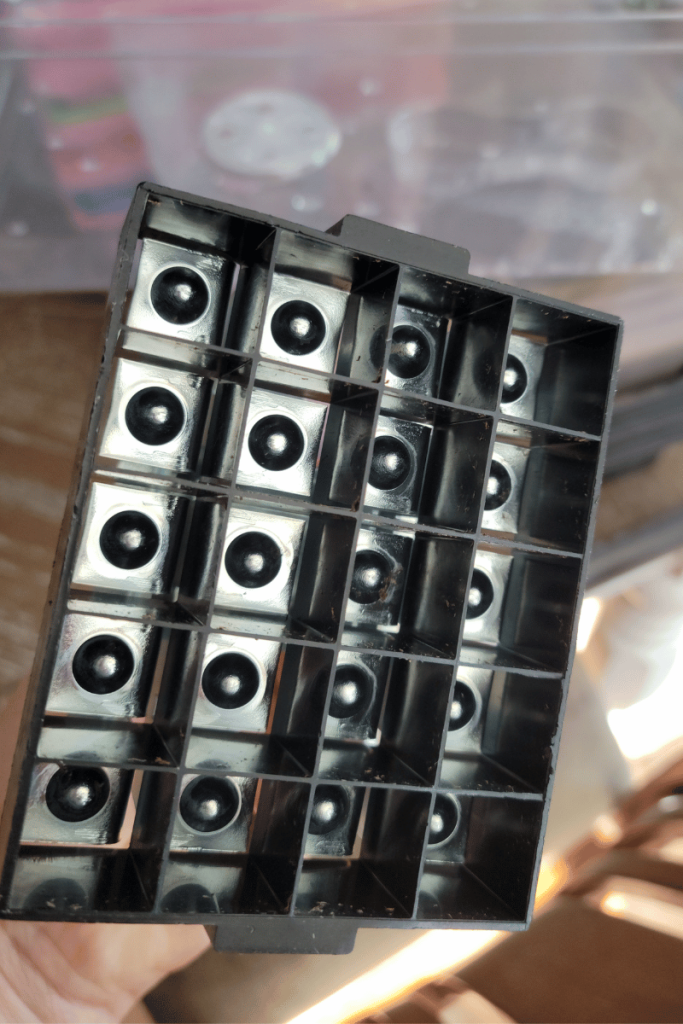
3. Seed Starting Trays:
Seed trays offer a structured approach to organizing multiple seedlings. These seedling trays often come with individual cells, facilitating easy transplanting when the seedlings are ready for the next stage.
I have many seed trays in varying types and sizes. My favorites are from Bootstrap Farmer and Gardeners Supply.
Here is a great option that I use: Bootstrap Farmer 1020 Trays, Green Extra Strength No Hole
4. Soil Blocks:
Soil blocks are an eco-friendly alternative to traditional containers. These compressed blocks of soil offer a sustainable option, eliminating the need for plastic. They promote healthy root development and are an excellent choice for environmentally conscious gardeners.
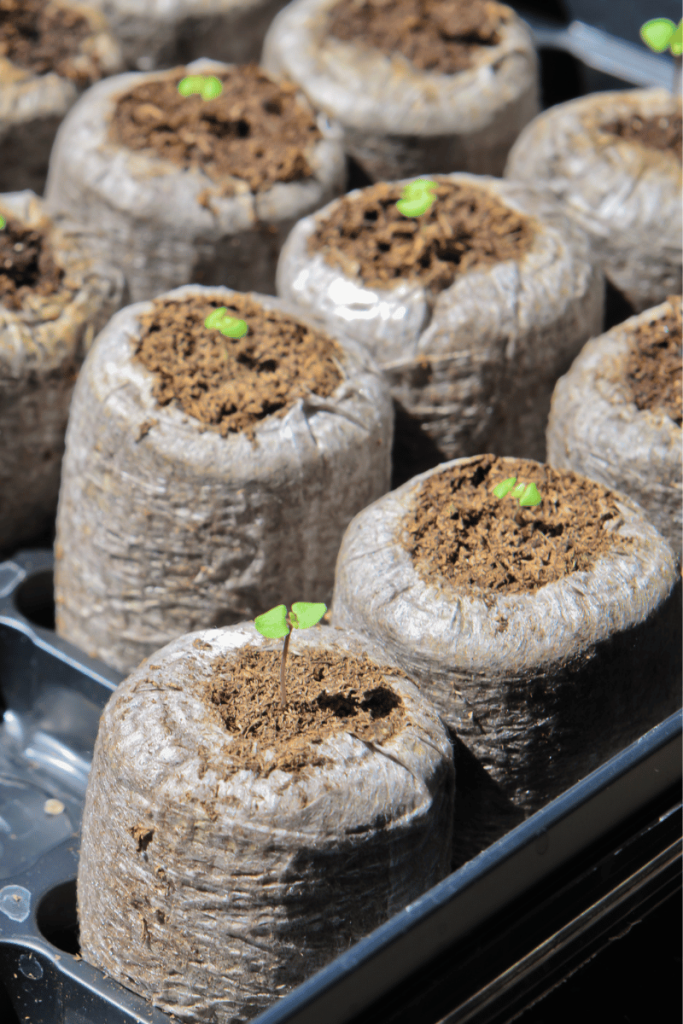
5. Peat Pellets:
Peat pellets are convenient and compact, expanding when moistened. They provide an ideal environment for seed germination and can be transplanted directly into the soil, minimizing transplant shock.
I love using Peat pellets. They are very easy to use and even easier to plant out into your garden, or up-pot. The cost is a bit higher if you choose to use these as opposed to using soil in containers or seed starting trays.
6. Peat Pots:
Peat pots, made from compressed peat moss, offer a biodegradable option. These pots can be planted directly into the ground, reducing disturbance to the seedlings’ roots during transplantation.
These are not my favorite to use. They continue to soak up the water and tend to leave your seedlings dry and sad.

Optimal Growth Foundation: Selecting the Right Potting Soil for Uppotting Seedlings
When it’s time to up-pott your seedlings, opt for top-notch potting soil that’s packed with organic matter, creating a nutrient-rich haven for your plants. By choosing a soil blend that can provide ample nourishment for your seedlings during this crucial transition, you set the stage for robust and thriving growth.
This is especially important when seedlings need to be up-potted, ensuring they receive the necessary nutrients for continued development. Not only does this choice contribute to stronger and healthier plants, but it also alleviates the need for frequent fertilization, saving you time and effort in the long run. Choose wisely, and watch your seedlings flourish in a nutrient-packed environment!
Crafting a Growth-Conducive Environment
With indoor seed starting, the choice of mediums sets the stage for successful cultivation. Whether opting for recycled containers, purpose-built trays, or exploring eco-friendly alternatives like soil blocks and peat pellets, understanding the unique benefits of each medium empowers you to create an environment where your seeds can flourish into healthy, thriving plants.
Choosing Your Seeds
For first time gardeners, the task of selecting what to grow can initially feel overwhelming. However, a strategic approach can transform this decision into an exciting journey.
Here’s a guide to simplify the process:
1. Assess Your Preferences:
Begin by taking stock of your and your family’s culinary preferences. Identify the vegetables, herbs, or fruits that frequent your dining table. This not only ensures that you grow what you love but also adds a personalized touch to your garden.
2. Consider Local Climate:
Explore what thrives in your specific geographic area. Understanding your local climate and soil conditions helps narrow down your options to plants that are well-suited for successful growth. Local gardening resources and experienced neighbors can offer valuable insights.
3. Navigating Types of Seeds:
As a backyard gardener, you won’t find GMO seeds readily available in small quantities. GMO seeds are typically sold in bulk to large-scale farmers. Don’t be swayed by the non-GMO label; it’s often a marketing tactic rather than a critical factor for small-scale gardening.
4. Heirloom vs. Hybrid Seeds:
The primary decision in seed selection revolves around choosing between heirloom and hybrid seeds. Heirloom seeds, known for stability, allow you to save seeds each year, ensuring consistent plants and fruits. In contrast, hybrid seeds result from crossbreeding different plant varieties. While they may offer unique traits, saving seeds from hybrids may not yield identical plants, requiring several generations for stability.
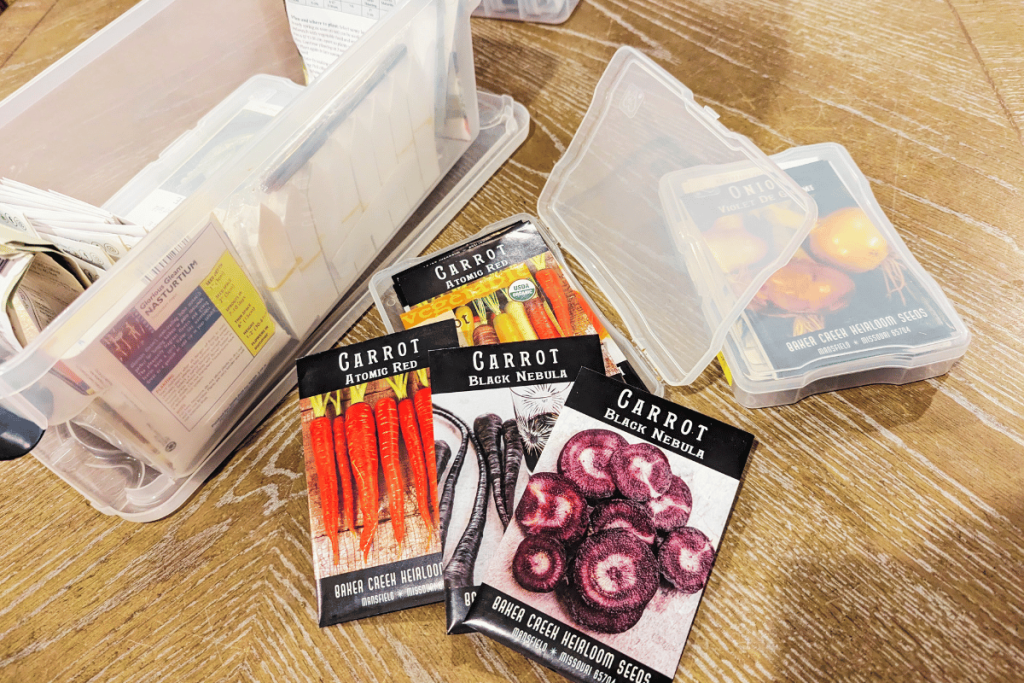
5. Organic Considerations:
Many seeds are inherently organic unless treated with fungicides or other chemicals. The term “organic seeds” signifies adherence to organic growing practices. The lack of an explicit “organic” label on a seed packet doesn’t necessarily indicate inferior quality compared to labeled organic seeds.
Selecting your own seeds involves aligning your gardening choices with personal preferences, local climate, and an understanding of seed types. By navigating these considerations thoughtfully, you set the stage for a flourishing and rewarding gardening experience.
Some of my favorite places to buy seeds from are:
Essential Supplies for Successful Starting Seeds Indoors
Embarking on your indoor seed-starting journey requires a handful of essential supplies. While the list of available gardening tools and accessories is extensive, let’s focus on the fundamental items you’ll need to kickstart your gardening adventure inexpensively. Here’s a concise breakdown:
Absolute Basics:
Below are the absolute basic supplies to starting seeds indoors.
1. Containers:
Choose from old yogurt-type containers, purchased 2-4″ plastic containers, seed starting trays, or peat pots.
2. Medium:
Opt for a suitable seed starting mix, potting soil, soil blocks, or peat pellets to provide your seeds with a nurturing environment.
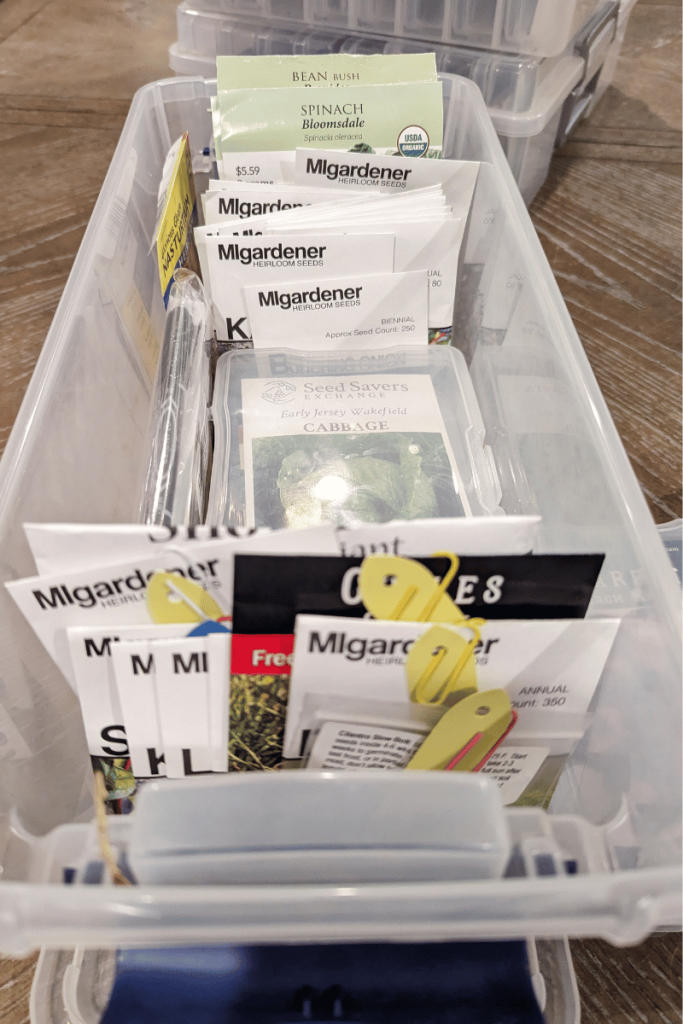
3. Seeds:
Select seeds based on your preferences, local climate, and gardening goals. Seeds are like chicken math, you will acquire quite a stash if you can’t control yourself.
4. Lights Setup:
Whether you opt for a pre-made kit or assemble your DIY setup, ensuring the right lumens and Kelvin for optimal seedling growth is crucial.
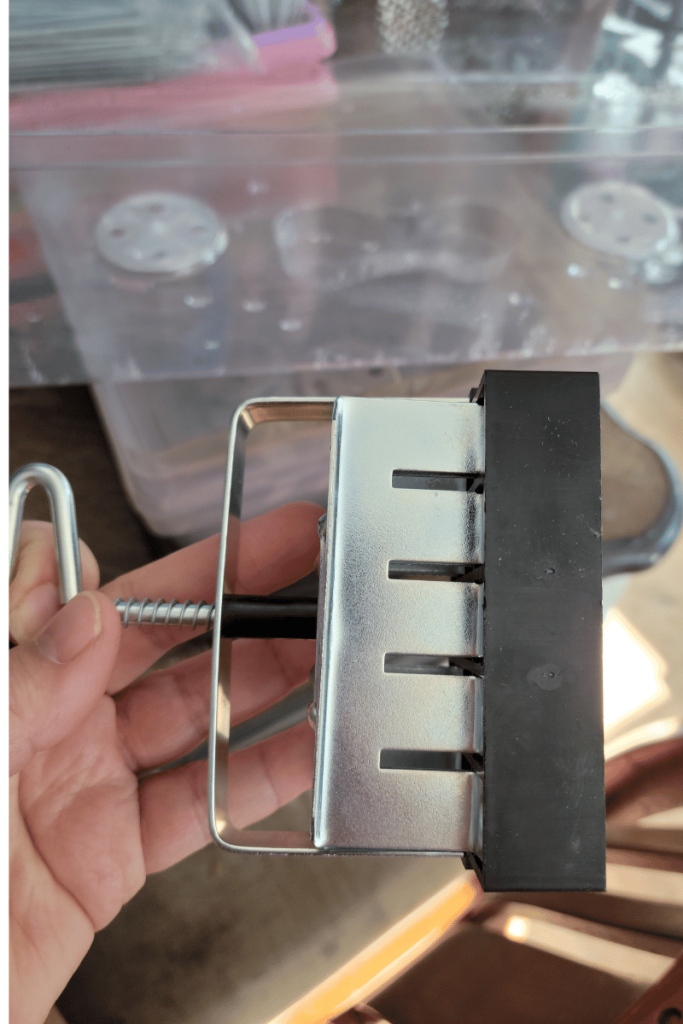
5. Watering Capabilities:
Equip yourself with efficient watering tools to keep your seedlings hydrated without causing waterlogging. Having a setup that allows you to water from the bottom is the best way, but not required.
6. Liquid Fertilizer:
Provide essential nutrients to your growing plants with a liquid fertilizer suitable for seedlings.
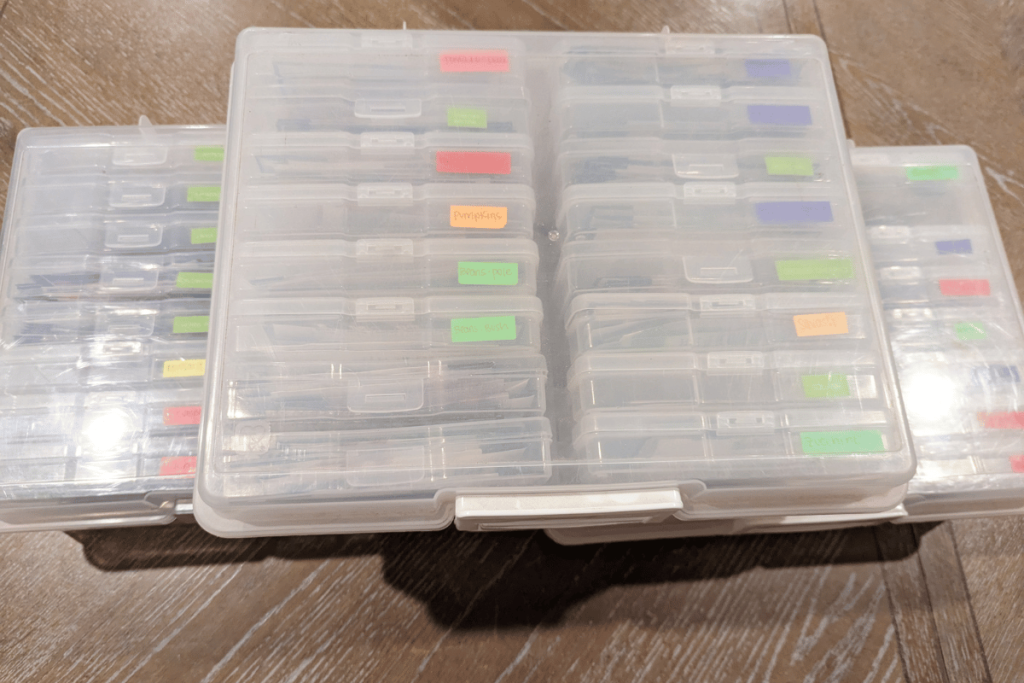
7. Labels:
Avoid confusion by labeling your containers with the plant type and sowing date.
Budget-Friendly Gardening:
If you’re mindful of your budget, rest assured that starting your garden can be remarkably cost-effective. Even in the face of inflation, you can initiate your gardening journey for mere pennies with the absolute basics.
Additional Recommendations (Optional):
1. Fans:
Consider incorporating fans to promote air circulation and strengthen your seedlings.
2. Heat Mat:
While not indispensable, a heat mat can contribute to maintaining an optimal temperature for seed germination. Plants such as peppers and eggplants, may require more heat to germinate and would greatly benefit from using a heat mat.
For quality supplies, check out Gardeners Supply a reliable source for gardening essentials. Another excellent option is Bootstrap Farmer, where you can explore a diverse range of high-quality supplies to enhance your indoor gardening experience.
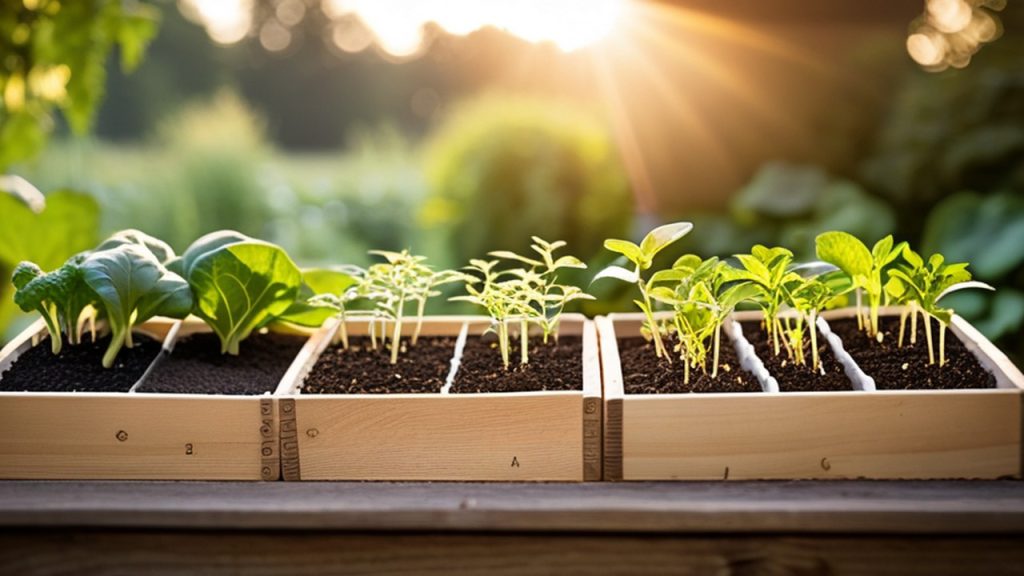
Optimizing Your Seed Starting Timeline: A Seasonal Guide
Determining the ideal time to start your seeds indoors is a crucial step in ensuring a thriving garden. Thankfully, this process involves a bit of basic math and some guidance from reliable sources. Depending upon your geographical location, most gardeners start planting their seedlings in early spring (April, May). The longer you live in your area the more data you will have moving forward on the best date to aim for with transplanting your seedlings outside into your garden.
An example of how taking notes and watching your area over the years can benefit your garden: When we moved to Paradise a couple of years ago, I went by the last frost date online. Little did I know that this area is prone to hail storms in spring. My garden suffered greatly for it. Now I know to plan my transplanting date after that time frame to give my garden more ideal conditions.
Here’s a simplified guide to help you navigate the timing:
1. Identify Frost Dates:
– Visit Almanac’s frost date tool or Google “last frost date by zip code.”
– Enter your zip code to find the first and last frost dates for your area.
Example for Paradise, CA:
| Climate Station | Altitude | Last Spring Frost | First Fall Frost | Growing Season |
|——————|———-|——————-|——————|—————–|
| PARADISE, CA | 1748′ | Mar 1 | Dec 8 | 281 days |
2. Count Backwards for Seed Starting:
– Based on the information provided on your seed packets, count backward in weeks from the last frost date for spring/summer or the first frost date for fall/winter.
Example:
– If a tomato seed packet recommends starting indoors 4-6 weeks before the last frost date, begin seeding between January 18 and February 1.
3. Avoid Timing Pitfalls:
– Starting seeds too early may result in oversized plants that outgrow their containers quickly.
– Starting too late might lead to a delayed harvest before the first frost hits.
4. Leverage Your Growing Season:
– Consider the length of your growing season, as illustrated in the example for Paradise, CA. Longer growing seasons offer more flexibility.
5. Climate-Specific Caution:
– Adjust your seeding schedule based on local weather conditions.
– Beware of unexpected weather patterns, such as late hailstorms, which can impact young plants.
6. Strategic Plant Placement:
– Plan to set out seedlings between April and May for warmer plants.
– Reserve March for colder weather plants like brassicas and lettuces.
By aligning your seed-starting efforts with your local frost dates and understanding your region’s climate nuances, you set the stage for a bountiful and well-timed harvest.
Cultivating Success: A Blossoming Conclusion
Congratulations on delving into the enriching journey of starting seeds indoors with grow lights! This beginner’s guide has navigated the ‘why’ and ‘how,’ unraveling the myriad benefits of sowing the seeds of your gardening venture. Beyond the cost savings, the allure of this method lies in the expansive world of plant varieties, seldom found in local nurseries. As you embark on this horticultural odyssey, you open doors to a garden teeming with diversity and possibilities.
The Seedling Advantage: Why Start from Seeds?
The choice between starting from seeds or opting for ready-made plants from the local nursery is a pivotal one. While nursery seedlings might seem convenient, the advantages of starting your seeds are manifold. Not only does it prove to be cost-effective, allowing you to grow multiple plants for the price of one seedling, but it also grants access to a spectrum of rare and exotic varieties absent in typical nurseries. The journey from seed to garden unveils not just savings but a profound connection with your green companions.
Illuminating Your Seeds: Navigating Indoor Light Setups
In the realm of indoor seed starting, the choice between a south-facing window and an indoor light setup plays a crucial role. While a windowsill provides a simple and cost-free initiation, its limitations are evident. The pursuit of over 12 hours of light during winter and constrained space often hinder optimal seedling growth. Enter indoor light setups, offering flexibility and possibilities. By understanding Lumens, Kelvin, and lighting options like LED and CFL bulbs, you empower yourself to create an environment where your seedlings thrive.
Nurturing Seeds: Selecting the Ideal Mediums for Indoor Growth
A solid foundation sets the stage for successful cultivation, and the choice of mediums is pivotal. From the essential seed starting mix to containers and potting soil, each element contributes to the journey from seed to flourishing plant. Whether you choose recycled containers or explore eco-friendly alternatives like soil blocks and peat pellets, understanding the unique benefits of each medium allows you to create an environment conducive to growth.
Choosing Your Seeds: Navigating the Options for a Flourishing Garden
Selecting what to grow may initially feel overwhelming, but a strategic approach simplifies the process. Align your choices with personal preferences, local climate, and an understanding of seed types. By navigating these considerations thoughtfully, you set the stage for a flourishing and rewarding gardening experience.
Essential Supplies for Successful Indoor Seed Starting
Embarking on your indoor seed-starting journey requires a handful of essential supplies. While the list of available gardening tools is extensive, focusing on the fundamental items allows you to kickstart your gardening adventure inexpensively. With a keen eye on budget-friendly options, you can initiate your gardening journey for mere pennies, even in the face of inflation.
Optimizing Your Seed Starting Timeline: A Seasonal Guide
Timing is everything when it comes to starting seeds indoors. By identifying frost dates, counting backward, and leveraging your growing season, you align your efforts with the rhythm of nature. Be cautious of unexpected weather patterns, and strategically place your seedlings based on their temperature preferences. This mindful approach ensures a bountiful and well-timed harvest.
Let me know in the comments!
Embarking on your indoor gardening journey is an exciting venture, and we’d love to hear about your experiences, tips, and favorite plants. Let’s turn this blog post into a community of green thumbs sharing knowledge and passion!
1. Share Your Seedling Stories:
Have you started seeds indoors before? What challenges did you face, and how did you overcome them? Share your seedling stories in the comments below and inspire fellow gardeners!
2. Your Go-to Seed Choices:
We all have our favorite plants to grow. What seeds have you had the most success with indoors? Whether it’s vibrant flowers, delicious herbs, or robust vegetables, tell us about your go-to seeds and why you love them.
3. Lighting Setups Showcase:
Show off your indoor lighting setups! Snap a picture of your DIY grow light arrangement or your favorite pre-made kit. Don’t forget to mention the Lumens and Kelvin settings you’ve found most effective. Let’s illuminate each other with bright ideas!
4. Container Creativity:
Containers come in all shapes and sizes. Have you repurposed any unique containers for your seedlings? Share your container creativity – from recycled yogurt pots to artistic DIY creations. Your ingenuity might spark inspiration for others!
5. Ask and Answer:
Do you have questions about seed starting, lighting, or anything related to indoor gardening? Drop your questions in the comments, and let’s crowdsource solutions. Likewise, if you’ve got wisdom to share, help out your fellow readers by answering their queries.
6. Gardening Hacks Exchange:
Have a gardening hack that’s made your indoor gardening life easier? Share your tips and tricks! From space-saving ideas to budget-friendly solutions, let’s create a treasure trove of gardening hacks together.
Remember, this blog is not just about information; it’s about building a community of passionate gardeners. Your insights and stories can enrich the collective knowledge of our gardening family. So, don’t be shy—share away! Happy gardening!
-
Easy Herbal Conditioner Bar Recipe with Chamomile & Calendula
Easy Herbal Conditioner Bar Recipe with Chamomile & Calendula This herbal conditioner bar recipe combines nourishing oils, cocoa butter, BTMS-50, and vitamin B5 for soft, manageable hair. It also features chamomile-infused coconut oil and calendula-infused olive oil for a special herbal touch. Unlike traditional bottled conditioner, solid conditioner bars are highly concentrated and require very…
-
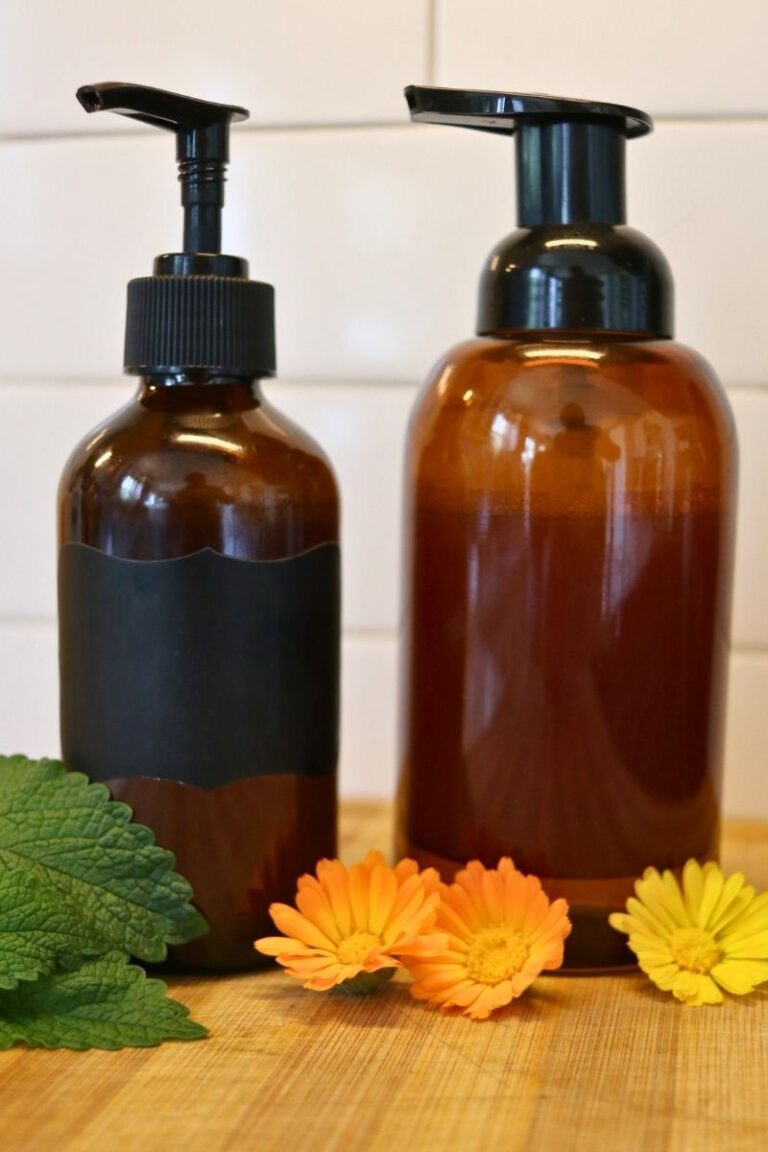
The Best DIY Honey Foaming Face Wash | Glowing, Healthy Skin
The Best DIY Honey Foaming Face Wash for Glowing, Healthy Skin A Simple, Gentle Daily Cleanser You Can Feel Good About I have tried many cleansers over the years, both as a nurse and a busy mom. However, I kept coming back to simple, nourishing ingredients. This honey foaming face wash has become a favorite…
-
Simple Gentle Liver Detox Tea Recipe (Natural & Nourishing)
Gentle Liver Detox Tea Recipe (Natural and Nourishing) A Simple Way to Support Your Body Naturally As the seasons begin to shift, I often notice my body asking for a slower, gentler reset. After months of heavier foods and busy days, everything can start to feel a little sluggish. Instead of turning to harsh detoxes,…
-
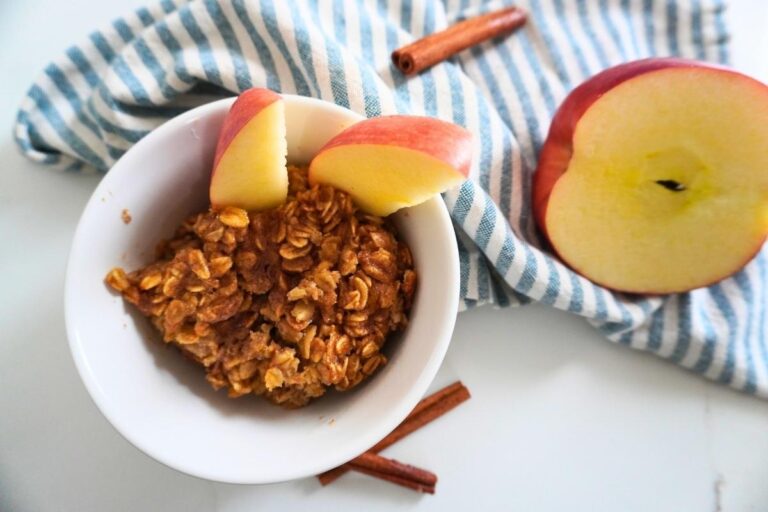
Easy Apple Cinnamon Baked Oatmeal Recipe
Apple Cinnamon Baked Oatmeal Recipe This apple cinnamon baked oatmeal recipe is one of those breakfasts that brings calm to busy mornings. I started making baked oatmeal when I needed something nourishing that could feed my family without extra work. This recipe comes together quickly, uses simple pantry staples, and bakes while the rest of…
-
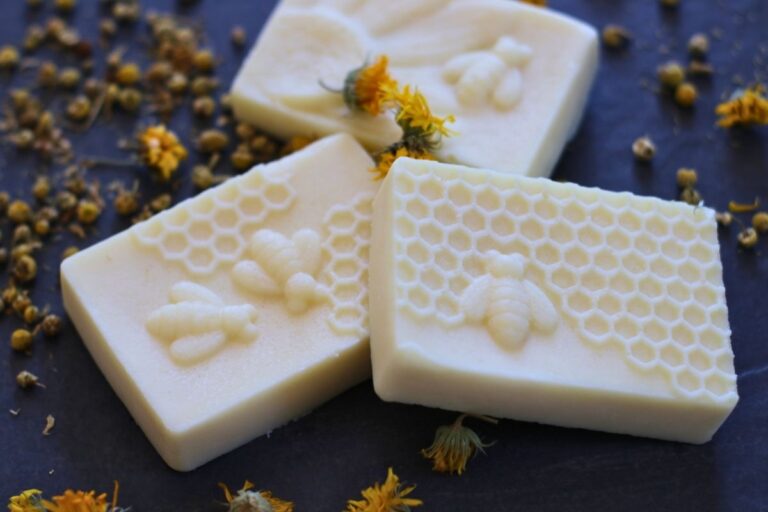
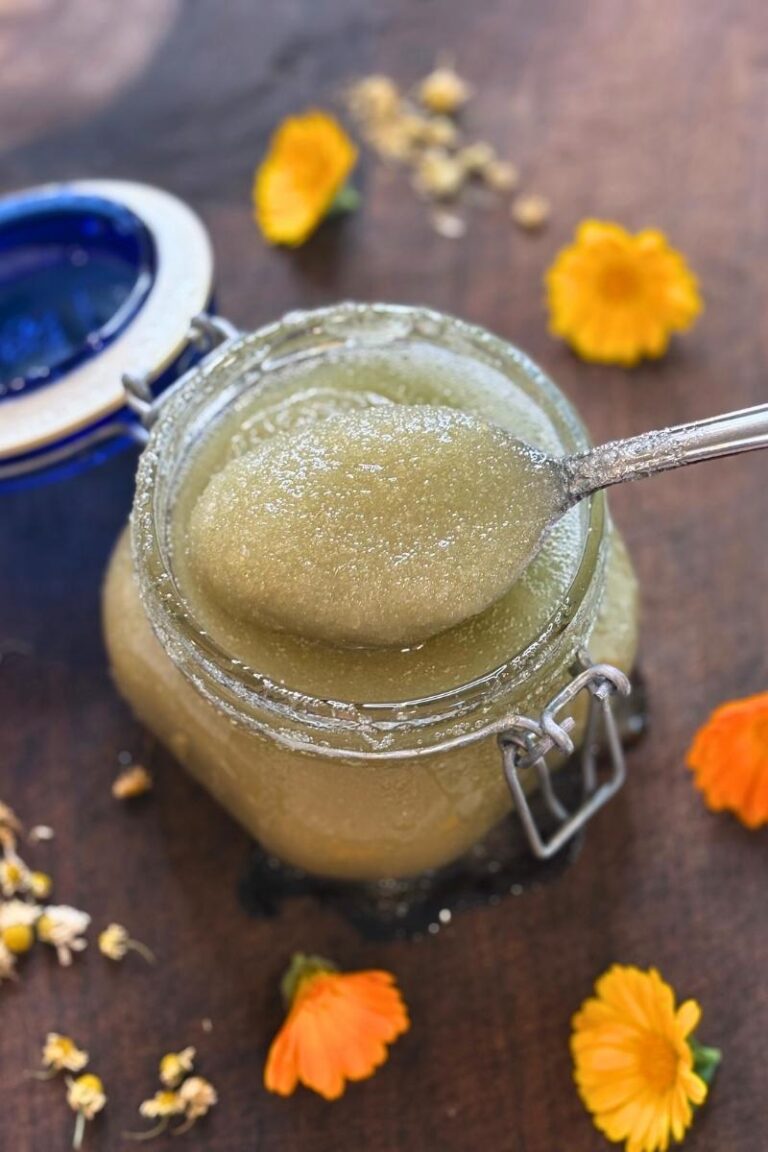
Herbal Calendula and Chamomile Sugar Scrub
Herbal Calendula and Chamomile Sugar Scrub There is something deeply satisfying about making simple body care products with herbs you already know and trust. Over time, I’ve learned that our skin responds best to gentle, nourishing ingredients, especially when they come straight from the apothecary shelf or pantry. This calendula chamomile sugar scrub is one…
-
Apple Mint and Lemon Balm Calm Tea
Apple Mint and Lemon Balm Calm Tea A Gentle, Comforting Blend for Stressful Days When the day feels a little too loud, or your mind just won’t slow down, apple mint and lemon balm calm tea is one of my favorite ways to create a pocket of peace. As a mom of five and an…