This post may contain affiliate links. If you purchase through them, I may earn a small commission at no extra cost to you. Please see my Disclosure and Privacy Policy for details.
Simple Homemade Beeswax Candles for Cozy Evenings
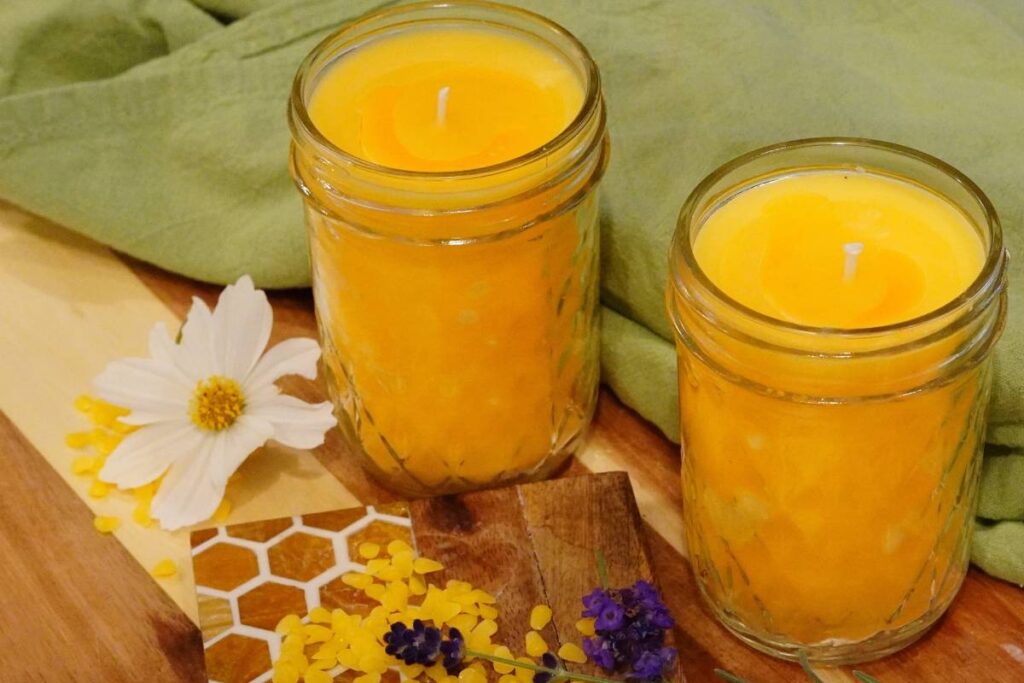
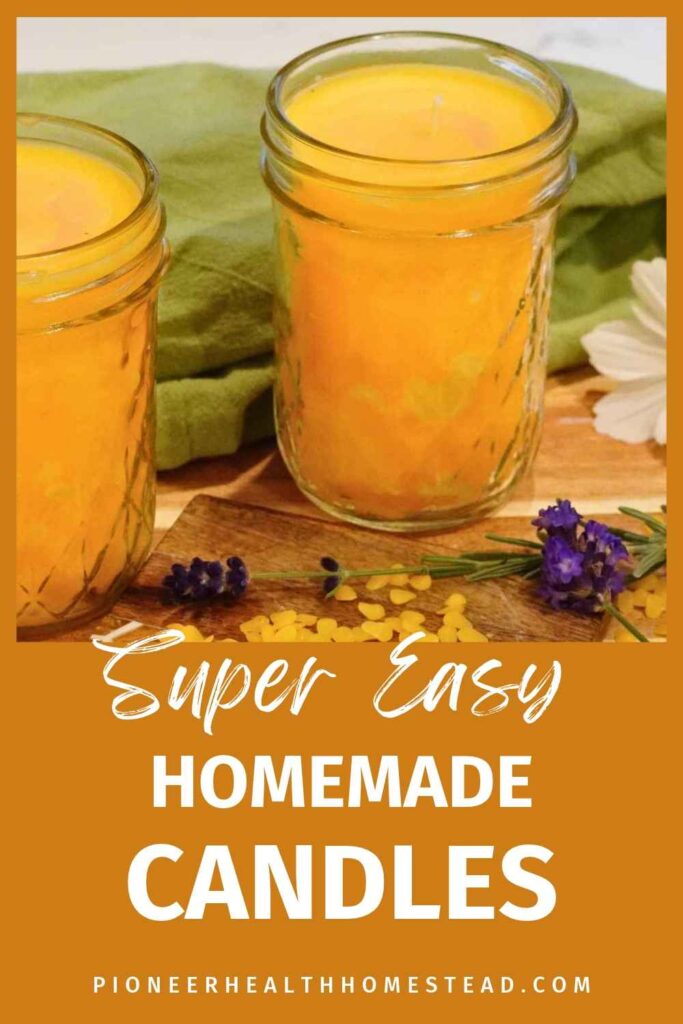
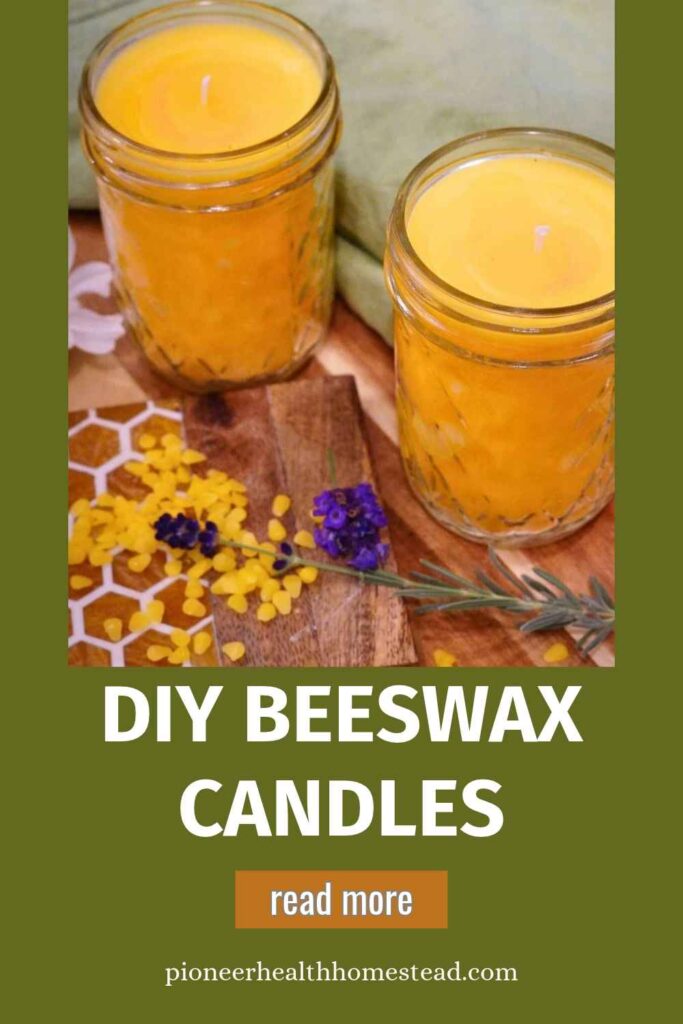
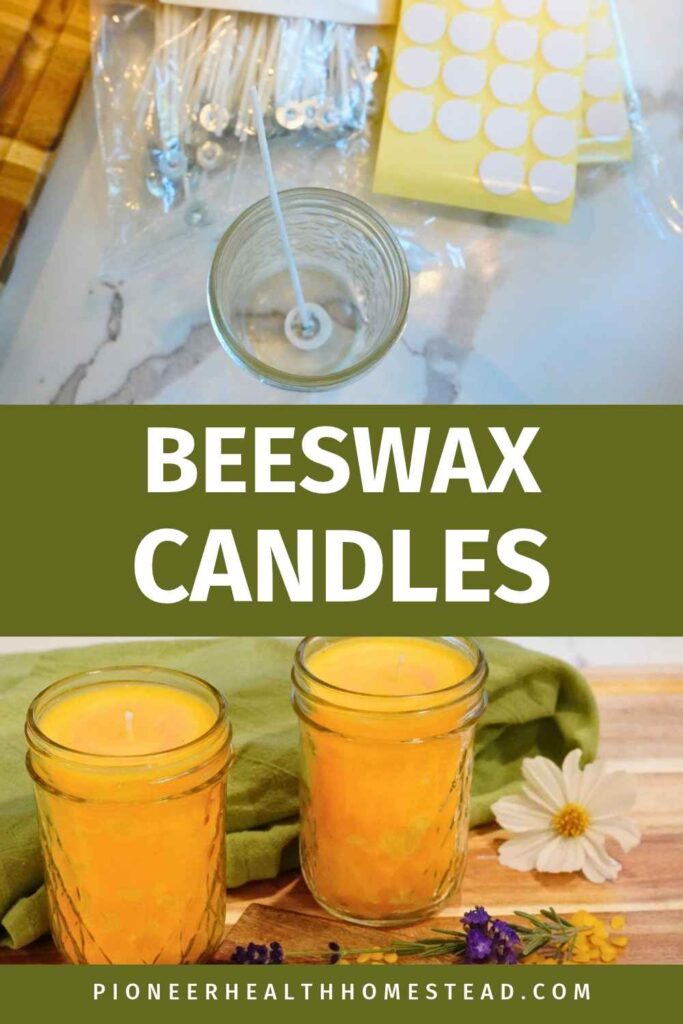
Homemade beeswax candles are one of the easiest things you can make for your home. They take just a few ingredients. They burn clean and smell softly of honey. You can also add essential oils for a scent of your own. And one batch fills two half-pint mason jars perfectly.
As a mom of five, I love projects that feel special but don’t take all day. This is one of them. Once the wax is melted, the hard part is over.
When the days get shorter, I like having a warm candle on the table at dinner. Beeswax gives off a golden glow that store-bought candles just can’t match. Plus, I know exactly what’s in it. And with two candles, I can keep one and give one away.
Save for Later!
Why Choose Beeswax?
Beeswax is a natural wax made by honey bees. It has a few wonderful qualities:
- It burns longer and slower than paraffin or soy.
- It has a light, natural honey scent with no added fragrance.
- It burns with a bright, warm flame.
- It’s a simple, old-fashioned ingredient our great-grandmothers would recognize.
Pure beeswax can be a little stubborn in a jar, though. It’s hard and dense, so it sometimes tunnels down the middle. That’s why I add a little coconut oil. I explain more about that below.
Why I Measure Beeswax by Weight
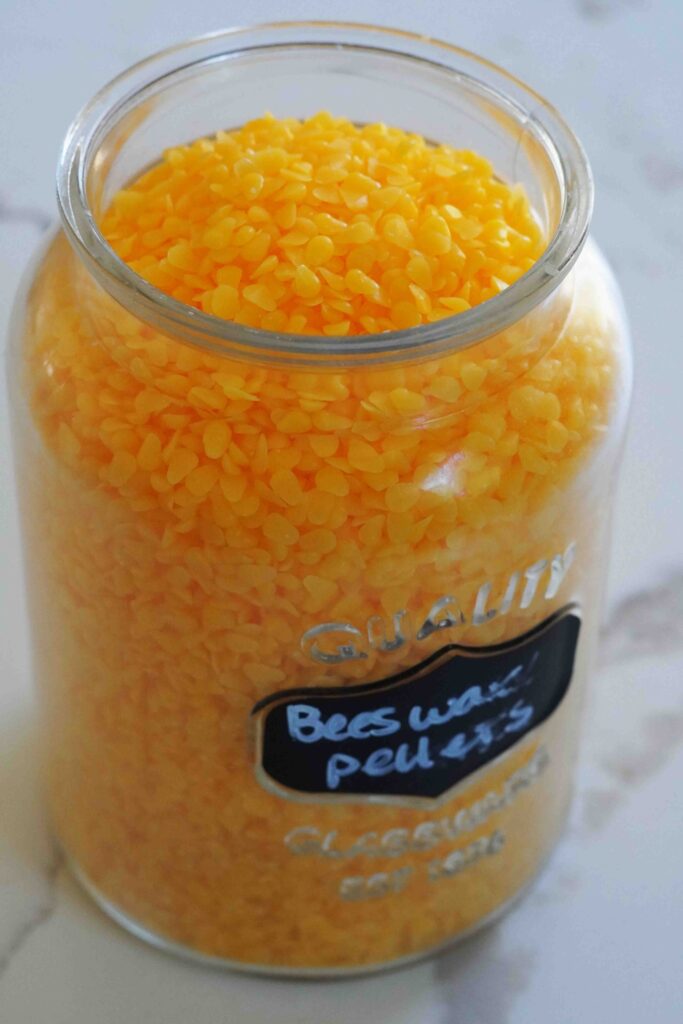
Beeswax pellets have lots of air between them. A cup of pellets melts down to much less than a cup of liquid wax. If you measure by volume, you’ll come up short every time.
Weighing your wax solves this. A simple kitchen scale is all you need. Set your container on the scale, press tare, and add pellets until you hit your number.
Supplies You’ll Need
- 2 half-pint (8 oz) mason jars, regular or wide mouth
- 2 cotton candle wicks with metal tabs (see wick sizing below)
- Essential oils of your choice (optional)
- Kitchen scale
- Double boiler, or a heat-safe pitcher or old can set in a pot of water
- Candy or instant-read thermometer
- Wick stickers or a dab of melted wax
- Clothespins, chopsticks, or wick centering bars
- Scissors or a wick trimmer
I recommend keeping a pitcher just for candle and salve making. Beeswax is hard to clean out of kitchen pots.
Ingredients and Amounts for Two Half-Pint Jars
These amounts fill two half-pint jars to about ½ inch below the rim.
| Ingredient | Total (2 candles) | Per candle |
|---|---|---|
| Beeswax pellets | 11 oz (312 g) | 5½ oz (156 g) |
| Coconut oil (refined or unrefined) | 2 oz (57 g) | 1 oz (28 g) |
| Essential oils (optional) | 0.8 oz (23 g) total | 0.4 oz (11.5 g) total |
Making just one candle? Use the per-candle column.
Why Add Coconut Oil?
Beeswax is a very hard, dense wax. In a jar, it often tunnels. That means the flame burns straight down the middle and leaves a thick wall of wax around the sides.
A little coconut oil softens the beeswax just enough. Here’s what it does:
- Helps the candle melt all the way to the edges of the jar
- Reduces cracking and frosting as the wax cools
- Helps the wax cling to the glass instead of pulling away
- Stretches your beeswax a little further, which saves money
Refined coconut oil has no scent. Unrefined may add a faint coconut smell, which some people enjoy with the honey scent.
Prefer to Skip the Coconut Oil?
That’s completely fine. Just use 13 oz (369 g) of beeswax pellets for both candles, or 6½ oz (184 g) per candle. Follow the same steps, and in step 4, simply heat the melted beeswax to 160–170°F.
A 100% beeswax candle will be a bit harder and may tunnel more. If yours does, try the next wick size up.
Optional: Adding Essential Oils
Plain beeswax has a lovely, soft honey scent all on its own. You don’t need to add anything. But if you’d like a scented candle, essential oils are an easy way to make it your own.
Use up to 0.8 oz (23 g) of essential oil total for both candles. That’s about 6% of the wax weight. You can use one oil or mix a few, as long as the total stays around 0.8 oz.
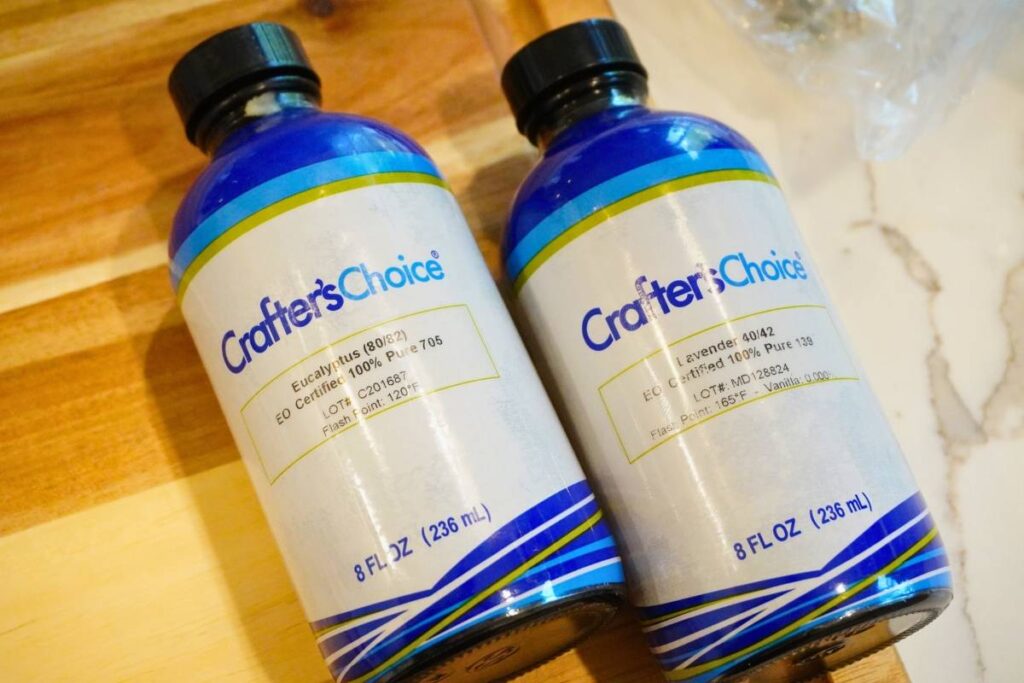
Here are a few I like:
- Lavender for a calming, gentle scent
- Peppermint for a bright, fresh scent
- Eucalyptus for a clean, crisp scent
Lavender and eucalyptus make a cozy winter blend. Peppermint pairs nicely with either one. Peppermint and eucalyptus are both strong, so use a little less of them if you’re mixing.
A few things to know about essential oils in beeswax:
- Add them after the wax cools a bit. Too much heat makes the scent burn off before it reaches the jar.
- Your candle will smell like a soft blend of honey and whatever oils you choose.
- Essential oils give a gentler scent than synthetic fragrance oils. That’s part of their charm.
Quick Tip: Check Your Own Jars
Not all half-pint jars hold exactly the same amount. Here’s an easy way to check yours. Fill one jar with water to where you want the wax to stop. Weigh the water in ounces. Multiply that number by 0.9. That’s how much melted wax each jar will hold.
For most half-pint jars, that works out to about 6½ oz of wax.
Choosing the Right Wick
Wick size matters more than anything else in candle making. Beeswax needs a slightly bigger wick than soy because it’s so dense.
Wick size depends on the width of the jar, not how tall it is. Half-pint jars are just as wide as pint jars, so they need the same size wick.
- Regular mouth half-pint jar (about 2¾ inches across): ECO 10 or CD 16
- Wide mouth half-pint jar (about 3¼ inches across): ECO 12 or CD 18
Every batch of beeswax is a little different. A test burn is the only way to know for sure. I explain how to do one below.
How to Make Homemade Beeswax Candles
1. Prepare the jars
Make sure your jars are clean and completely dry. Warm them slightly so the hot wax doesn’t crack them or pull away from the glass. You can set them in a 170°F oven for 10 minutes or rinse them in hot water and dry them well.
2. Secure the wicks
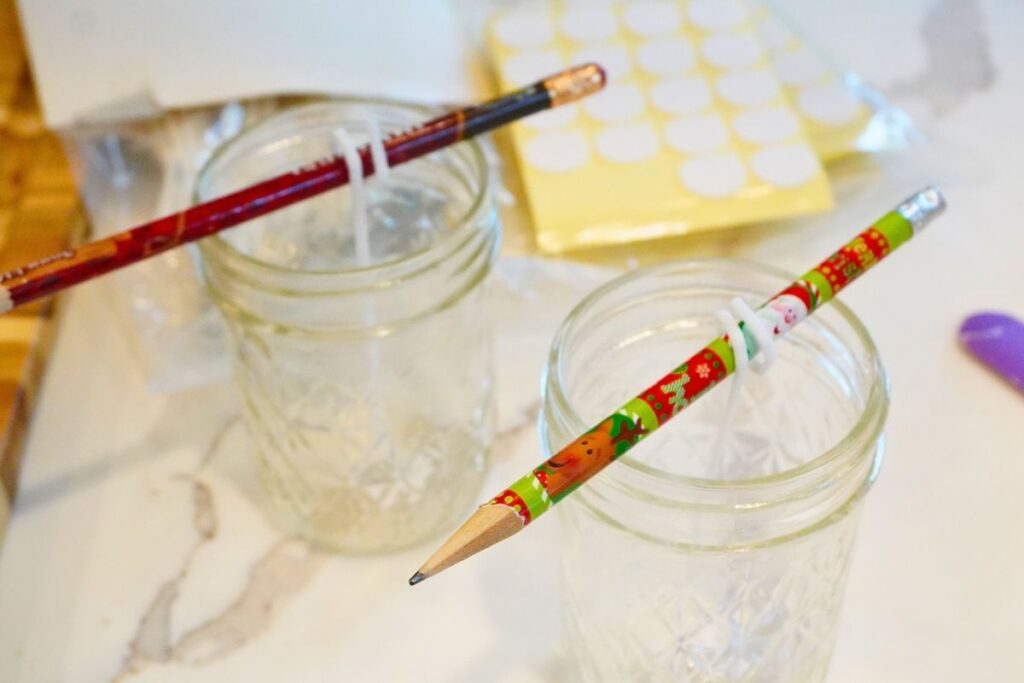
Stick a metal wick tab to the center of each jar bottom. Use a wick sticker or dip the tab in a little melted wax. Pull each wick straight up and hold it in place with a clothespin or chopsticks across the rim.
3. Weigh and melt the wax
Weigh 11 oz of beeswax pellets into your pitcher. Set it in a pot with a few inches of simmering water. Stir now and then as it melts. Beeswax melts at around 145°F.
4. Add the coconut oil (optional)
Once the beeswax is fully melted, add 2 oz of coconut oil. Stir until it’s completely blended. Heat the mixture to about 160–170°F.
Never leave melting wax unattended. Keep it below 185°F, and never heat wax directly over a burner.
5. Add essential oils (optional) and pour
Remove the pitcher from the heat and let the wax cool to about 160°F. If you’re using essential oils, stir in up to 0.8 oz (23 g) total. Stir gently for a full minute so the oils blend in. Then pour slowly into the jars, leaving ½ inch at the top of each. Save about 1 oz of wax in the pitcher for later.
To split the wax evenly, set each jar on your scale and pour about 6 oz into each one.
6. Let them set
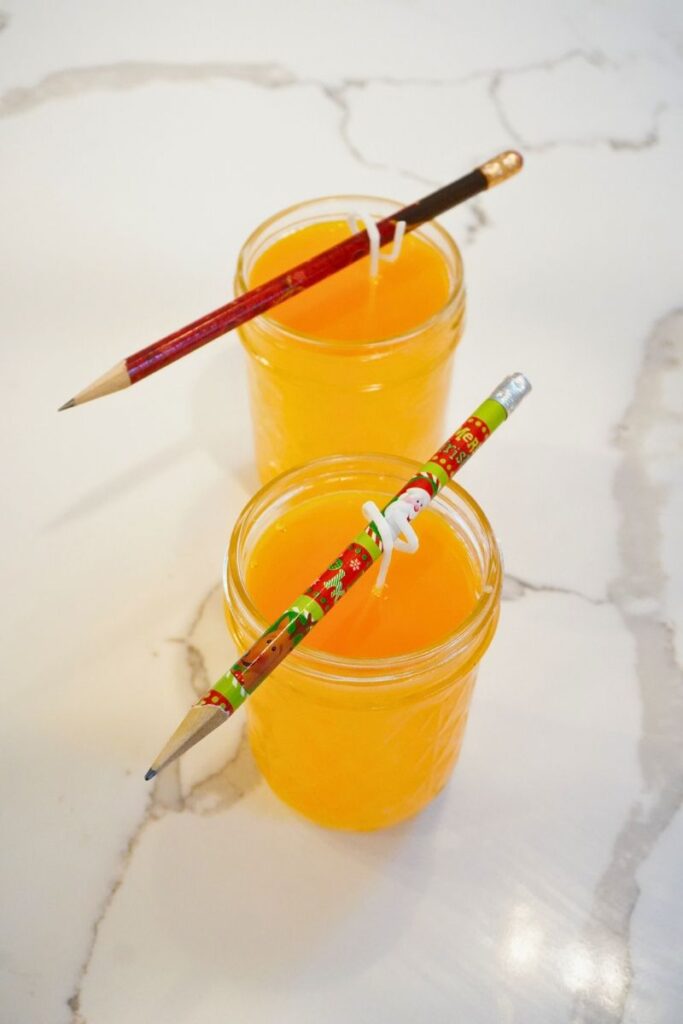
Leave the candles in a warm, draft-free spot. Cooling slowly helps prevent cracks and sinkholes. Beeswax often shrinks and forms a dip around the wick as it cools.
7. Top them off
After a few hours, check the surface of each candle. If you see a dip, remelt your reserved wax and pour a thin layer on top. This gives you a smooth, finished look.
8. Cure and trim
Let your candles rest for at least 48 hours before burning. Then trim each wick to ¼ inch.
How to Do a Test Burn
Light one candle and let it burn for 2–3 hours. Watch for these signs:
- The melt pool should reach the edge of the jar in about 3 hours.
- The flame should stay under 1 inch tall.
- There should be little to no smoke or soot.
If the wax tunnels down the middle, try the next wick size up. If the flame is tall, flickers, or smokes, go one size down.
Tips for the Best Beeswax Candles
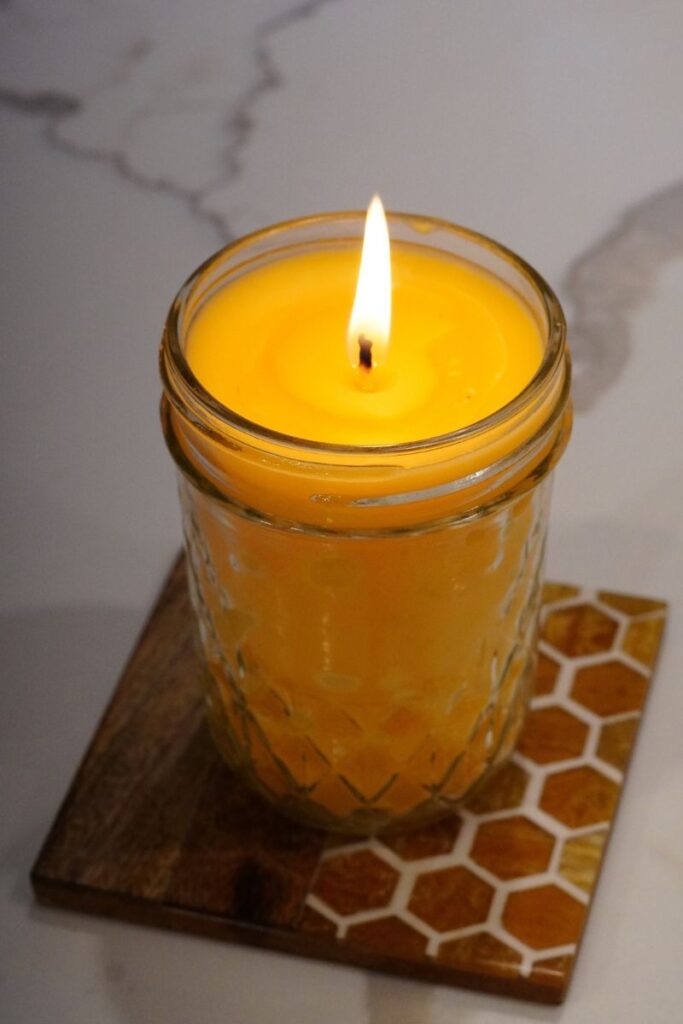
- Always burn long enough for a full melt pool on the first burn. This sets the “memory” for every burn after.
- Trim the wick to ¼ inch before each lighting.
- Don’t burn for more than 4 hours at a time.
- White bloom on the surface is normal for beeswax. It doesn’t affect the burn. Wipe it gently with a soft cloth if you like.
- Let scented candles cure for the full 48 hours. The essential oils settle into the wax and smell stronger after resting.
Candle Safety Reminders
- Never leave a burning candle unattended.
- Keep candles away from children, pets, and anything flammable.
- Set the jar on a heat-safe surface.
- Stop burning when about ½ inch of wax remains.
- Peppermint and eucalyptus are strong. Use them in a well-ventilated room, and skip them around babies, young children, and cats. Lavender or an unscented candle is a gentler choice for those spaces.
Half-Pint Mason Jar Beeswax Candles
Ingredients
Equipment
Method
- Warm two clean, dry half-pint jars and attach a wick to the center of each.
- Melt the beeswax in a double boiler.
- Stir in the coconut oil and heat to 160–170°F.
- Remove from heat and cool to about 160°F. Stir in essential oils, if using, for 1 minute.
- Pour about 6 oz into each jar, saving about 1 oz.
- Let them set, then top off any dips with the reserved wax.
- Cure 48 hours and trim each wick to ¼ inch before burning.
Notes
Final Thoughts
Making homemade beeswax candles is a simple way to bring a little warmth into your home. They make sweet gifts, too. A half-pint jar tied with twine and a tag is just the right size for neighbors and teachers.
If you love making things from scratch, you might also enjoy my Herbal Calendula and Chamomile Sugar Scrub or my Herbalism for Beginners guide.
Have you made beeswax candles before? Let me know in the comments how yours turned out!
-
Easy Herbal Conditioner Bar Recipe with Chamomile & Calendula
Easy Herbal Conditioner Bar Recipe with Chamomile & Calendula This herbal conditioner bar recipe combines nourishing oils, cocoa butter, BTMS-50, and vitamin B5 for soft, manageable hair. It also features chamomile-infused coconut oil and calendula-infused olive oil for a special herbal touch. Unlike traditional bottled conditioner, solid conditioner bars are highly concentrated and require very…
-
The Best DIY Honey Foaming Face Wash | Glowing, Healthy Skin
The Best DIY Honey Foaming Face Wash for Glowing, Healthy Skin A Simple, Gentle Daily Cleanser You Can Feel Good About I have tried many cleansers over the years, both as a nurse and a busy mom. However, I kept coming back to simple, nourishing ingredients. This honey foaming face wash has become a favorite…
-
Simple Gentle Liver Detox Tea Recipe (Natural & Nourishing)
Gentle Liver Detox Tea Recipe (Natural and Nourishing) A Simple Way to Support Your Body Naturally As the seasons begin to shift, I often notice my body asking for a slower, gentler reset. After months of heavier foods and busy days, everything can start to feel a little sluggish. Instead of turning to harsh detoxes,…
-
Easy Apple Cinnamon Baked Oatmeal Recipe
Apple Cinnamon Baked Oatmeal Recipe This apple cinnamon baked oatmeal recipe is one of those breakfasts that brings calm to busy mornings. I started making baked oatmeal when I needed something nourishing that could feed my family without extra work. This recipe comes together quickly, uses simple pantry staples, and bakes while the rest of…
-
Herbal Calendula and Chamomile Sugar Scrub
Herbal Calendula and Chamomile Sugar Scrub There is something deeply satisfying about making simple body care products with herbs you already know and trust. Over time, I’ve learned that our skin responds best to gentle, nourishing ingredients, especially when they come straight from the apothecary shelf or pantry. This calendula chamomile sugar scrub is one…
-
Apple Mint and Lemon Balm Calm Tea
Apple Mint and Lemon Balm Calm Tea A Gentle, Comforting Blend for Stressful Days When the day feels a little too loud, or your mind just won’t slow down, apple mint and lemon balm calm tea is one of my favorite ways to create a pocket of peace. As a mom of five and an…