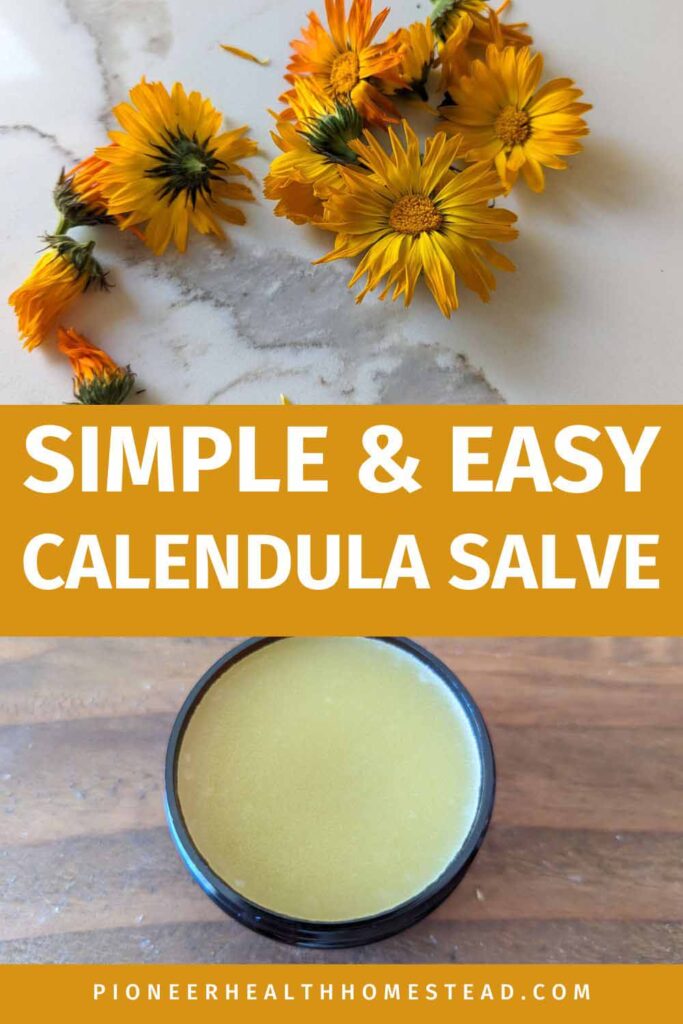
Calendula Salve Recipe: How to Make
Why You Should Try This Calendula Salve Recipe
This calendula salve recipe is a simple yet effective natural remedy with a long history of healing properties. Calendula, or calendula officinalis, has been cherished in herbal medicine for its ability to soothe and nourish the skin. For centuries, people have used this versatile herb to treat a variety of skin issues, from minor cuts and scrapes to bug bites, dry skin, and skin irritations.
Making your own calendula salve allows you to harness the full potential of this powerful medicinal herb. Calendula flowers are rich in compounds that promote healing, and when infused in oils, they create a nourishing balm perfect for your skin. The traditional folk method of creating herbal infusions is not only simple but also a wonderful way to connect with the earth’s natural remedies.
This calendula salve recipe is an easy, cost-effective way to make your own herbal remedy at home. Whether you are using it for dry skin, sensitive skin, or other skin ailments, this homemade salve provides gentle relief and soothing comfort. It’s the perfect way to incorporate the healing power of calendula into your natural wellness routine.
Save for Later!
All About Calendula: A Powerful Healing Herb
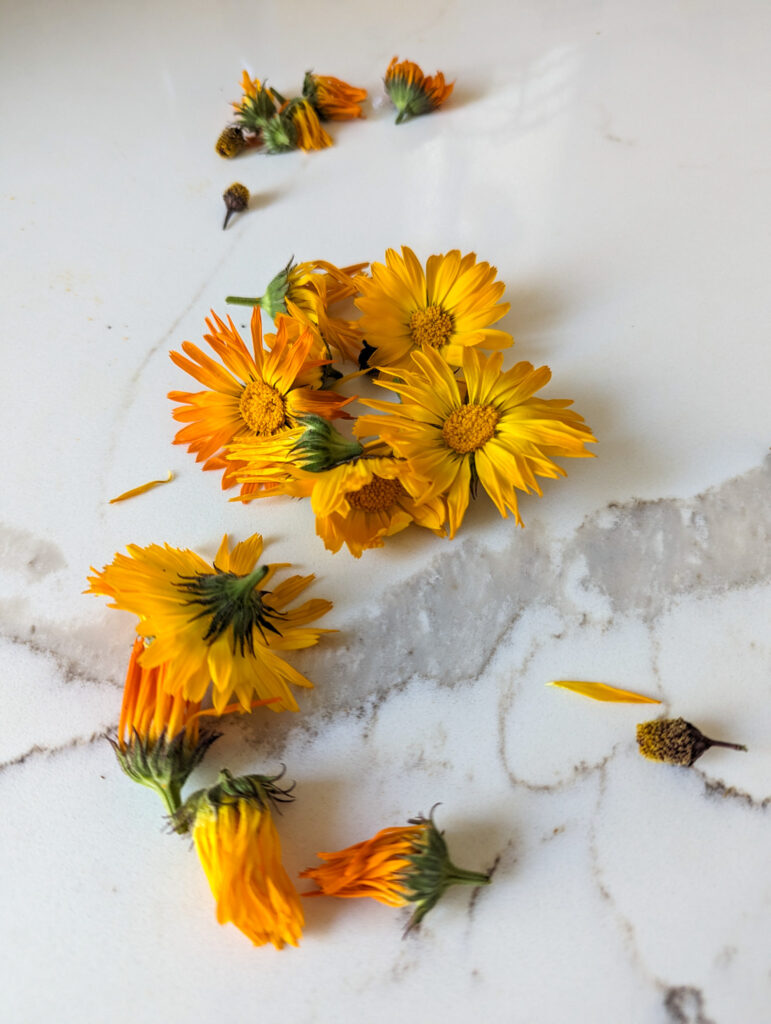
Calendula, also known as calendula officinalis or pot marigold, is a brightly colored flowering plant that has been used for centuries in herbal medicine. Known for its vibrant yellow and orange blooms, calendula is more than just a beautiful flower—it’s a potent medicinal herb with many therapeutic benefits.
The plant’s petals are the most prized part, as they contain powerful compounds that support skin health. Calendula is widely recognized for its anti-inflammatory, antiseptic, and soothing properties. These properties make it an excellent choice for treating a range of skin issues, from insect bites, diaper rash, sunburns, and even chicken pox.
Calendula flowers are known for their ability to promote healing and reduce swelling, which is why they’re commonly used in herbal oil infusions and herbal salves. When made into an oil, it can be used as a base for homemade lotions, balms, and other natural body care products.
Calendula’s medicinal properties come from its rich content of flavonoids, carotenoids, and essential oils. These nutrients work together to nourish the skin and help it heal naturally. If you grow your own calendula or buy it from a trusted supplier like Mountain Rose Herbs, you can use the dried petals to create a variety of natural remedies.
What You’ll Need to Make Your Calendula Salve
Creating your own calendula salve is a simple and rewarding process. To get started, you’ll need a few key ingredients and tools to ensure that your salve has all the benefits calendula has to offer.
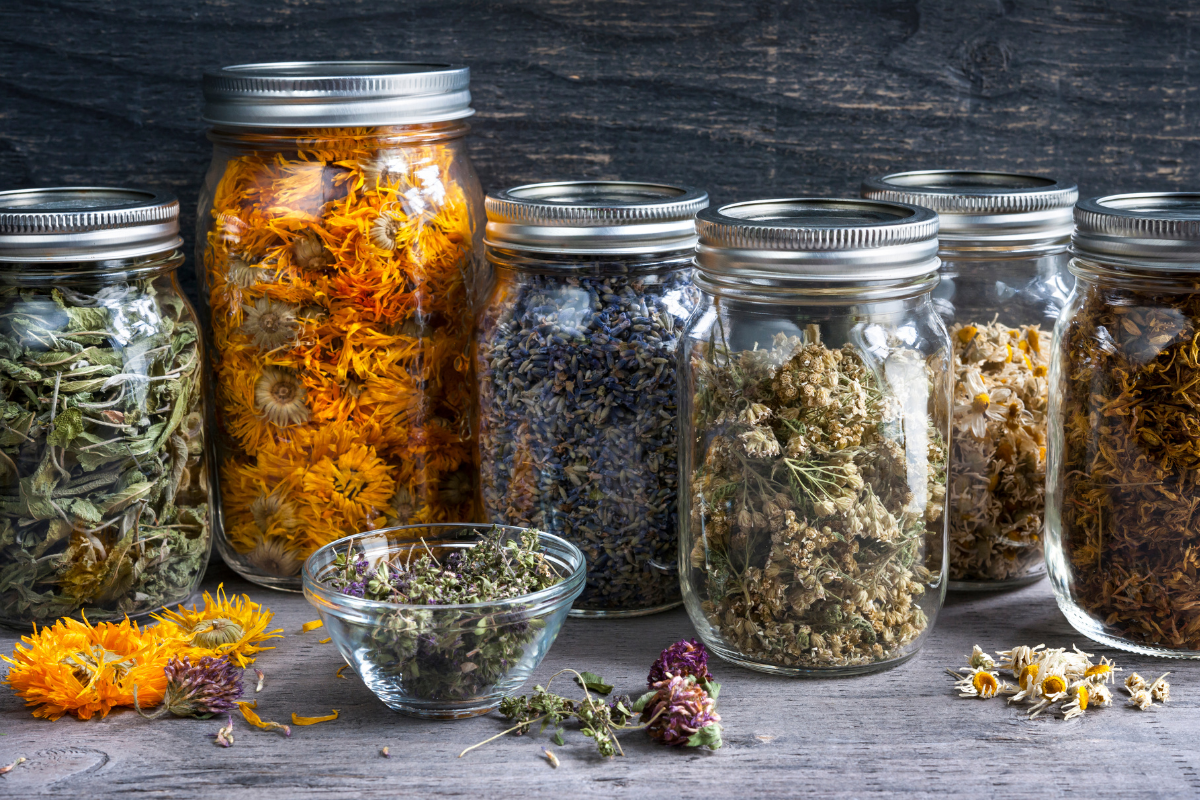
Calendula Petals or Dried Calendula Flowers
The primary ingredient in this salve is calendula petals, also known as calendula officinalis. You can use dried calendula flowers from trusted sources, such as Mountain Rose Herbs, to ensure you’re using high-quality, potent herbs. If you’re lucky enough to grow your own calendula, you can harvest the blooms and dry them for use in this recipe. Calendula petals are rich in healing properties and will infuse your salve with their soothing benefits.
Base Oils: Carrier Oils for Nourishing Skin
Next, you’ll need base oils, which are also known as carrier oils. These oils provide the foundation for your salve and help to nourish the skin. Common options include olive oil, sweet almond oil, sunflower oil, and coconut oil. Each oil brings its unique benefits to the mix, so you can choose the one that best suits your skin’s needs. Olive oil, for example, is great for dry skin, while coconut oil offers deep hydration and has natural antimicrobial properties.
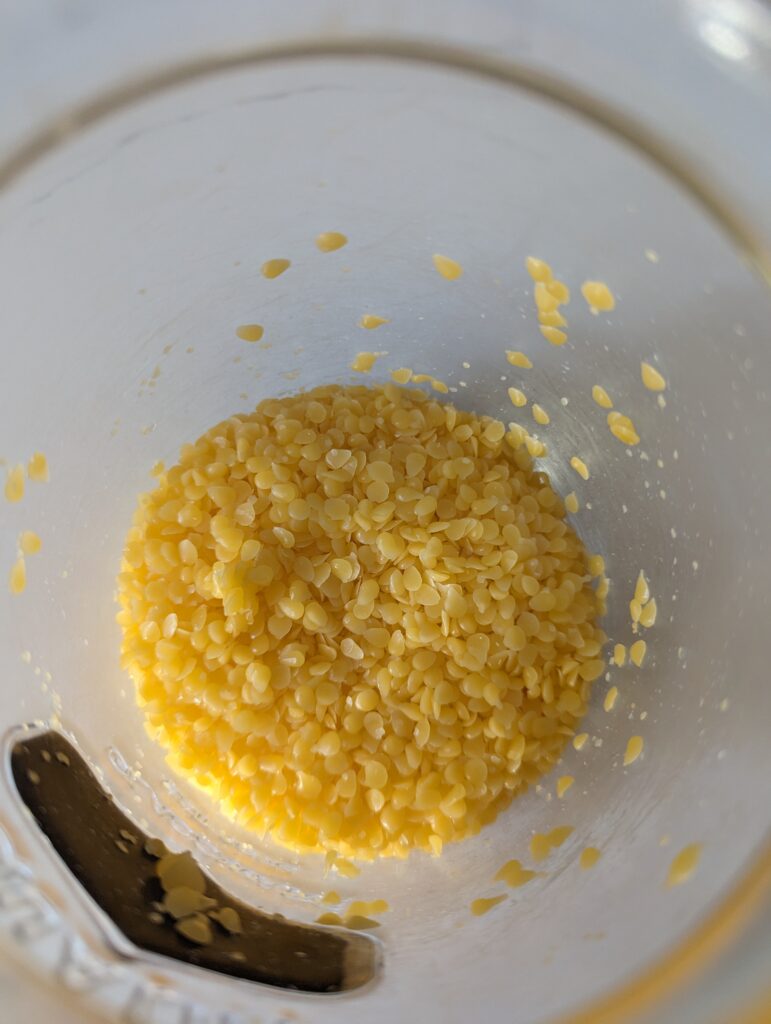
Beeswax Pastilles and Carnauba Wax for Texture
To give your salve the right texture and consistency, you’ll need beeswax pastilles. Beeswax helps to bind the oils together and solidify the mixture into a balm-like consistency. If you’re looking for a vegan alternative, you can use carnauba wax, which offers similar texture and firming properties.
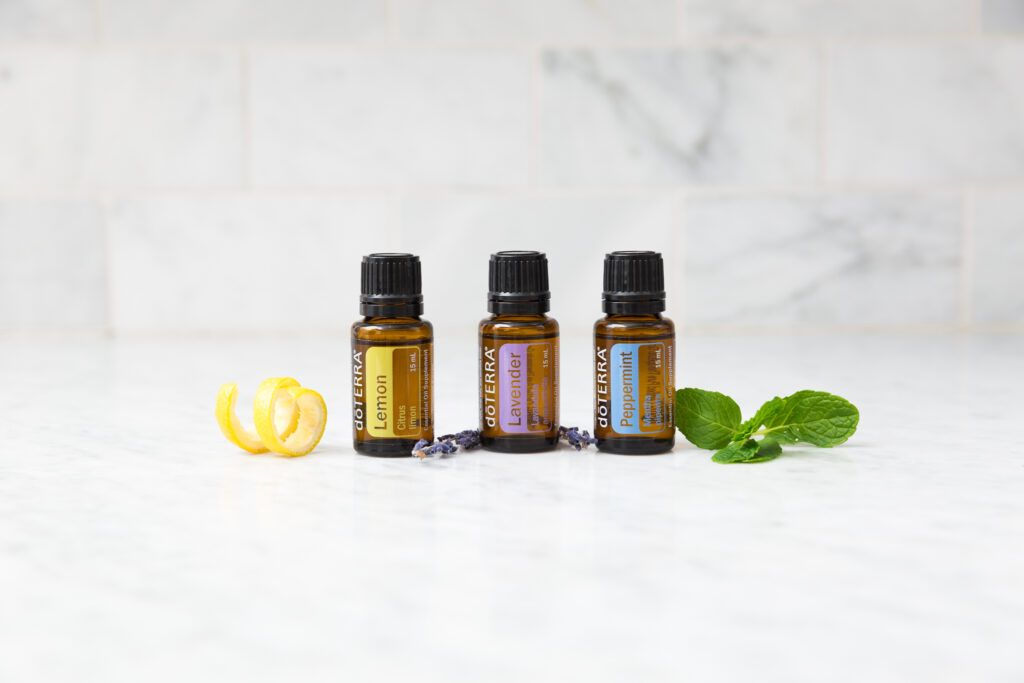
Essential Oils for Extra Soothing
While optional, adding essential oils to your calendula salve can enhance its soothing effects. Lavender essential oil is a popular choice due to its calming and healing properties, perfect for sensitive or irritated skin. You can also experiment with other essential oils like chamomile or tea tree, depending on your preferences.
Vitamin E Oil for Preservation and Skin Benefits
Vitamin E oil is another beneficial ingredient in your calendula salve. It helps to preserve the salve and extends its shelf life while providing added skin benefits. Vitamin E is known for its ability to promote healing and protect the skin from environmental damage, making it a great addition to your salve.
Glass Jar or Small Container for Storing
Once your salve is ready, you’ll need a container to store it in. A glass jar or a small container is ideal for this purpose. These containers are easy to clean and will help to preserve the shelf life of your homemade salve. Be sure to store the jar in a cool, dark place to maintain its potency.
Double Boiler Setup for Melting the Ingredients
To make the calendula salve, you’ll need a double boiler setup. This method gently heats the ingredients, preventing them from overheating and losing their therapeutic properties. You can use a glass Pyrex bowl or a metal spoon for stirring. The double boiler allows you to melt the beeswax and oils evenly, ensuring a smooth and well-blended salve.
If you have never made an herbal oil before, check out my blog and YouTube tutorial. In the tutorial, I walk you through each step of the process, from preparing your calendula petals to infusing them in oils, so you can create your own herbal oil to use in this salve recipe.
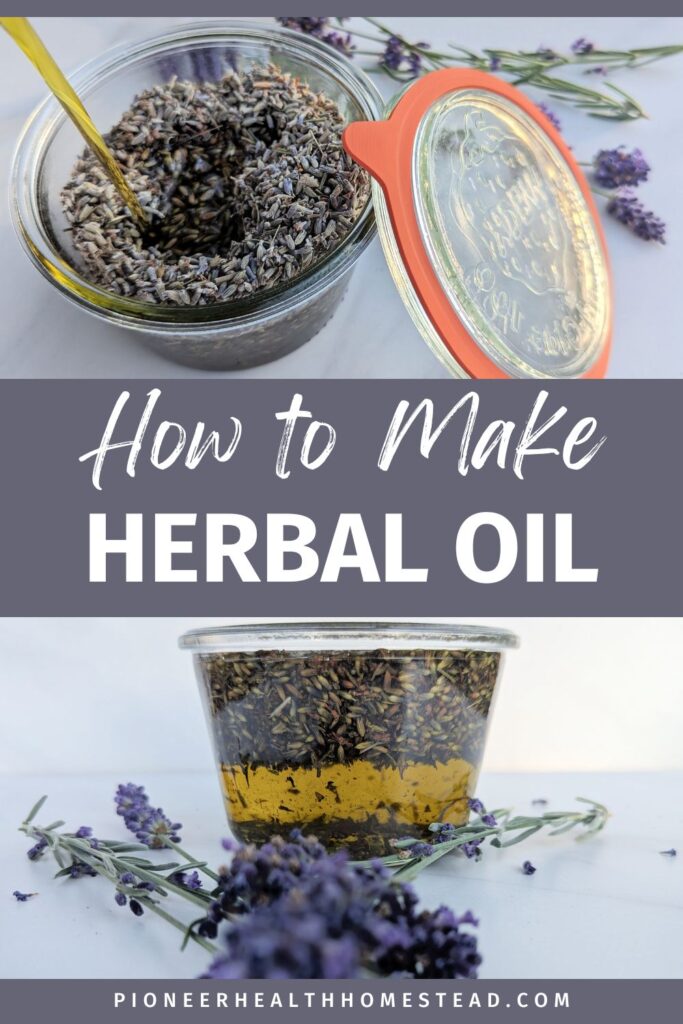
How to Make Calendula-Infused Oil
To make calendula-infused oil, the first step is to gather dried calendula blooms or calendula petals. Using dried petals is best, as they last longer. Fresh flowers may be used if they are a couple of days old to reduce water content and minimize spoilage.
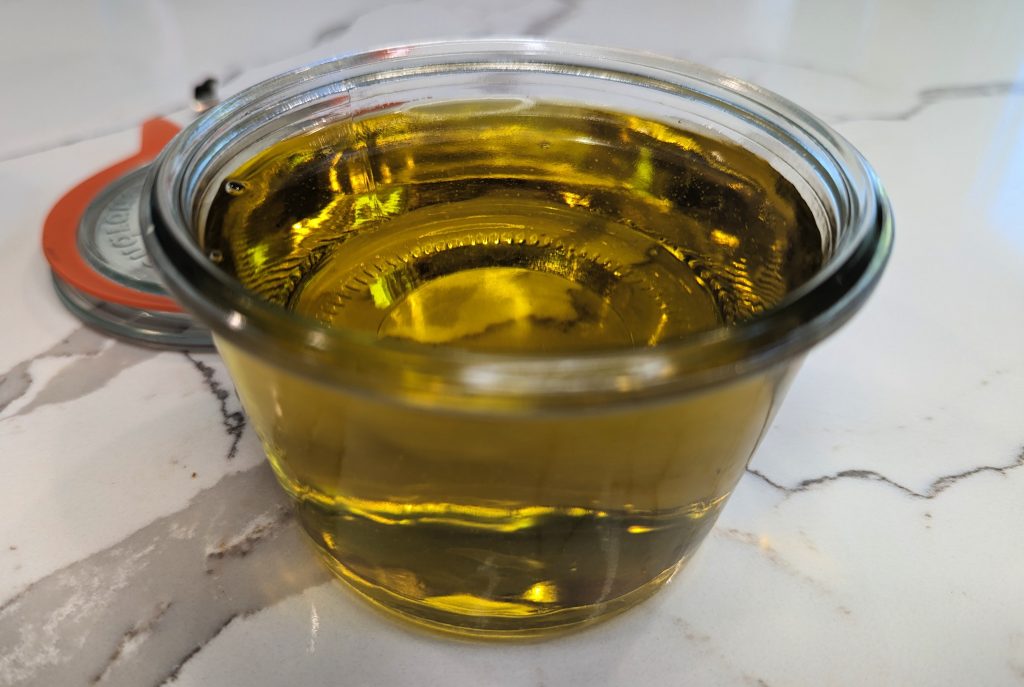
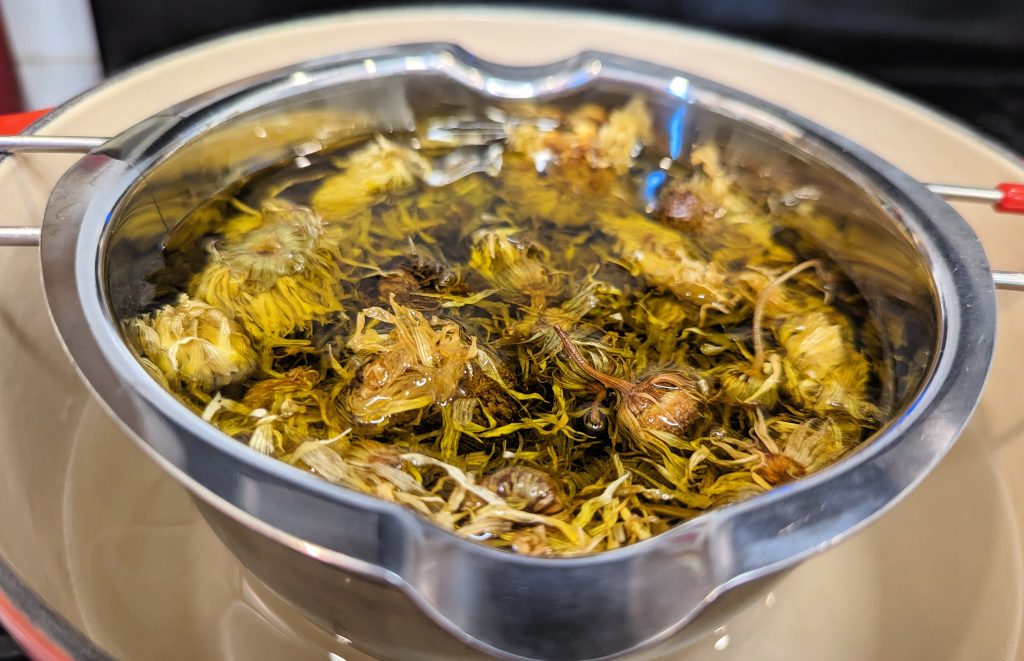
Oil Infusion Process
For the oil infusion, start by selecting your preferred base oil. Olive oil, jojoba oil, and sunflower oil are great options. Once you have your oil, fill clean containers with about a cup of oil. Then, add your dried calendula petals to the oil, making sure they are fully submerged.
Allow the petals to infuse in the oil for 4-6 weeks. Store the mixture in a cool, dark place during this period. If you want a quicker infusion, use the double-boiler method. Set the oil over low heat and infuse it for about a week.
After the infusion is complete, strain the herbal oil. You can use a cheesecloth or just a mesh strainer to remove the petals, leaving only the calendula-infused oil behind. This oil is now ready to use for your calendula salve or other natural remedies.
Making the Calendula Salve
Melting the Beeswax and Oil
Start by adding both the beeswax pastilles and calendula-infused oil into the top bowl of a double boiler. Set the boiler over medium heat and allow the beeswax and oil to melt together. Stir occasionally to help the mixture blend smoothly. This will take a little while as beeswax has a very high melting point. Be patient and make sure it is completely dissolved and combined before removing from heat.
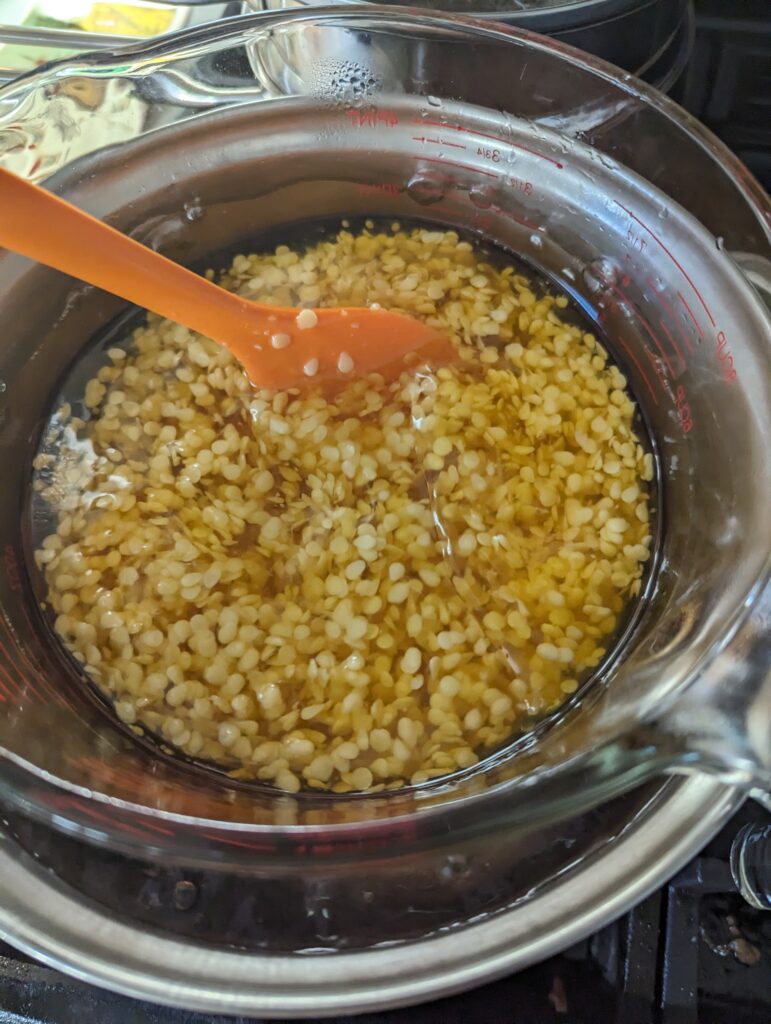
Once fully melted and combined, this mixture will serve as the base for your salve, offering soothing and healing properties for your skin. If you prefer a vegan option, you can substitute carnauba wax for the beeswax.
Adding Moisturizing Ingredients
For added moisture and a smooth texture, you can include shea butter or coconut oil. These ingredients help nourish the skin and improve the consistency of the salve, making it easier to apply.
Optional Additions
If desired, add a few drops of lavender essential oil for its calming and healing effects. Vitamin E oil for extra skin benefits and preservation. These optional ingredients can enhance your salve’s effectiveness and scent.
Stirring and Storing
Once everything is thoroughly combined, use a glass jar/measuring cup or bowl to pour into your container. Afterward, pour the salve into clean containers, allowing it to cool and solidify before use.

Cooling and Storing Your Salve
Allowing the Salve to Cool
Once you’ve finished mixing your calendula salve, pour the mixture into small jars or a pint jar, depending on the quantity you’ve made. Be sure to leave a little space at the top of each jar to allow for slight expansion or contraction during the cooling process. Allow the salve to cool at room temperature in a cool, dark place. This ensures the salve solidifies evenly and doesn’t lose any of its beneficial properties.
Proper Storage for Longevity
Avoid placing the jars in direct sunlight or near a heat source, as this could cause the salve to melt or lose its effectiveness. A cool, dark area like a cupboard or drawer is ideal for storing your salve. Proper storage not only helps preserve the texture but also maintains the potency of the calendula oil and any added essential oils or moisture-enhancing ingredients like shea butter.
To extend the shelf life of your homemade calendula salve, store it in clean, airtight containers. This will prevent contaminants from affecting the salve over time. When stored correctly, your calendula salve should last for approximately one year.
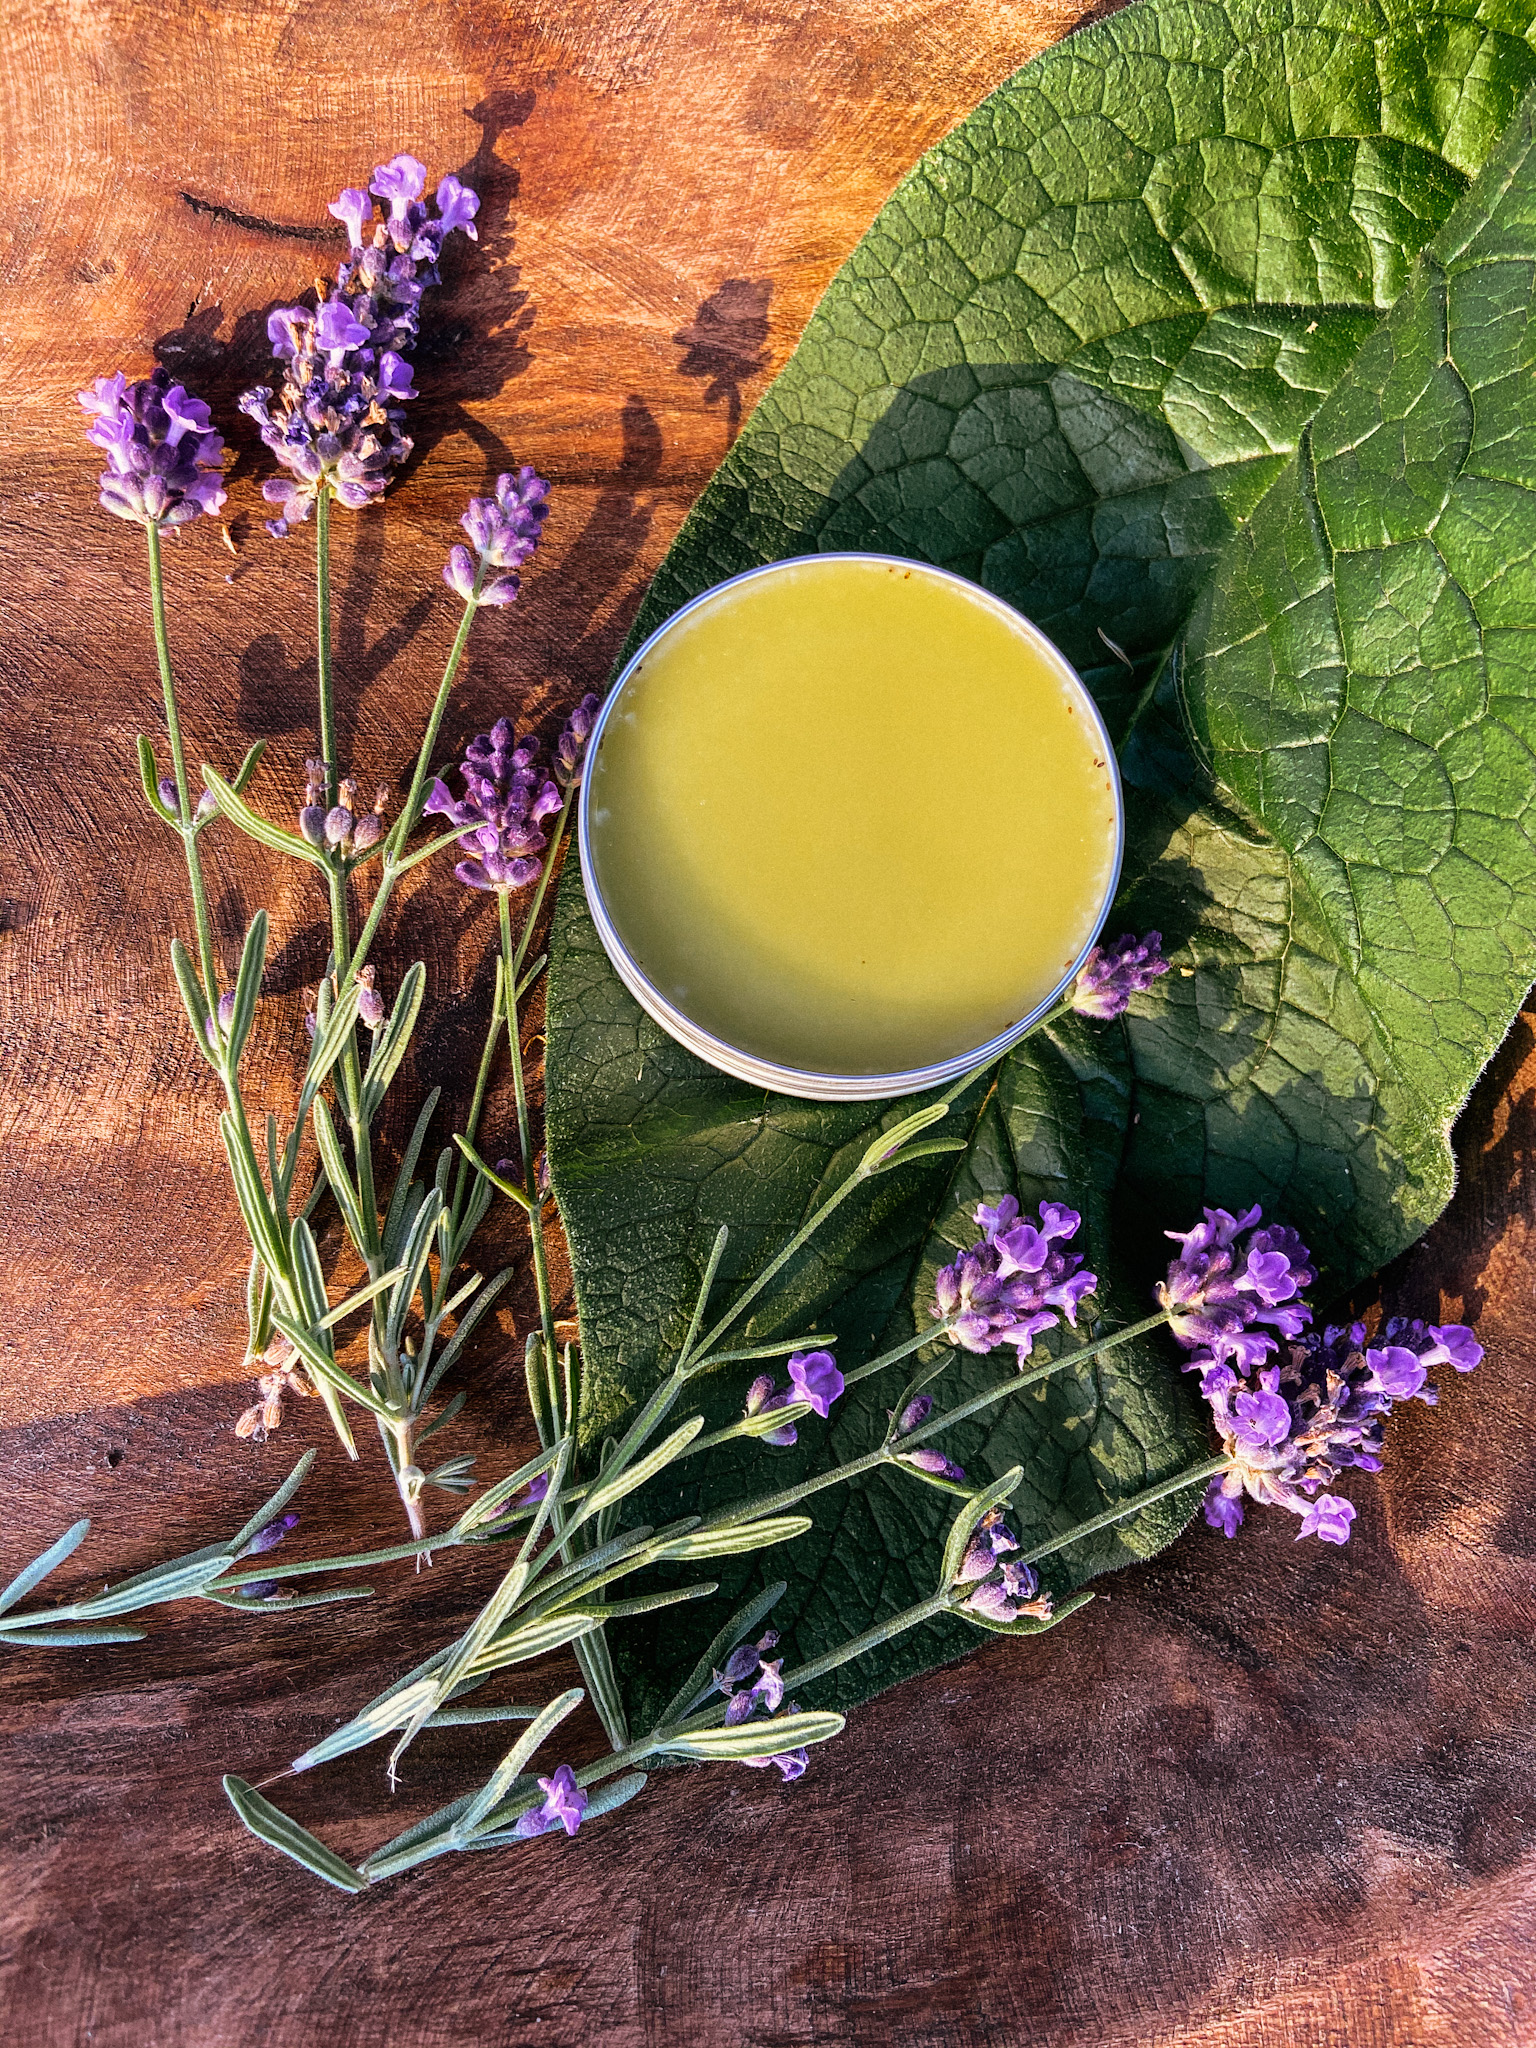
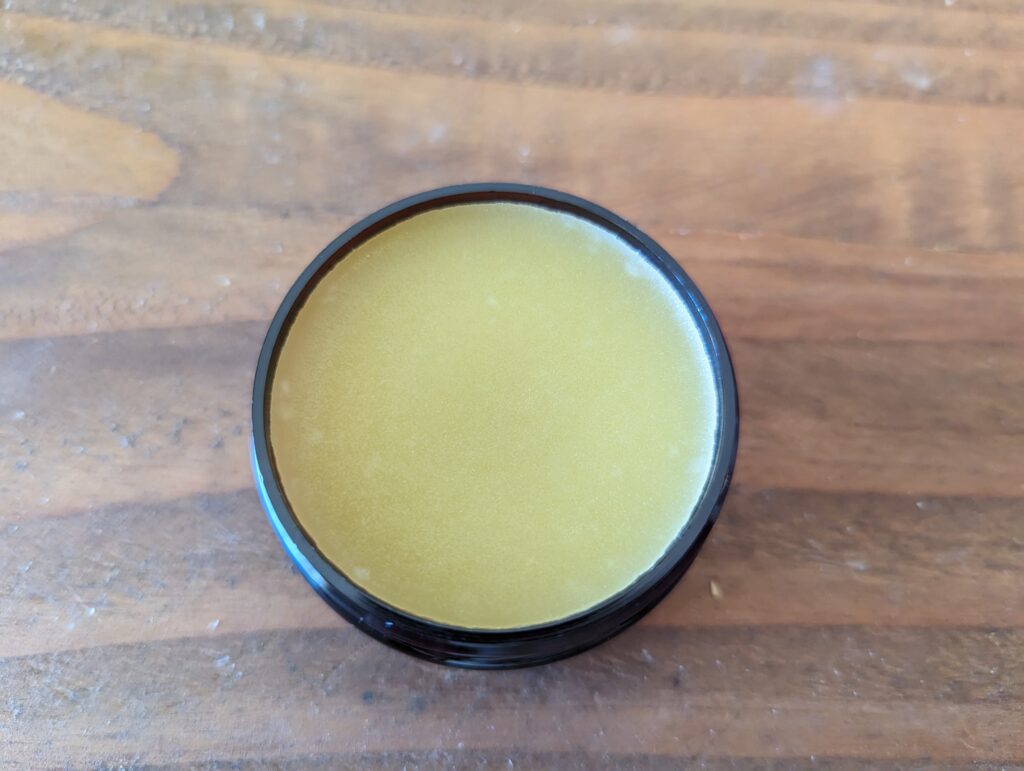
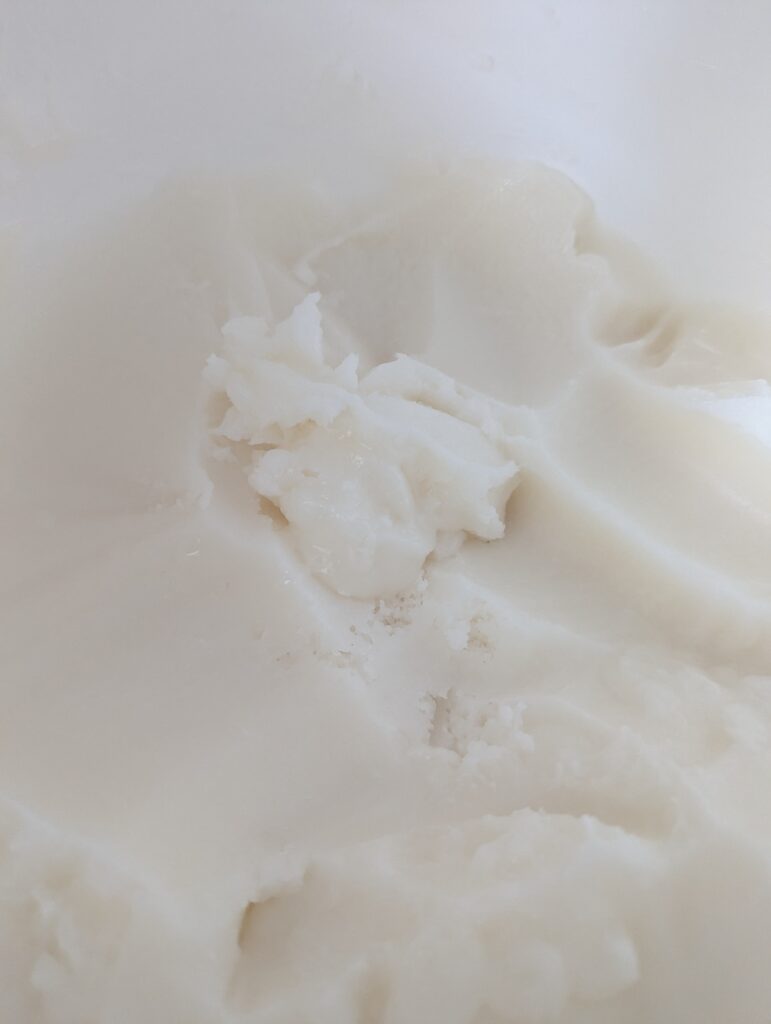
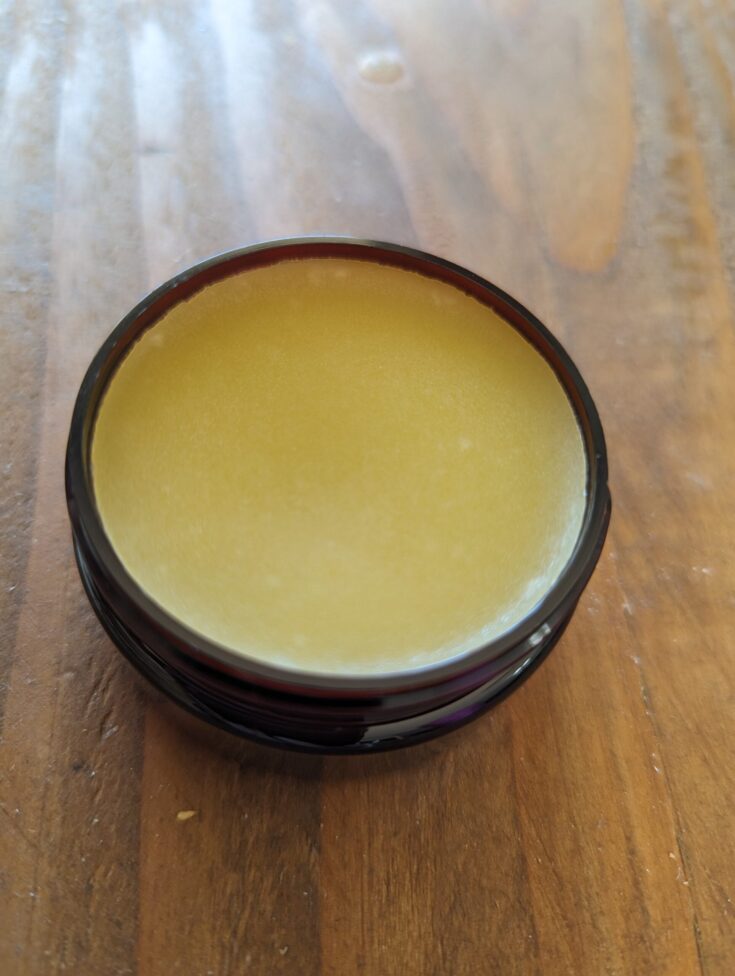
Ready to Use!
After the salve has cooled and hardened, it will be ready for use! The final product will have a smooth, creamy consistency that’s easy to apply. Whether you’re using it to soothe dry skin, treat bug bites, or address other skin irritations, your homemade calendula salve is sure to provide gentle relief for sensitive skin.
Calendula Salve
Soothe and nourish your skin with this simple homemade calendula salve. Made with calendula-infused oil, beeswax, and optional shea butter or coconut oil, this salve is perfect for dry skin, minor cuts, scrapes, and irritation. Customize with essential oils like lavender for extra soothing benefits. This small-batch recipe yields about 2.5–3 ounces, making it perfect for personal use or as a thoughtful homemade gift. Store in a cool, dark place, and enjoy the natural healing properties of calendula!
Ingredients
- 2 oz calendula-infused oil
- 0.5 oz beeswax (or carnauba wax for a vegan option)
- 0.5 tbsp shea butter or coconut oil (optional for added moisture)
- 3–5 drops essential oil (optional, such as lavender for extra soothing benefits)
Instructions
- In a double boiler, add the calendula-infused oil and beeswax. Add in the shea butter or coconut oil if using. Melt over low heat, stirring occasionally. Stir until fully combined. This may take 20 minutes or more.
- Remove from heat and stir in essential oils or vitamin E oil if using.
- Pour into clean jars or tins and let cool completely before sealing.
- Store in a cool, dark place. The salve will last about one year.
Notes
To make an herbal oil, please see our other blog post or the YouTube video within this one for more details and step-by-step instructions.
You can use other butters, such as mango or cocoa, if preferred.
Use any skin-safe essential oils that you would like.
You can use this recipe to create salves with other herbal oils, such as comfrey or St. John's Wort.
Use more beeswax if you'd like a harder salve product in the end.
Tips for Using Calendula Salve
First-Time Users
If you’re using calendula salve for the first time, start by applying a small amount to a sensitive area of your skin, such as the inside of your wrist or elbow. This helps check for any adverse reactions, especially if you have sensitive skin. If there’s no irritation after 24 hours, feel free to use it on larger areas.
Versatile Uses for Your Salve
Calendula salve is incredibly versatile and can be used for a range of skin ailments. It’s great for soothing diaper rash, treating skin irritations, and even providing relief from chicken pox. Keep the salve on hand for these situations and more. It also works wonderfully as a nourishing lip balm, offering hydration and protection for chapped lips.
Calendula salve is also a popular choice for massage oils. Its soothing properties make it ideal for helping to relax and moisturize the skin during a massage, providing additional benefits to your body care routine.
Incorporating Calendula Salve into Your Routine
If you’re looking to create your own DIY lotion recipes, consider adding calendula flower salve to your natural body care regimen. It can provide extra nourishment and hydration, making your homemade lotions even more effective for dry or irritated skin. Whether used alone or mixed with other natural ingredients, calendula salve is a fantastic addition to your self-care routine.
Enjoy the Benefits of this Homemade Calendula Salve Recipe
Making your own calendula salve is a rewarding and easy way to tap into the natural healing properties of calendula flowers. This simple yet effective herbal remedy can help soothe dry skin, treat skin irritations, and provide relief from bug bites or diaper rash. By using dried calendula petals, a few natural oils, and beeswax, you can create a moisturizing and nourishing salve that’s free from harmful chemicals.
Whether you’re a first-time user or an experienced DIY enthusiast, this calendula salve recipe is a great addition to your natural body care routine. With its versatility, you can use it as a lip balm, massage oil, or even incorporate it into your own DIY lotion recipes. Store your homemade calendula salve properly, and it will last for months, ready to soothe and heal your skin whenever you need it.
Enjoy the benefits of this herbal salve, and know that you’re using a safe, natural remedy with a long history in herbal medicine. By making your own salve, you not only benefit from the medicinal properties of calendula but also from the satisfaction of creating something with your own hands.
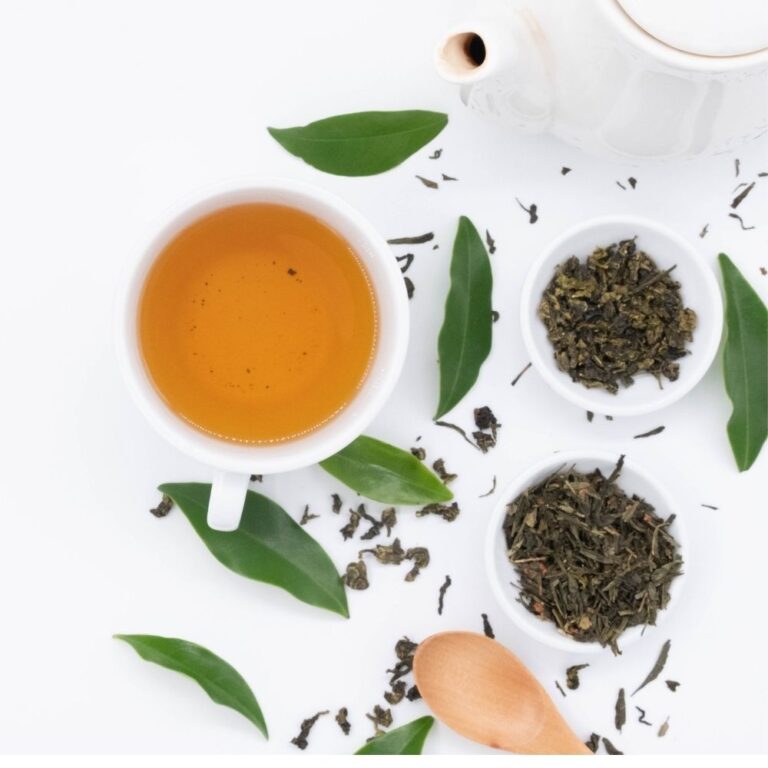
Green Tea Vs Herbal Tea: The Best Complete Tea Guide
Sharing is caring! Facebook Pinterest X Green Tea Vs Herbal Tea: The Best Complete Tea Guide Understanding the Differences Green tea vs herbal tea is a popular debate among tea lovers worldwide. Both offer unique flavors, health benefits, and caffeine content. Tea has a rich history and is enjoyed in many cultures. From Chinese green…
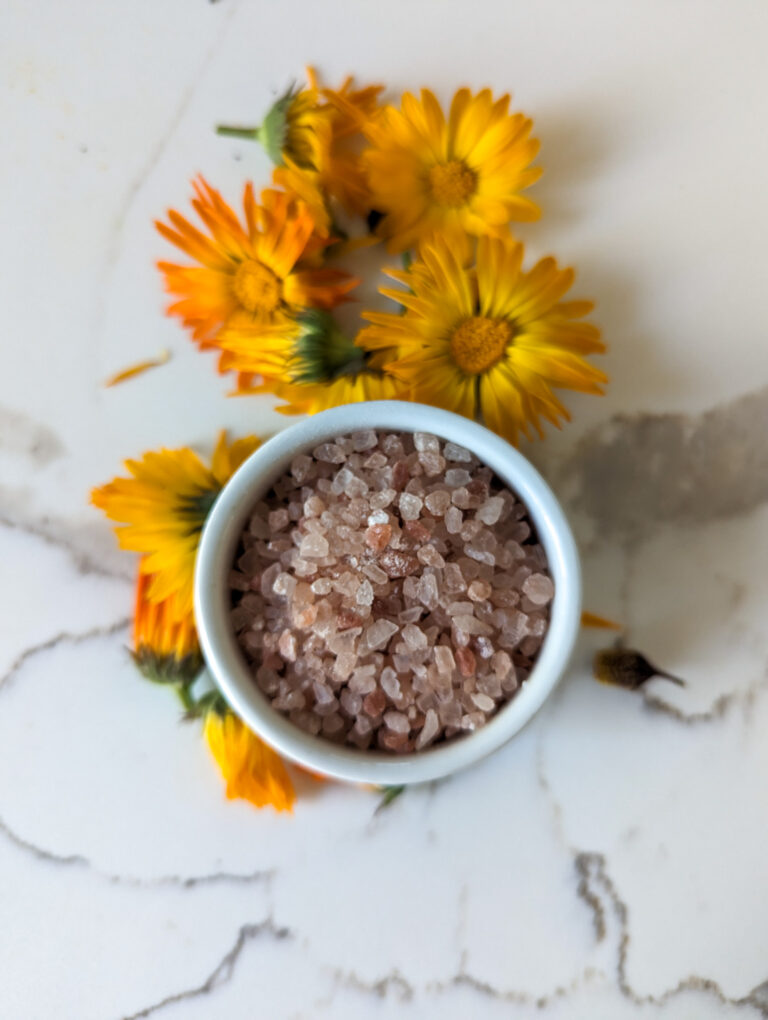
How to Make Bath Salts Without Epsom Salt: Free Recipe
How to Make Bath Salts Without Epsom Salt: Free Recipe How to Make Bath Salts Without Epsom Salt Homemade bath salts without Epsom salt are a great way to enjoy a luxurious soak. You can use natural ingredients like coarse sea salt, baking soda, and pink Himalayan salt for a soothing experience. A relaxing bath…
Homesteading in California: How to Start at Any Stage
Homesteading in California: How to Start at Any Stage How Homesteading in California is Possible Homesteading in California is a journey that looks different for everyone, depending on where you live in this vast and diverse state. From the deserts dotted with Joshua trees in the south, to the rugged mountain ranges in the north,…
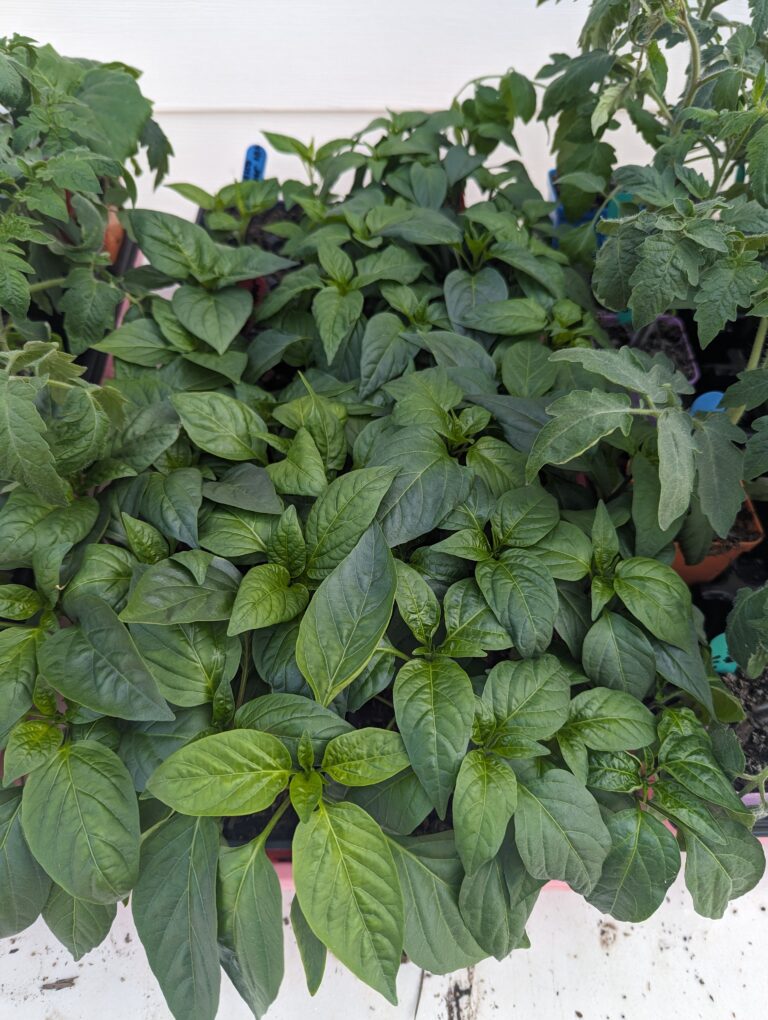
How to Make Peppers Grow Faster: Guide and Easy Tips
How to Make Peppers Grow Faster: Guide and Easy Tips How to make peppers grow faster is a common question among home gardeners seeking to maximize their growing season. Whether you’re nurturing sweet peppers, green peppers, or hot pepper plants, creating ideal conditions is essential for pepper success. The best way to achieve healthy pepper plants…

The Different Types of Cloth Diapers: Ultimate Guide
The Different Types of Cloth Diapers: Ultimate Guide The different types of cloth diapers offer a sustainable and eco-friendly alternative to disposable diapers for your baby. As a mom of five and a Registered Nurse, I’ve seen the many benefits of reusable cloth diapers firsthand. This guide will help you understand the major types of…
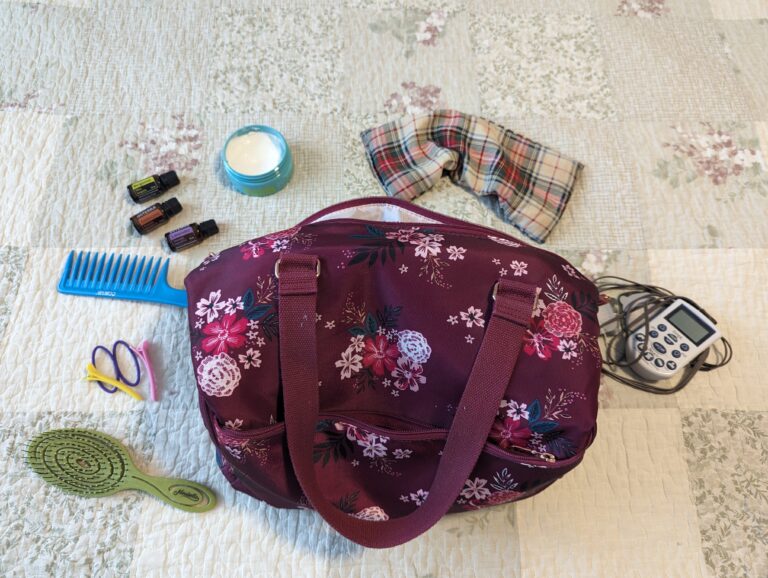
The Best Doula Bag Essentials Kit for Birth and Postpartum
The Best Doula Bag Essentials Kit for Birth and Postpartum The Best Doula Bag Essentials Kit for Birth and Postpartum A well-stocked doula bag is essential for supporting women during birth and postpartum. As a Registered Nurse, mother of five, and former Navy Hospital Corpsman, I’ve experienced the birthing world from many angles. I’ve worked…