Herbal Oil Guide: How to Make an Oil from Herbs
Herbal oils are the cornerstone of many DIY home remedies, bath and body products, and even natural skincare solutions. This guide will take you step-by-step through the process of creating your own herbal oil while answering common questions and providing helpful tips to get started. Whether you’re building your natural medicine cabinet or experimenting with DIY body care, this is the perfect place to begin.
Why Make a Herbal Oil?
Creating herbal-infused oils is a simple and versatile process that serves as the foundation for many natural products, including salves and ointments. These oils allow you to explore endless combinations of herbs and uses, empowering you to craft personalized remedies and self-care items right at home.
Save for Later!
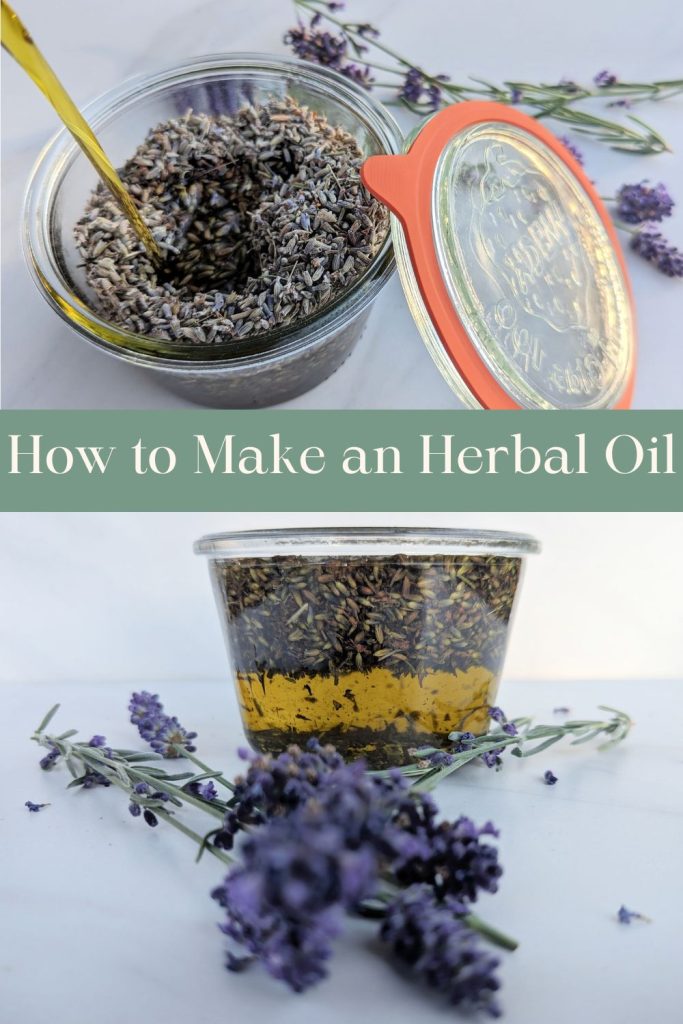
A Step Toward Natural Living
Transitioning to herbal oil-making is a significant step in living a natural lifestyle. When you make your own products, you gain control over every ingredient, ensuring there are no hidden chemicals. This transparency fosters trust in your creations and aligns with a healthier, more intentional lifestyle.
Cost-Effective and Self-Sustaining
Another benefit of crafting herbal oils is the potential to save money over time. By keeping key ingredients on hand, you’ll always be prepared to replenish items you need. This approach promotes self-sustainability and reduces dependence on store-bought alternatives, which is a rewarding step in any natural living journey.
How to Use Herbal Oils in DIY Products
Herbal oils are perfect for crafting your own homemade products. Start by adding them to balms, lotions, and creams to enhance their healing properties. For example, you can use a calendula-infused oil to soothe irritated skin or a lavender-infused oil for its calming effects. Simply blend the infused oil with other base ingredients like beeswax, shea butter, or coconut oil. You can also incorporate herbal oils into lip balms, soaps, and facial serums. By customizing your blends, you can create products tailored to your needs, whether it’s for hydration, relaxation, or skin care.
What Can You Make with a Herbal Oil?
Herbal-infused oils serve as a versatile base for a variety of products. With these oils, you can create:
- Medicinal Oils: Perfect for salves, balms, and ointments.
- Massage Oils: Sweetly scented blends for relaxation.
- Lip Balms: Nourishing and protective options for soft lips.
- Facial Serums and Hair Treatments: Tailored to your specific needs.
- Body Creams and Soaps: Moisturizing and aromatic additions to your skincare routine.
- Culinary Uses: Marinades infused with herbal flavors.
By starting with herbal oils, you open the door to endless creativity and the ability to craft products that are as effective as they are personalized.
What Types of Oils Can You Use with Herbs?
When making herbal-infused oils, there are many carrier oils to choose from, each with unique properties to enhance your finished product. Some commonly used oils include:
- Olive Oil – Known for its nourishing and moisturizing properties.
- Fractionated Coconut Oil (MCT oil) – A lightweight, quick-absorbing oil.
- Grape Seed Oil – A lightweight oil that is perfect for those with sensitive skin.
- Sweet Almond Oil – Offers deep hydration and is great for dry skin.
- Peanut Oil – Often used for its rich, emollient qualities.
- Sunflower Oil – A gentle, soothing oil with a high vitamin E content.
- Apricot Oil – Rich in vitamins A and E, ideal for skin regeneration.
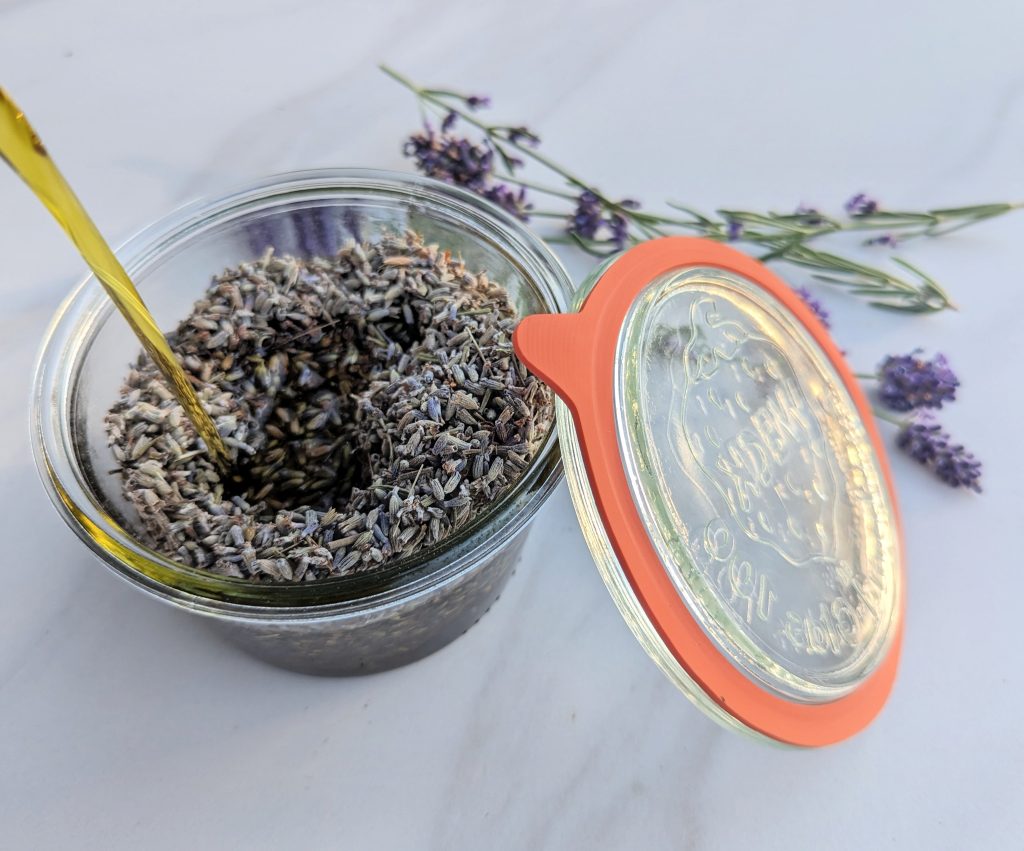
Historically, oils like lard or butter were used for herbal infusions. While effective, modern oils are more practical, versatile, and long-lasting.
It’s important to note that not all oils are ideal for herbal infusions. For example, rosehip seed oil is less commonly used due to its limited shelf stability, which can shorten the lifespan of your final product.
By selecting the right oil for your herbal infusion, you can customize the base to suit your needs, whether you’re making a rich salve, soothing massage oil, or nourishing body cream.
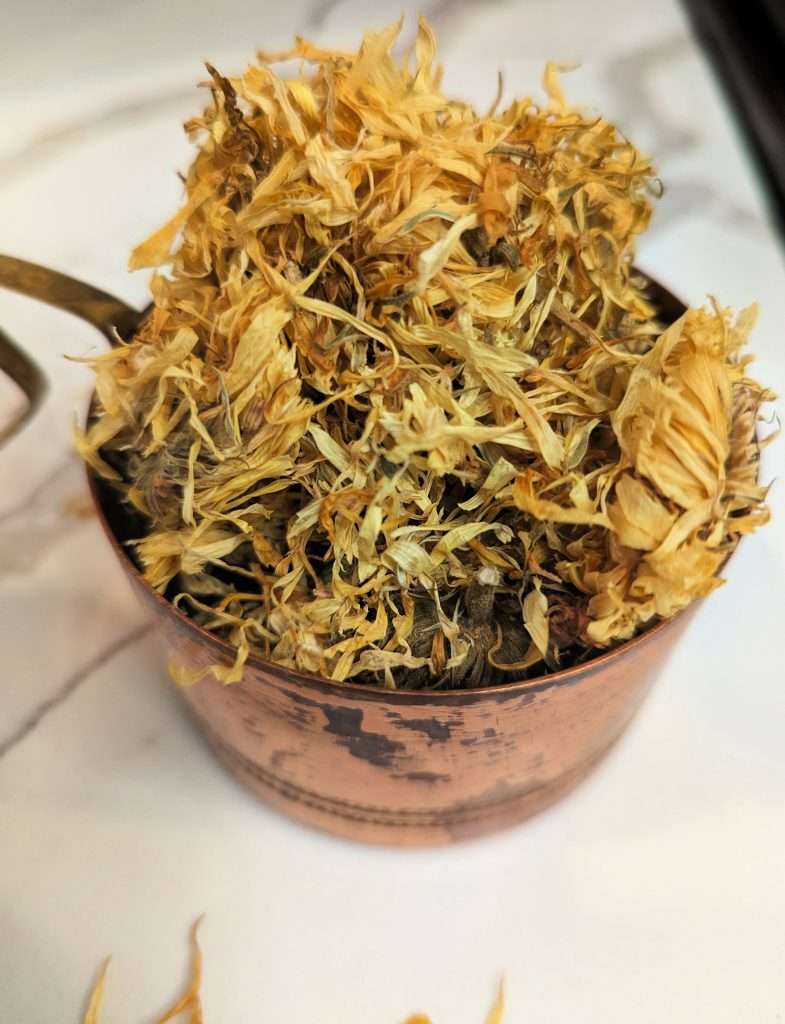
What Types of Herbs Can You Use in the Oil?
Choosing the right herbs with the correct herbal properties is essential to crafting a high-quality herbal infused oil. Dried herbs are generally the best choice, as fresh herbs contain water that can cause the oil to spoil or go rancid more quickly. However, there is some ongoing debate about specific herbs, such as St. John’s Wort, which some herbalists believe infuse more effectively when used fresh. This exception aside, sticking to dried herbs will typically ensure a more stable and longer-lasting infusion.
The quality of the herbs you use will also significantly impact your oil. I’ve had great success purchasing organic herbs from reputable suppliers like Mountain Rose Herbs. Their selection is of exceptional quality, although they are on the pricier side. Other reliable sources I’ve used include Frontier Co-op and the bulk herb sections of local health food stores.
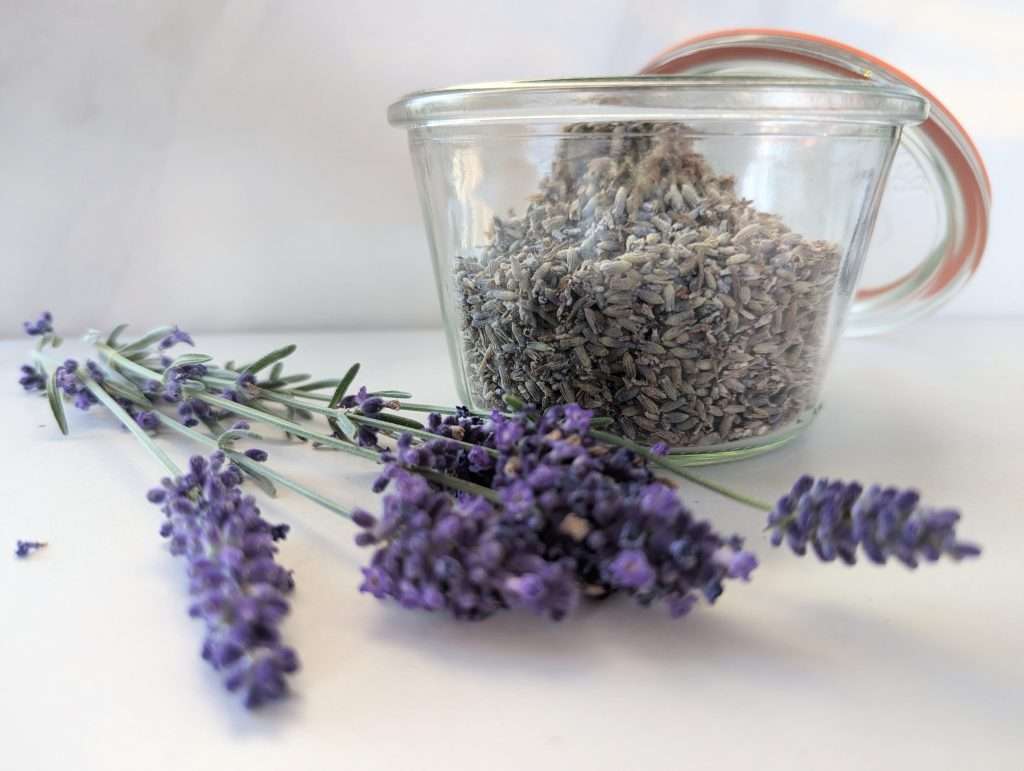
For the most sustainable and rewarding approach, growing and drying your own herbs is an excellent option. I’m currently transitioning to this method, preserving herbs from my backyard to replace my store-bought supply. Using homegrown herbs not only ensures freshness but also reduces reliance on external sources, aligning perfectly with a self-sufficient, natural living philosophy. Whether you source your herbs locally or cultivate them yourself, selecting high-quality, dried plants is key to creating effective and long-lasting herbal oils.
The Benefits of Using Herbal Oils for Health
Herbal oils offer a range of health benefits, from relieving pain to promoting overall wellness. Using a herb oil infusion can offer natural solutions for many different health problems. For instance, oils infused with arnica or ginger are known for their anti-inflammatory and pain-relieving properties. These oils can be massaged into sore muscles or joints for targeted relief. Lavender and chamomile-infused oils are excellent for calming stress and promoting restful sleep. Additionally, some herbal oils, like St. John’s Wort, can support skin healing and soothe conditions like sunburns. Whether you use them for pain relief, inflammation, or general wellness, herbal oils are a powerful, natural remedy for everyday health concerns. Using herbal oils is a great way to utilize natural ingredients for optimal health and wellness.
Healing Properties of Popular Herbal Oils
Herbal oils have been used for centuries due to their natural healing properties. Two of the most well-known herbal oils, Arnica and St. John’s Wort, stand out for their remarkable benefits in both pain relief and skin care.
Arnica Oil
Arnica oil is a powerful herbal remedy renowned for its anti-inflammatory and pain-relieving properties. This oil is often used to treat bruises, sprains, and muscle soreness. Arnica’s ability to reduce swelling and ease discomfort makes it a go-to option for athletes and anyone dealing with muscle or joint pain. It can also be applied to soothe aching muscles after a long day or intense physical activity.
St. John’s Wort Oil
St. John’s Wort oil is celebrated for its ability to support skin health and promote healing. This oil is particularly helpful for conditions like burns, cuts, and skin irritation. It also has mood-boosting properties and is often used for its calming effect on the nervous system. St. John’s Wort oil can help ease emotional stress and support mental wellness, making it a great addition to your holistic health routine.
Other Healing Herbal Oils
In addition to Arnica and St. John’s Wort, other herbal oils like Lavender, Calendula, and Chamomile also offer a variety of healing benefits. These oils can be used for everything from soothing minor cuts and wounds to promoting relaxation and sleep.
Using herbal oils as part of your natural wellness routine offers a wide range of therapeutic benefits, whether you are looking to ease pain, support skin healing, or boost your mood. Always remember to do a patch test before use to ensure you don’t experience irritation or allergic reactions.
How Long Does a Herbal Oil Last?
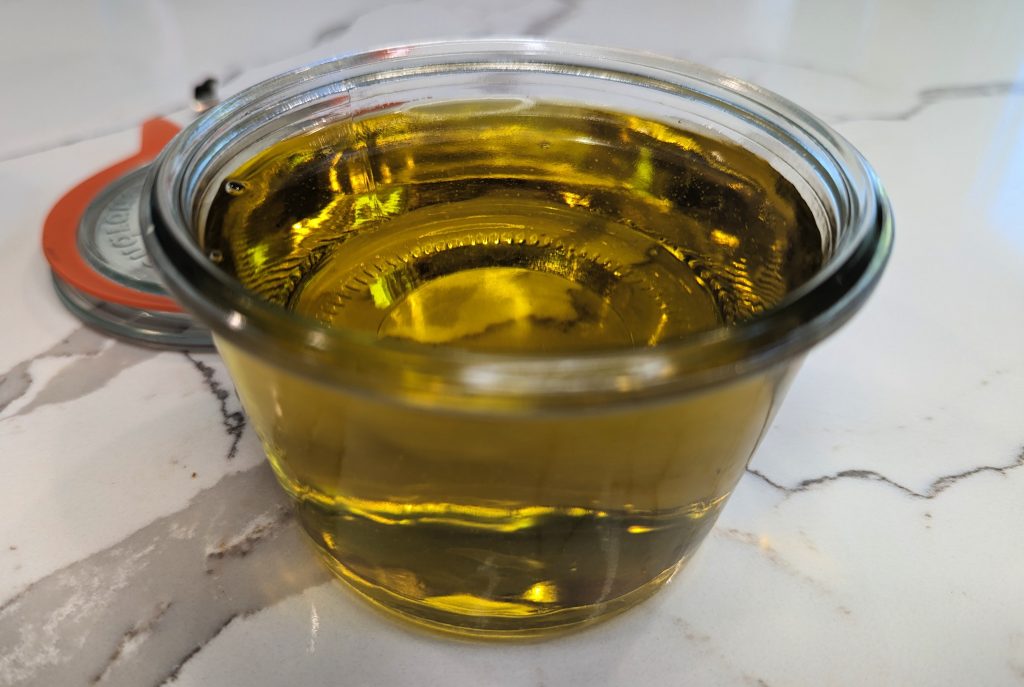
When properly stored in a cool, dark location, herbal oils can remain usable for several months, and in some cases, even years. The longevity of your oil largely depends on the quality of your ingredients and storage methods. To determine whether your herbal oil is still good, simply rely on your senses. When you open the container, it should have the natural scent of the oil and the infused herb. If it smells rancid or unpleasant, it’s time to dispose of it.
Mold can occasionally develop in herbal oils, often due to excess water content in the herbs or moisture inside the jar. This issue can be avoided by ensuring the jar is thoroughly dry before combining the ingredients. Additionally, it’s essential to use only dried herbs or to wilt fresh herbs to reduce their moisture content before infusion.
Taking these precautions will help preserve the quality of your herbal oil and extend its shelf life. By storing it carefully and using high-quality, dried ingredients, you can enjoy the benefits of your infusion for a long time without worrying about spoilage.
How to Make a Herbal Oil
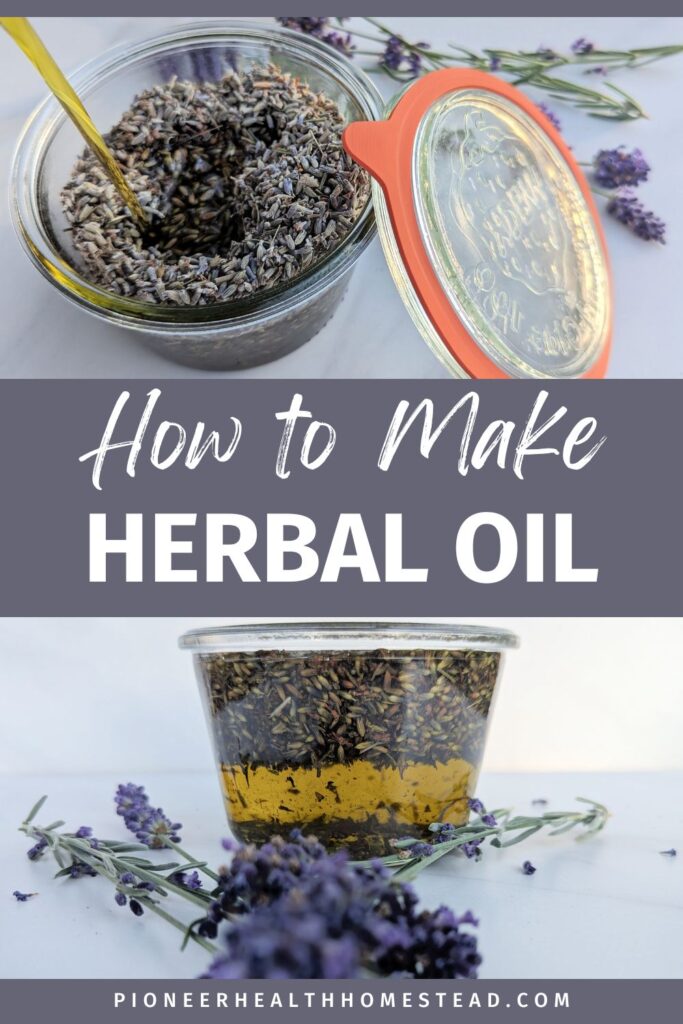
Creating your own herbal oil can be done using one of two main methods: the Solar-Infused (Folk or Simplers) Method or the Quick Method using a double boiler or crock-pot. Both techniques yield high-quality herbal oils, but the choice depends on your time and preferences.
Solar-Infused (Folk or Simplers) Method
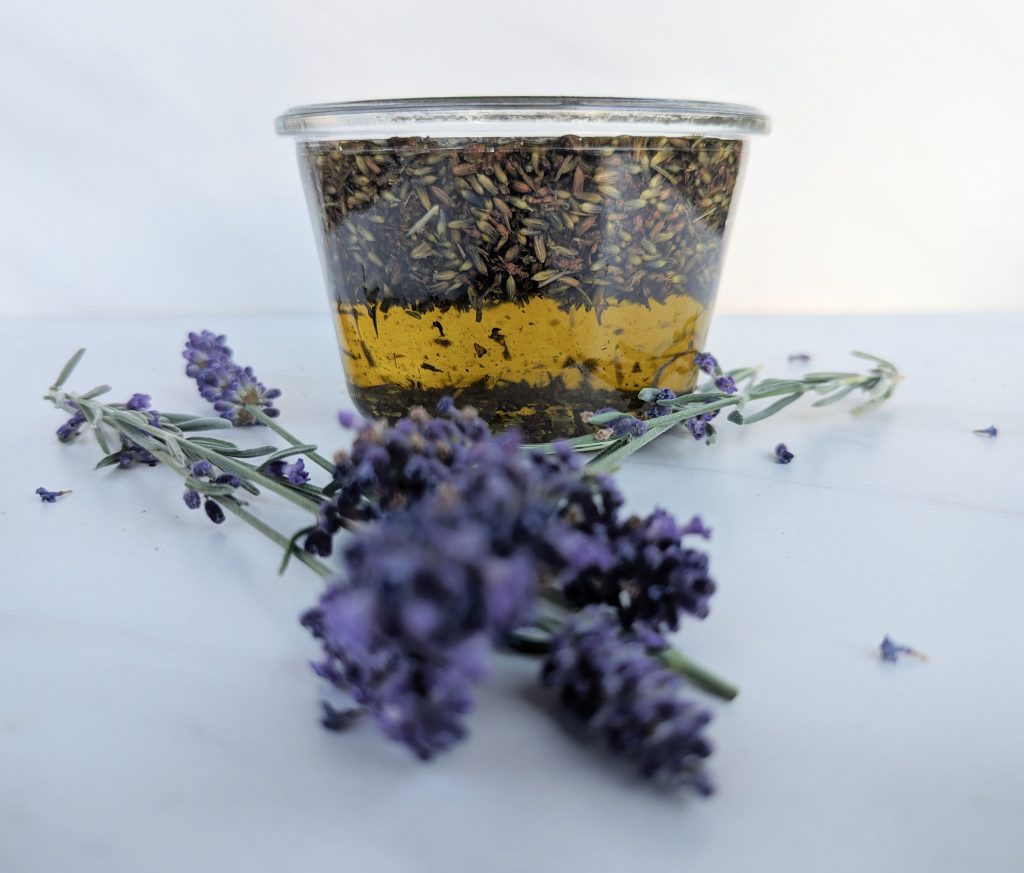
The solar-infusion process relies on time and sunlight to extract the beneficial properties of herbs into the oil. This method is perfect if you prefer a hands-off, slow approach to herbal oil-making.
Steps for the Solar-Infused Method:
- Start with a clean, dry quart jar (or a jar size of your choice).
- Add dried herbs to the jar, leaving 1–3 inches of headspace.
- Pour your chosen oil over the herbs until they are completely covered, leaving at least 1 inch of oil above the herbs.
- Secure a leak-proof lid and shake the jar to mix the herbs and oil thoroughly. After shaking, check to ensure the herbs remain covered by at least 1 inch of oil—add more oil if necessary.
- Shake the jar 1–2 times daily for the first few days. Over time, the herbs will absorb some oil, so you may need to top it off.
- Place the jar in a sunny windowsill and let it infuse for 4–6 weeks. Six weeks will yield the best results.
- After the infusion period, strain the oil using a mesh strainer, cheesecloth, or muslin cloth, ensuring you squeeze out every drop.
- Transfer the strained oil into a clean, labeled glass jar and store it in a cool, dark place. Properly stored, the oil can last several months or even a couple of years.
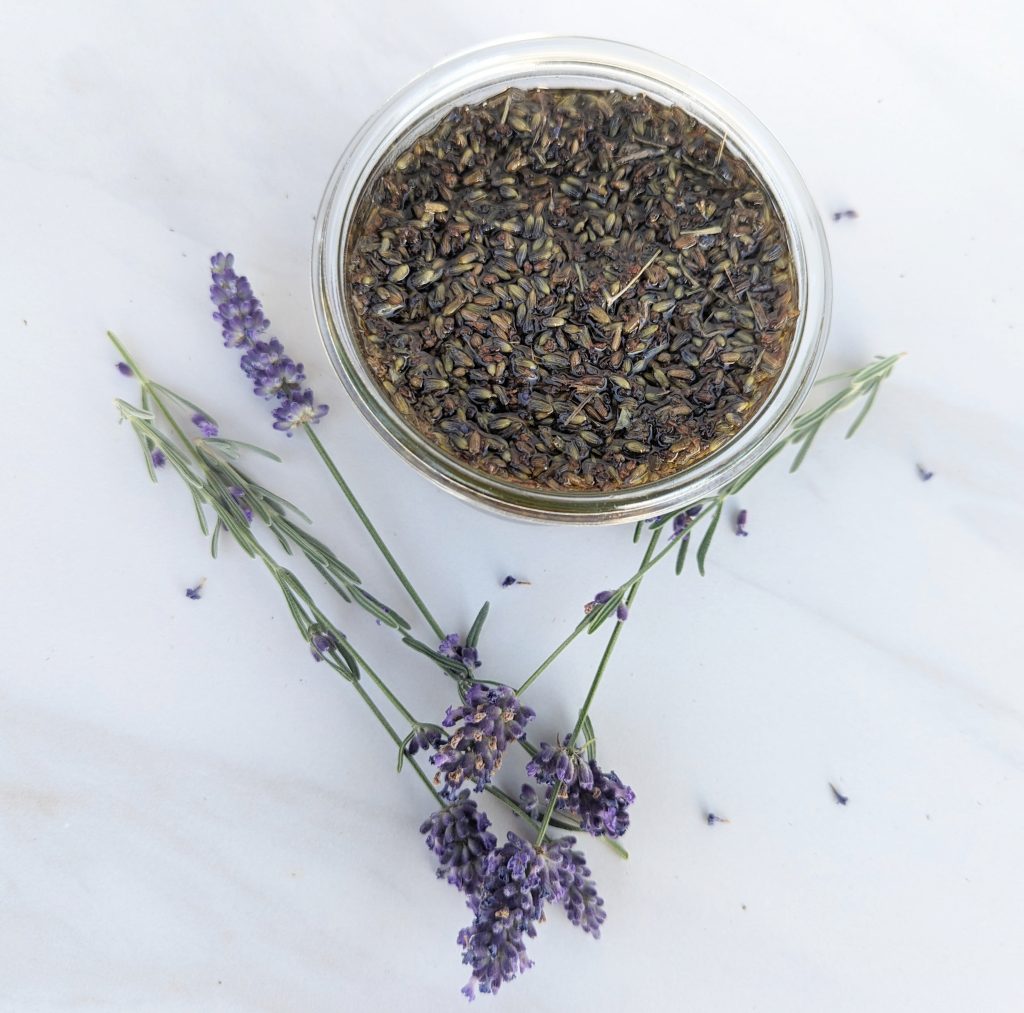


Herbal Oil Guide: Solar-infused (Folk or Simplers) Method
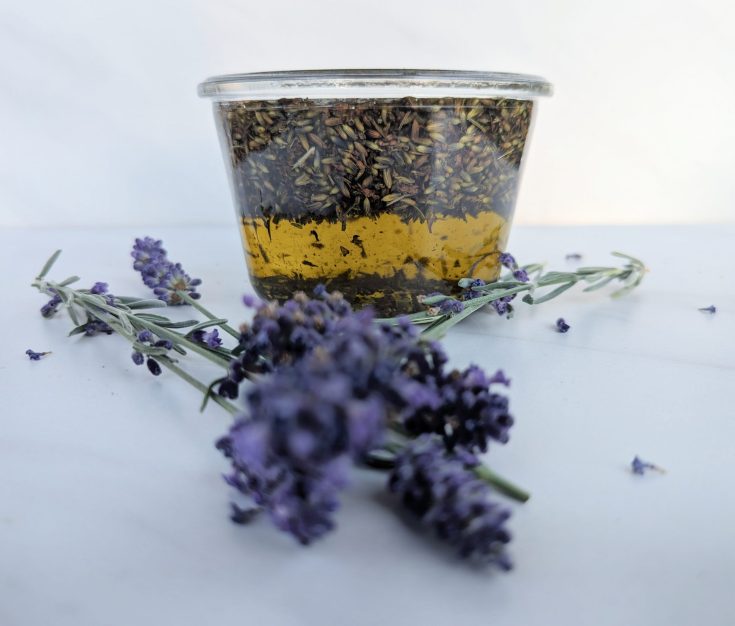
This is a step-by-step guide on how to make an herbal oil with the solar-infused (Folk or Simplers) method. An herbal oil is the foundation to DIY home remedies, bath and body products and more.
Ingredients
- herb(s) of choice
- oil of choice
Instructions
1. Gather a clean and dry quart jar (or other size if desired)
2. Add your herbs to the dry jar while leaving 1-3 inches of headspace.
3. Add your oil over the top until it covers all of the herbs by at least 1 inch.
4. Place leak proof lid on jar and shake up the herbs and oil. Check the oil level after your initial shake to make sure you still have at least 1 inch of oil covering your herbs.
5. You will continue to shake the herbs and oil mixture 1-2 times a day for several days. You may need to add more oil in a couple days once the herbs begin to soak it up.
6. Place the jar in a sunny windowsill for no less than 4 weeks. Leaving it infusing for 6 weeks will be best.
7. After the 4-6 weeks of infusion, strain out the herbs from oil using a mesh strainer or cheesecloth. Make sure to squeeze out as much oil from the herbs as possible.
8. Pour your herbal oil into a labeled glass jar and store in a cool dark place for several months, up to a couple years.
Notes
Tips on making an herbal oil.
- Some herbs may temporarily stain your hands and clothing. Wearing gloves may be needed to help prevent the temporary staining. Herbs such as turmeric can leave stains on your tools such as cheesecloth.
- Even after straining your herbs, you may find there is still sediment in your oil. This can be abrasive in some salves, lotions and other products. If you would like to strain out as much grit as possible, you can use one or two coffee liners to do so. It will take some time to strain out.
- You can infuse more than one herb together at a time, synergistic infusions, if you will be combining them together in the end product. Example is using calendula and lavender to create salves, lotions, or other body care products.
- Make sure you know what you're wanting to use this herbal infused oil for so that you are using the correct carrier oil from the beginning.
Quick Method (Double Boiler or Crock-Pot)
This method is ideal when you need an herbal oil quickly. Using controlled heat, you can infuse herbs into oil in a fraction of the time, perfect for those last-minute projects.

Steps for the Quick Method:
- Add dried herbs to your double boiler or crock-pot, then cover the herbs with oil, ensuring at least 1 inch of oil above the herbs. The quantity depends on the size of your vessel.
- Heat the oil and herbs at a low temperature—between 100°F and 140°F—for 1–5 hours. For a quicker infusion, you can simmer at a low temperature for 30–60 minutes. The goal is to gently warm the oil without overheating the herbs. Check frequently to maintain the desired temperature.
- Once you can smell the aroma of the herbs, remove the vessel from heat and allow the oil to cool.
- Strain the oil through a mesh strainer, cheesecloth, or muslin cloth, pressing the herbs to extract every drop of oil.
- Transfer the oil to a clean, dry, and labeled jar or bottle.
- Store the herbal oil in a cool, dark place for up to six months.
Herbal Oil Guide: Quick method (double broiler or crock-pot)
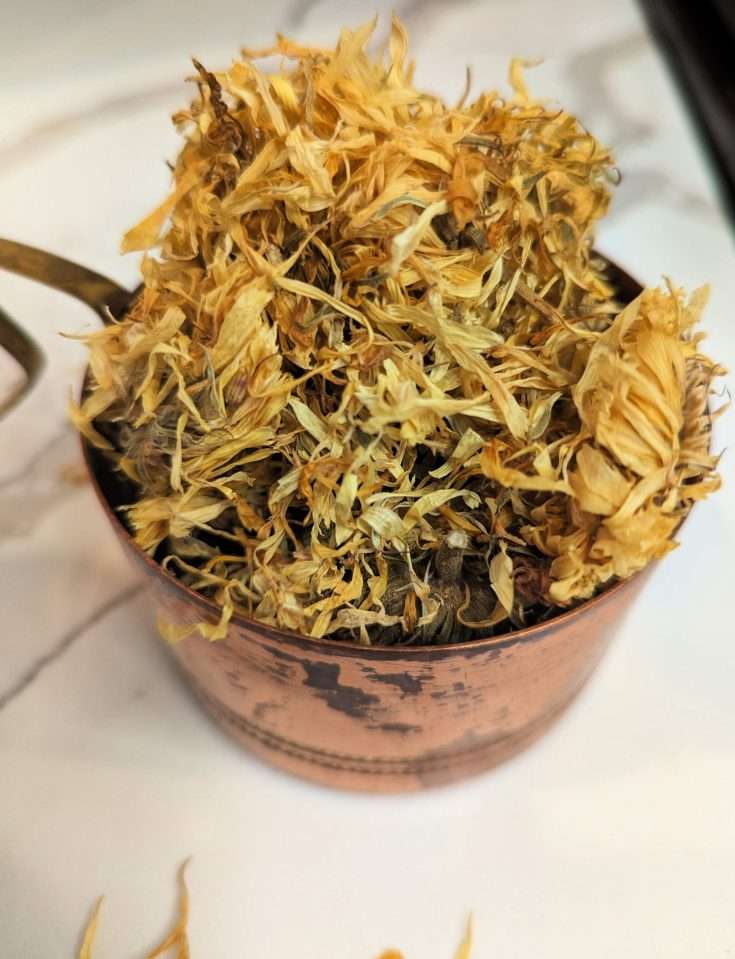
This is a step-by-step guide on how to make an herbal oil using the quick method with a double broiler or crock-pot. An herbal oil is the foundation to DIY home remedies, bath and body products and more.
Ingredients
- dried herb(s) of choice
- oil of choice enough to cover the herbs by 1 inch head space
Instructions
1. Add the herbs and cover with your oil of choice by at least 1 inch. The amount of herbs and oil needed will vary on your vessel size.
2. Bring the double broiler or crock-pot to a low simmer for at least 30-60 minutes or 100-140 degrees for several hours. I personally infuse very low heat (100-140 degrees F) for 1-5 hours or until I can smell the herbs. Check frequently to make sure you're not overheating your herbs. The lower and slower you heat this the better the herbal will be.
3. Once the oil has cooled, strain the oil through a mesh strainer, cheesecloth or muslin cloth. Make sure to squeeze out every last drop of oil you can!
4. Add the herbal oil to a clean, dry and labeled jar/bottle.
5. Store in a cool dark place for at least 6 months.
Notes
Tips on making an herbal oil.
- Some herbs may temporarily stain your hands and clothing. Wearing gloves may be needed to help prevent the temporary staining. Herbs such as turmeric can leave stains on your tools such as cheesecloth.
- Even after straining your herbs, you may find there is still sediment in your oil. This can be abrasive in some salves, lotions and other products. If you would like to strain out as much grit as possible, you can use one or two coffee liners to do so. It will take some time to strain out.
- You can infuse more than one herb together at a time, synergistic infusions, if you will be combining them together in the end product. Example is using calendula and lavender to create salves, lotions, or other body care products.
- Make sure you know what you're wanting to use this herbal infused oil for so that you are using the correct carrier oil from the beginning.
Both methods produce high-quality herbal oils that can be used in a variety of personal care and medicinal products. While the solar-infused method offers a traditional, slow approach, the quick method is a fantastic option for last-minute needs without sacrificing quality.
Tips for Making Herb-Infused Oils
Wear Gloves for Staining Herbs
Herbs like turmeric can stain your hands and tools. Gloves help prevent stains.
Straining the Herbal Oil Infusion
After infusing, sediment may remain in the oil. Use a cheesecloth-lined strainer to remove grit.
Synergistic Herb-Infused Oils
Combine herbs like lavender and calendula for a more potent infusion. This enhances their benefits.
Choosing the Right Carrier Oil
Sweet almond, sunflower, and olive oils are great options. These oils support healthy skin and hair.
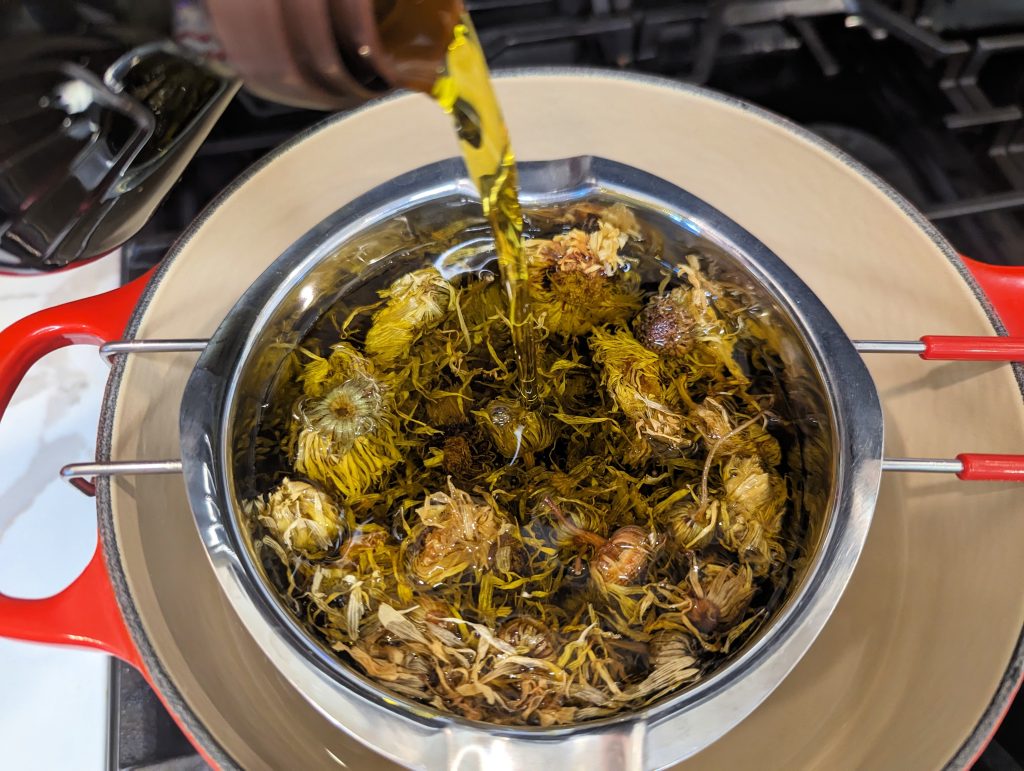
Making the Infusion
Use a folk method or slow cooker to gently infuse herbs. Ensure the temperature stays low to preserve nutrients.
Straining and Storing the Herbal Oil
After infusion, strain the oil and store it in a glass container. Keep it at room temperature.
Health Benefits and Considerations
Herb-infused oils, like St. John’s Wort, help with skin conditions and scalp health. Consult a professional for medical advice.
Herbal Oil Safety Tips
Before using any herbal oil, it’s important to check for potential irritation or allergic reactions. The best way to do this is by performing a patch test. Simply apply a small amount of the herbal oil to a small area of skin, such as the inside of your elbow or wrist. Wait 24 hours to see if any irritation or redness develops. If there’s no reaction, it’s generally safe to use the oil on a larger area of your body. Always be cautious when trying a new product, especially if you have sensitive skin.
Products I recommend for this project
- Rosemary Gladstar’s Herbal Recipe Book
- Rosemary Gladstar’s Medicinal Herbs a Beginner’s Guide
- The Modern Herbal Dispensatory: A Medicine-Making Guide
- double broiler
- Wide mouth jars
Check out my online store!
Pioneer Health Ministry Store Currently salves and EO products are available for shipping. Syrups are available locally only at this time.
Let me know what combinations you’ve created!
Tell me in the comments what oils and herbs are your go to or what hasn’t worked for you.
Green Tea Vs Herbal Tea: The Best Complete Tea Guide
Sharing is caring! Facebook Pinterest X Green Tea Vs Herbal Tea: The Best Complete Tea Guide Understanding the Differences Green tea vs herbal tea is a popular debate among tea lovers worldwide. Both offer unique flavors, health benefits, and caffeine content. Tea has a rich history and is enjoyed in many cultures. From Chinese green…
How to Make Bath Salts Without Epsom Salt: Free Recipe
How to Make Bath Salts Without Epsom Salt: Free Recipe How to Make Bath Salts Without Epsom Salt Homemade bath salts without Epsom salt are a great way to enjoy a luxurious soak. You can use natural ingredients like coarse sea salt, baking soda, and pink Himalayan salt for a soothing experience. A relaxing bath…
Homesteading in California: How to Start at Any Stage
Homesteading in California: How to Start at Any Stage How Homesteading in California is Possible Homesteading in California is a journey that looks different for everyone, depending on where you live in this vast and diverse state. From the deserts dotted with Joshua trees in the south, to the rugged mountain ranges in the north,…
How to Make Peppers Grow Faster: Guide and Easy Tips
How to Make Peppers Grow Faster: Guide and Easy Tips How to make peppers grow faster is a common question among home gardeners seeking to maximize their growing season. Whether you’re nurturing sweet peppers, green peppers, or hot pepper plants, creating ideal conditions is essential for pepper success. The best way to achieve healthy pepper plants…
The Different Types of Cloth Diapers: Ultimate Guide
The Different Types of Cloth Diapers: Ultimate Guide The different types of cloth diapers offer a sustainable and eco-friendly alternative to disposable diapers for your baby. As a mom of five and a Registered Nurse, I’ve seen the many benefits of reusable cloth diapers firsthand. This guide will help you understand the major types of…
The Best Doula Bag Essentials Kit for Birth and Postpartum
The Best Doula Bag Essentials Kit for Birth and Postpartum The Best Doula Bag Essentials Kit for Birth and Postpartum A well-stocked doula bag is essential for supporting women during birth and postpartum. As a Registered Nurse, mother of five, and former Navy Hospital Corpsman, I’ve experienced the birthing world from many angles. I’ve worked…


