How to Make the Best Herbal Soap: Homemade Recipe
Why make your own herbal soap?
As a mom of five and a registered nurse, I’m always on the lookout for natural ways to support my family’s health and well-being. Making my own herbal soap recipe started as a fun, hands-on project, but it quickly turned into a passion for so many reasons. One of the biggest benefits? Complete control over the ingredients. With so many commercial soaps containing artificial fragrances, harsh chemicals, and unnecessary additives, I wanted to create a pure, safe alternative for my kids and myself.
Not only is making your own herbal soap a wonderful way to customize products for your skin type or scent preference, but it also allows you to tap into the power of herbs. I love knowing that the soap we use daily is infused with calming lavender or soothing calendula, which brings real benefits beyond just cleanliness. Plus, there’s a creative aspect to soap making that is both fun and rewarding. I’ve even started selling these soaps in our online shop, and it’s been amazing to share these natural, handmade products with others.
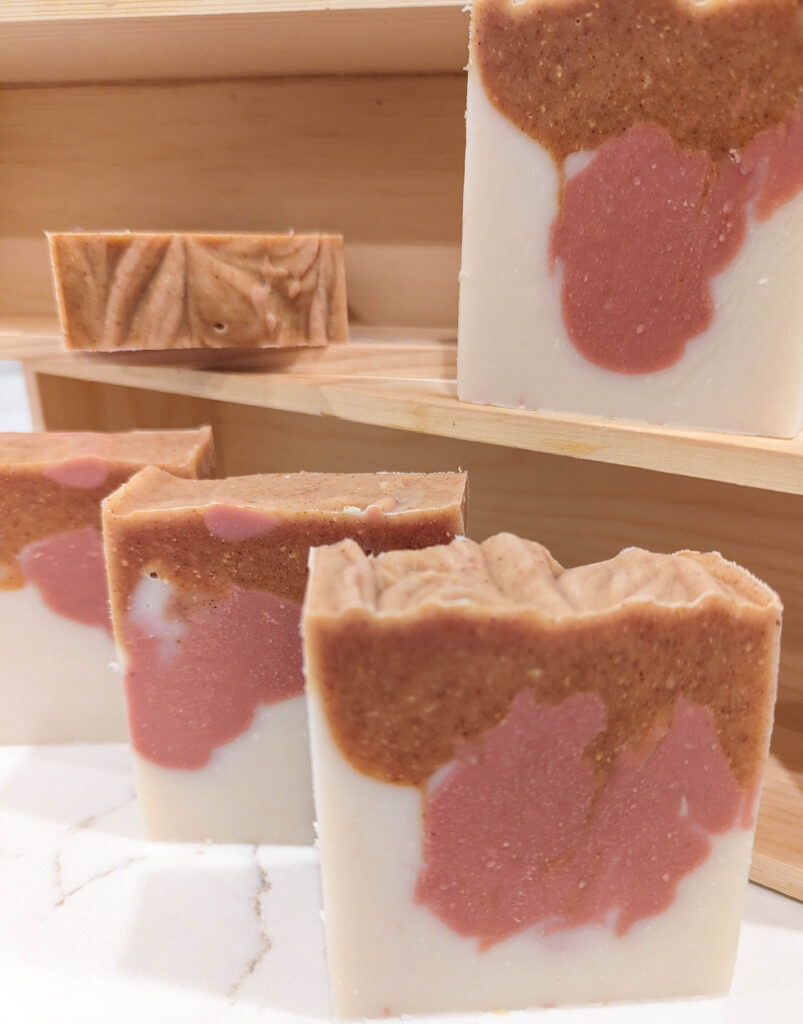
How I Got Started
My soap-making journey began when I realized how much I wanted to eliminate questionable ingredients from our daily skincare routine. Between caring for my kids and using natural remedies at home, making soap was the next step to ensure we were using products aligned with our values. I began experimenting with different oils and herbs, and the process hooked me. From that point on, I knew this was something I wanted to do regularly—not just for us but for others seeking healthier alternatives as well.
What You’ll Learn in This Post
In this post, I’m going to walk you through exactly how you can make your own herbal soap at home. I’ll cover everything from choosing the right ingredients to safely working with lye and even customizing your recipe using the Soapcalc website. I’ll share the tools you’ll need, the step-by-step process of making soap, and some tips for adding herbs and essential oils for that perfect touch. Whether you’re a seasoned soap maker or trying it for the first time, you’ll find this guide helpful for creating natural, nourishing soap bars for your family.
Why Choose Herbal Soap?
When it comes to skincare, choosing natural ingredients is one of the best ways to nourish and protect your skin. With homemade herbal soap, you get the benefit of using pure, plant-based oils, herbs, and essential oils without the harsh chemicals often found in commercial soaps.
Save for Later!
Natural Ingredients
One of the main reasons I love making herbal soap is the ability to control what goes into it. By using natural oils like coconut oil, olive oil, and shea butter, I know the soap will be moisturizing, gentle, and safe for all skin types—even for my kids! Coconut oil helps create a rich lather, olive oil is wonderfully hydrating, and shea butter adds a luxurious creaminess. These plant-based oils are full of fatty acids that cleanse while leaving your skin feeling soft, not stripped.
Herbal Infused Oils and Herbal Additions
One of my favorite parts of soap making is incorporating herbs, whether through herbal-infused oils or adding dried herbs and herbal powders directly into the soap. Infusing oils with herbs like calendula, lavender, or chamomile before soap making adds an extra layer of skin-loving benefits. For example, calendula-infused oil can help soothe irritated skin, while lavender promotes relaxation and chamomile has calming properties.
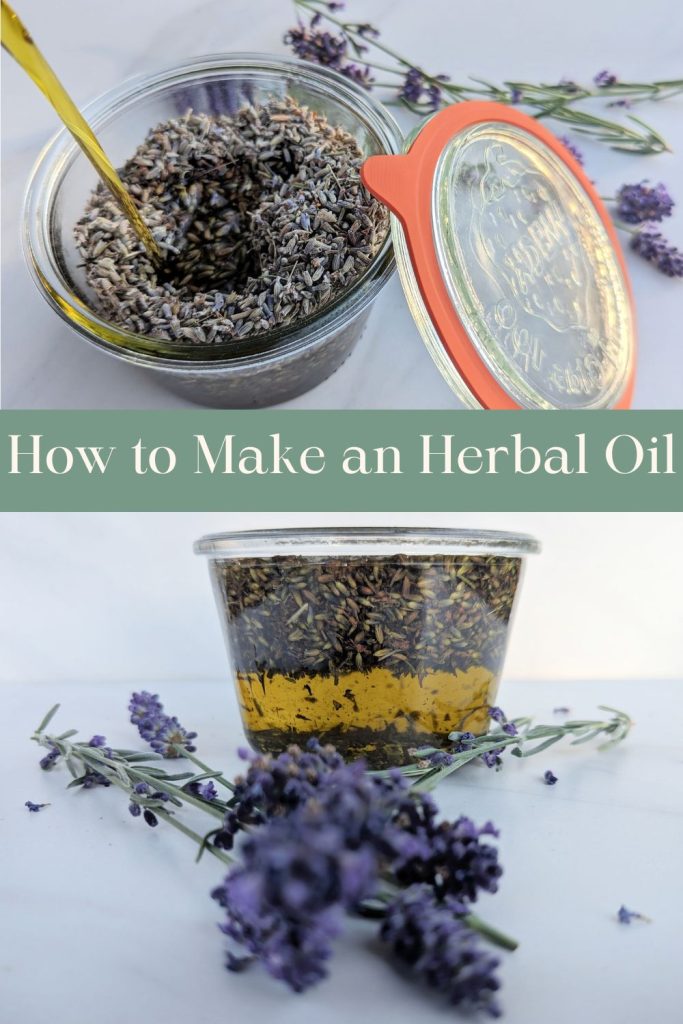
Along with infused oils, I also use herbal powders and dried flowers like lavender buds, rose petals, and chamomile flowers. These not only look beautiful in the finished soap but offer additional skin benefits. Herbal powders like comfrey or nettle can add gentle exfoliation and provide nutrients to the skin. Adding these botanicals is a great way to harness the power of herbs in every bar!
Essential Oils vs. Fragrance Oils
I always recommend using natural essential oils rather than synthetic fragrances in herbal soap. Essential oils are derived from plants and contain natural therapeutic properties, while fragrance oils are often made from synthetic chemicals that may irritate the skin. For example, I love using lavender essential oil for its calming effects, rose essential oil for its beautiful floral aroma and skin-soothing properties, and citrus oils like orange and lemon to give soap a refreshing, uplifting scent.
The combination of herbal-infused oils, dried herbs, and essential oils not only makes your soap smell amazing but also turns it into a nourishing skincare product that supports the health of your skin. These natural alternatives offer a wonderful way to make everyday products that are beneficial for you and your family.
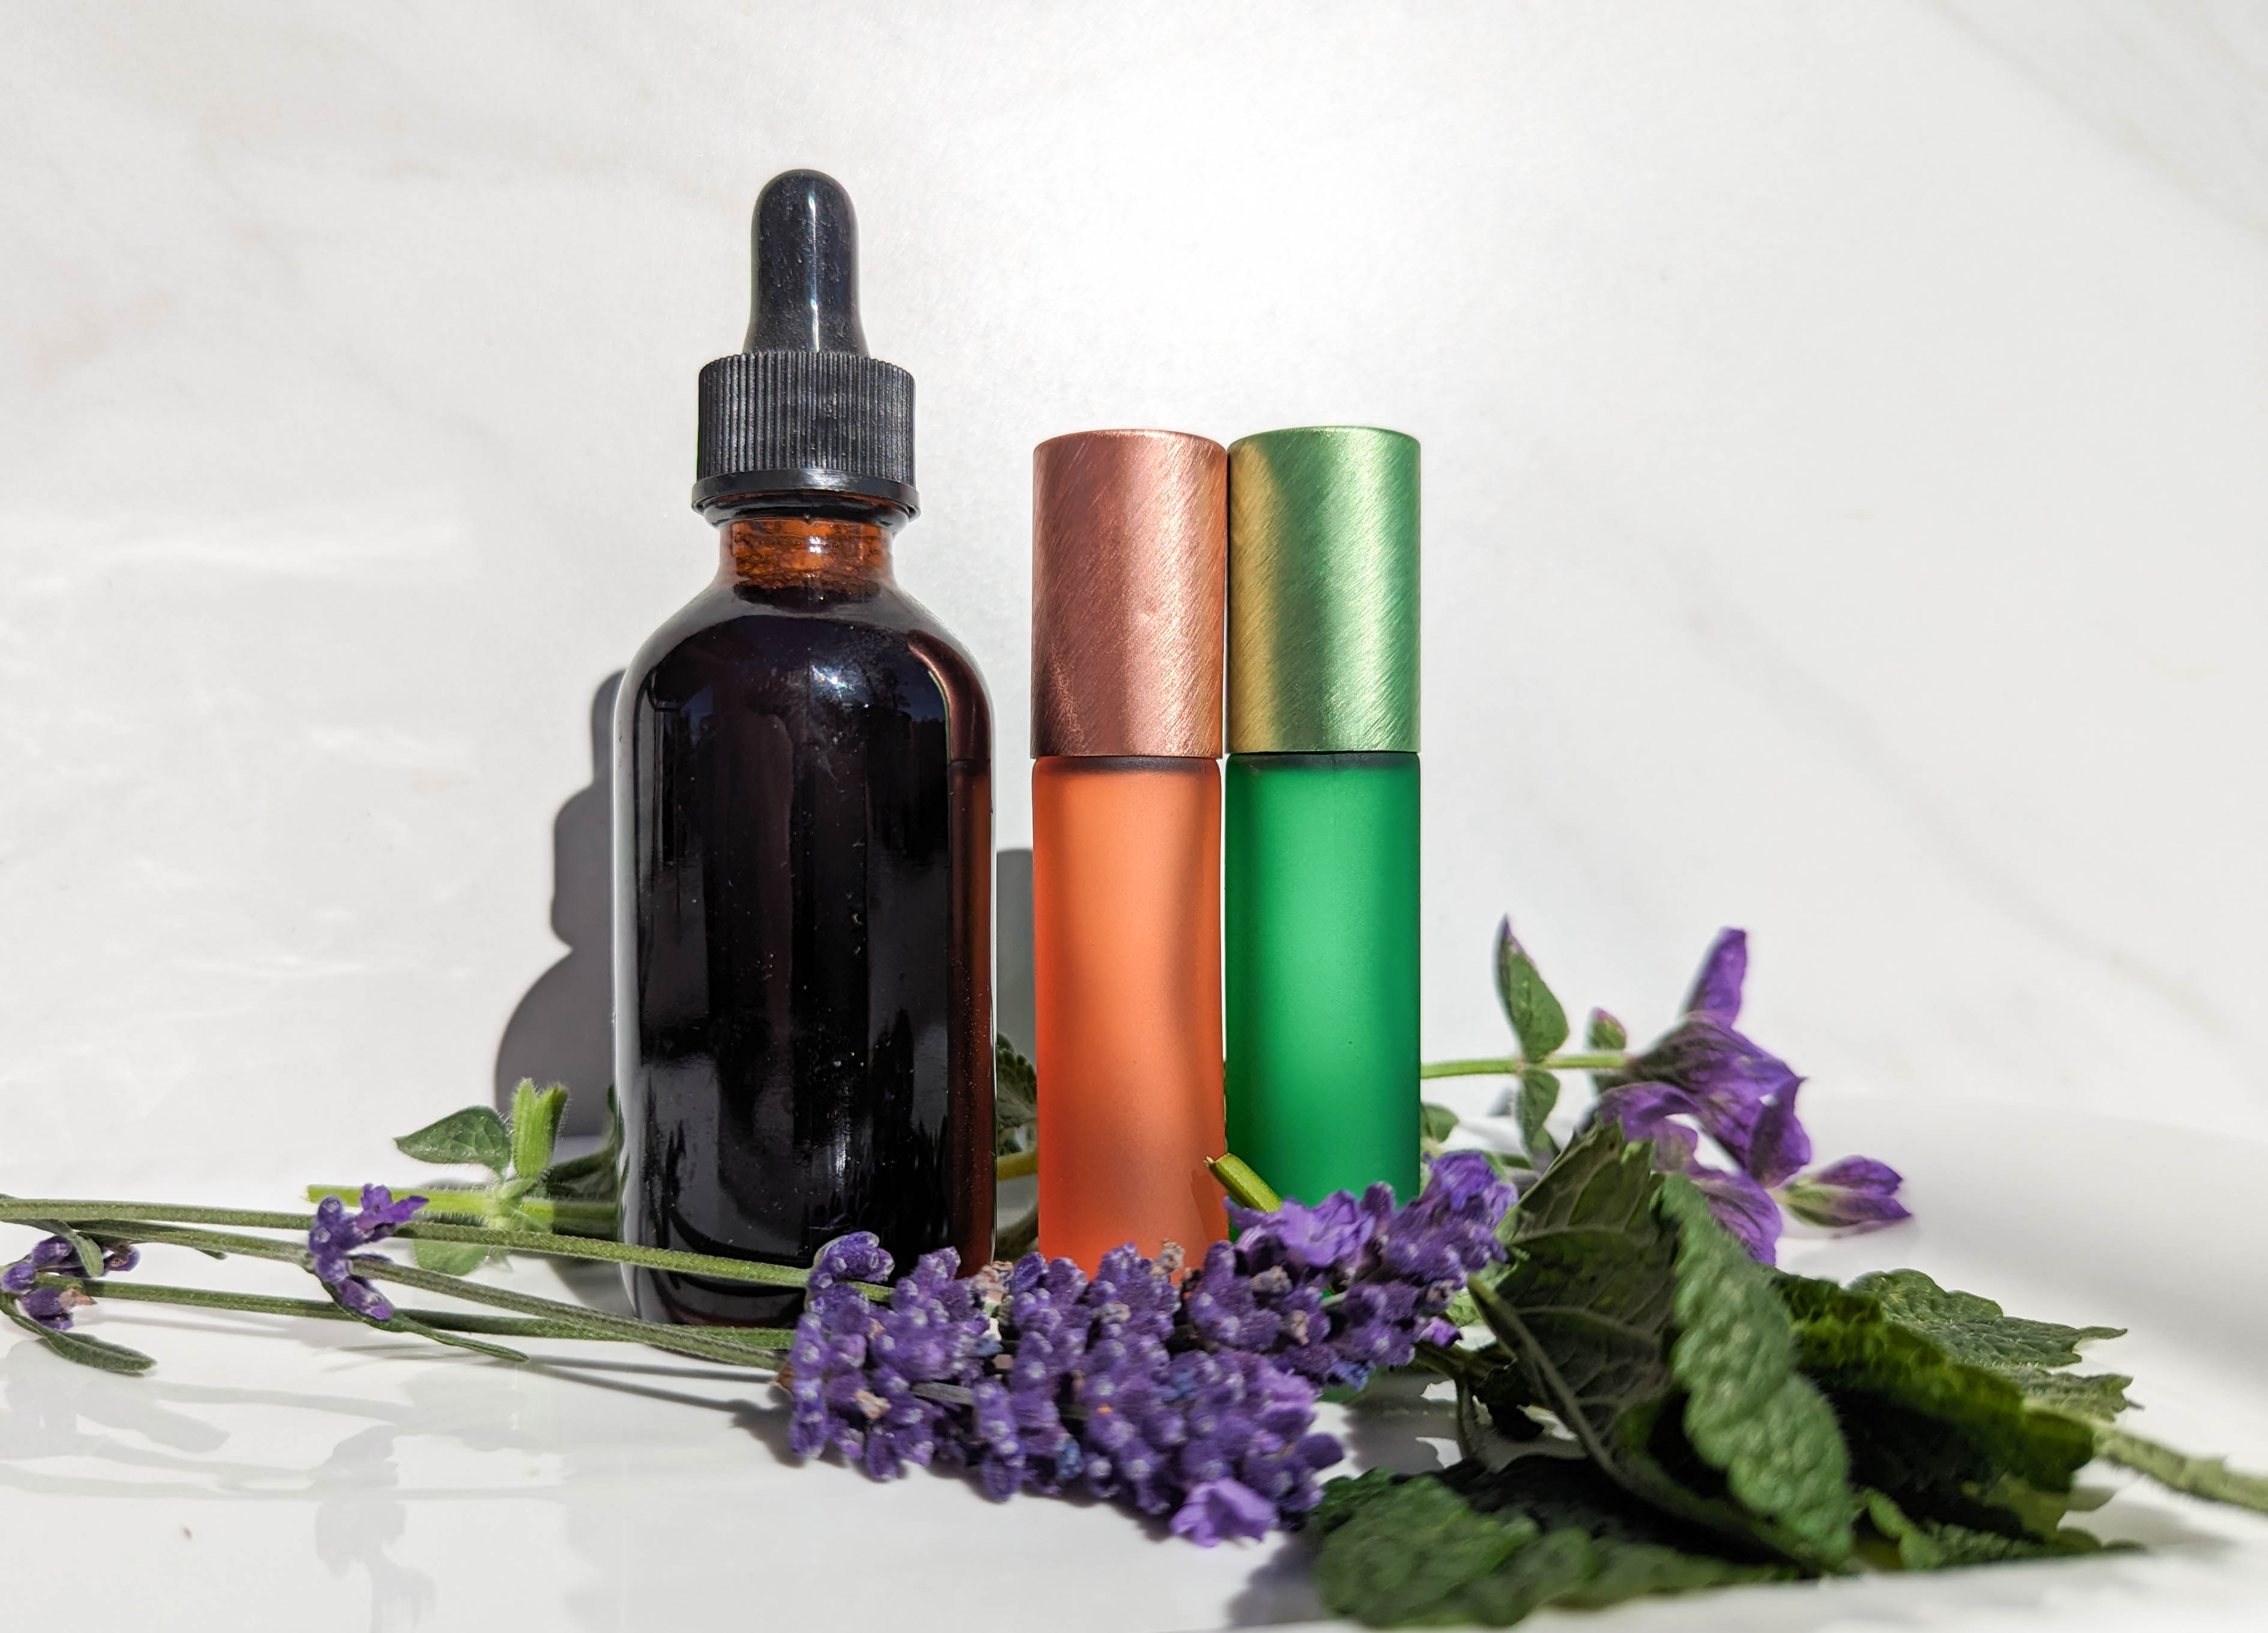
Ingredients and Tools for Your Herbal Soap Recipe
Making herbal soap at home is both rewarding and fun, especially when you get to choose the ingredients that suit your skin and preferences. Here’s a basic list of ingredients and tools to get you started on your soap-making journey.
Basic Ingredients:
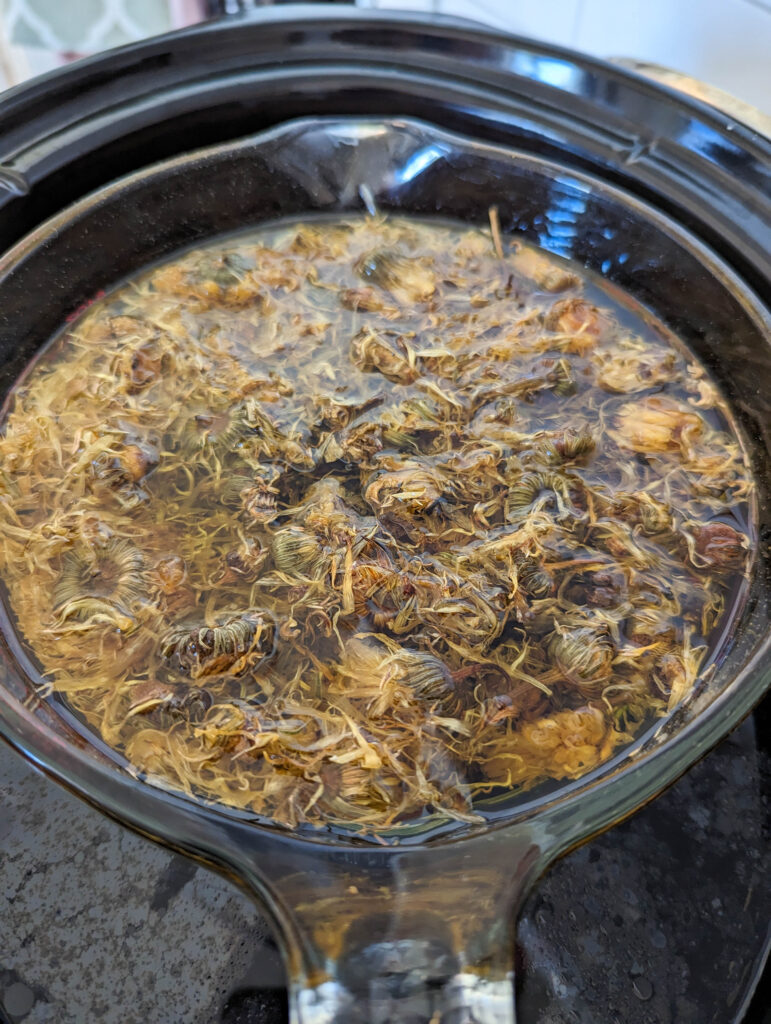
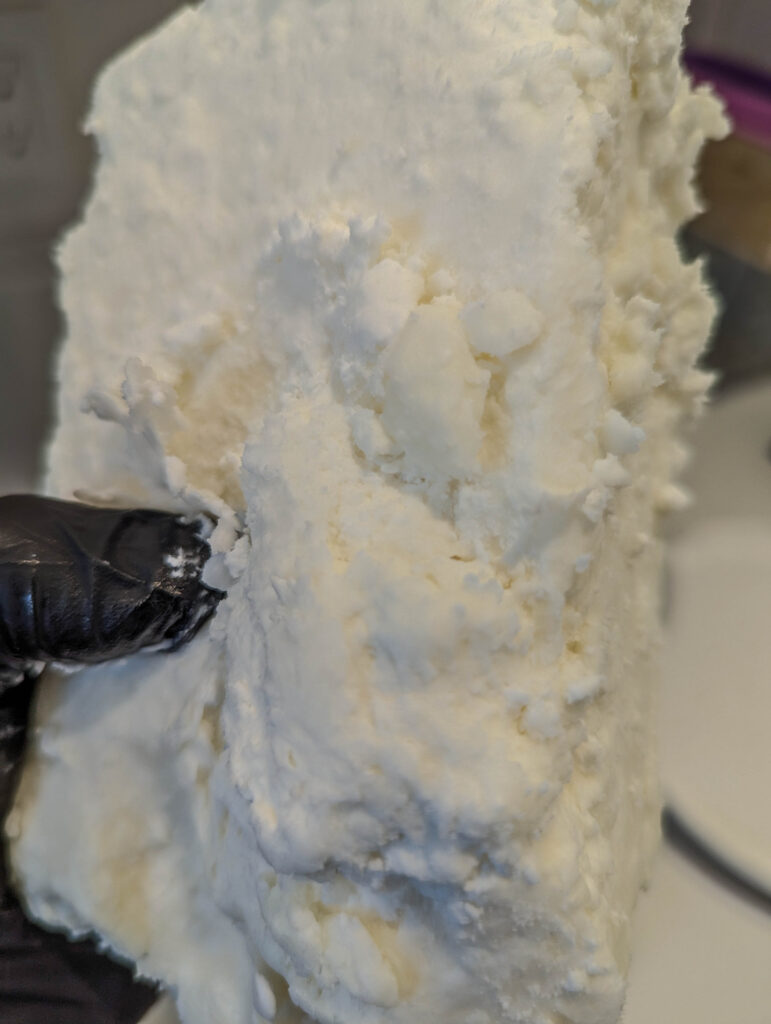
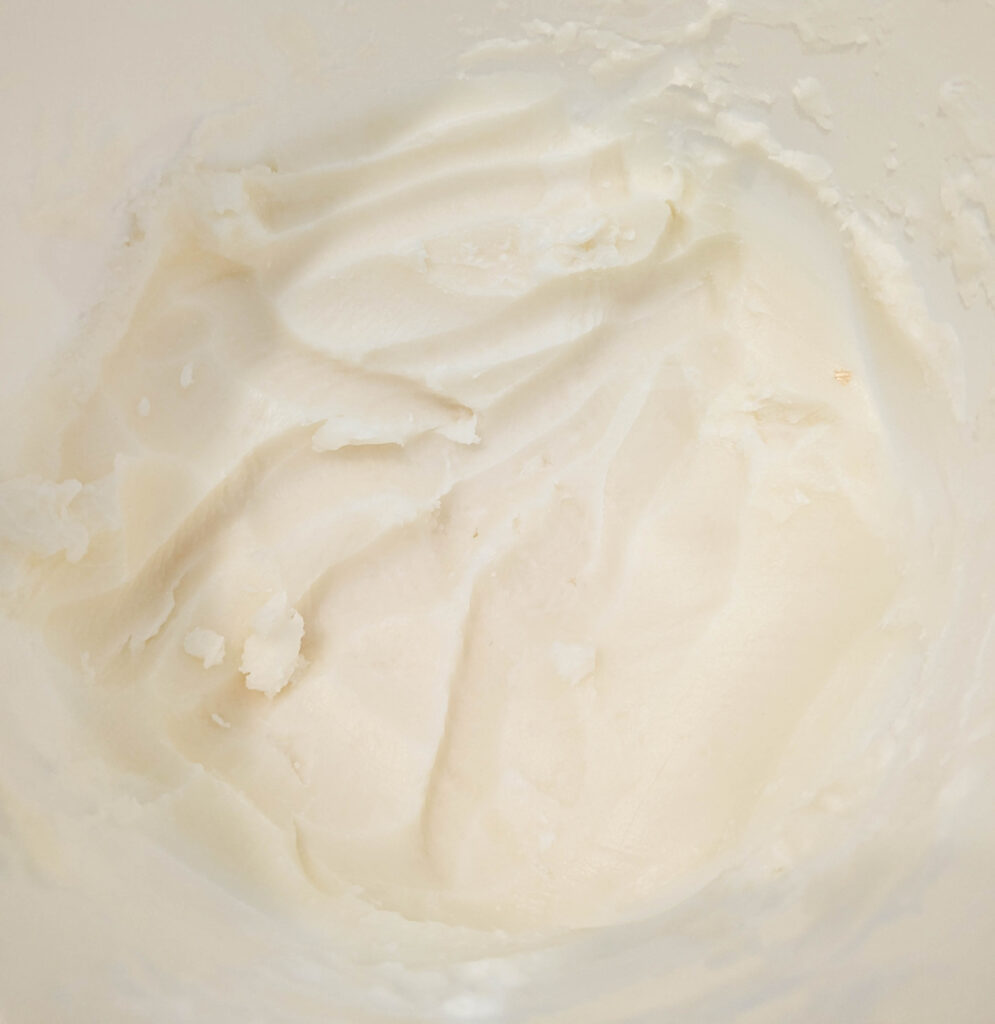
Oils
The foundation of any good soap recipe is the combination of oils. Each oil brings different properties to the soap, so I love using a blend of moisturizing and lathering oils. Here are a few key oils to include:
- Coconut Oil: Helps create a rich, bubbly lather while deeply cleansing the skin.
- Olive Oil: Gentle and nourishing, this oil is excellent for sensitive skin and provides moisture.
- Sweet Almond Oil: Adds extra moisture and is great for softening the skin.
- Castor Oil: Known for its ability to boost lather and create a more luxurious feel.
- Cocoa Butter: Adds creaminess to your soap and helps nourish and protect the skin.
Lye Solution
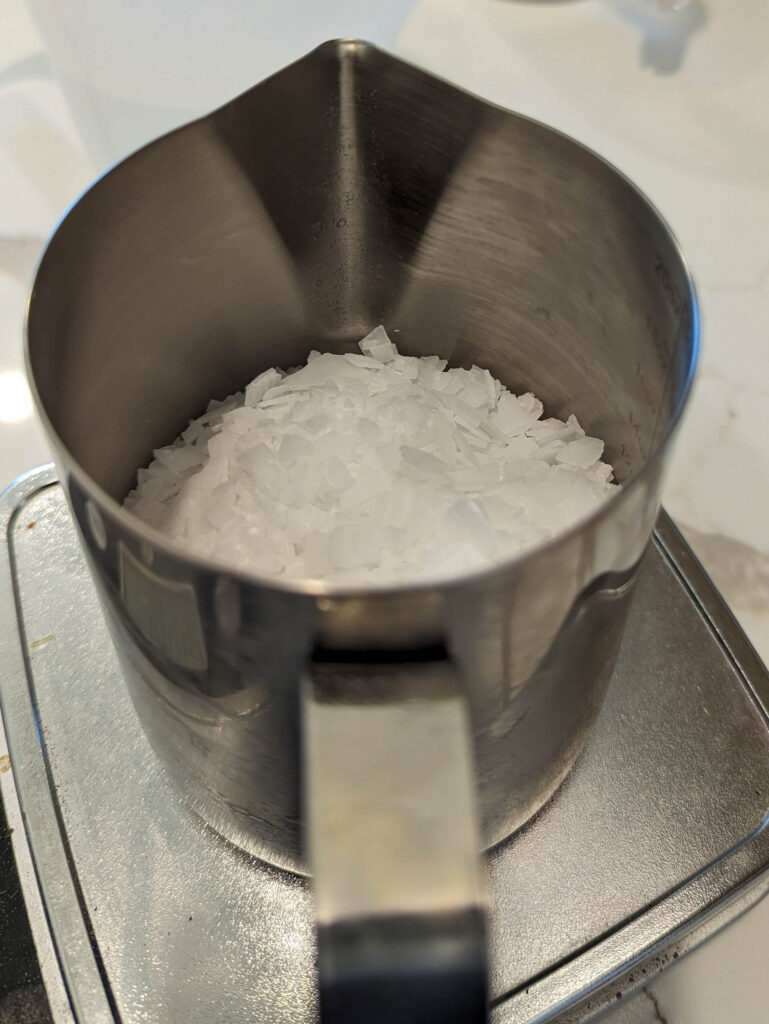
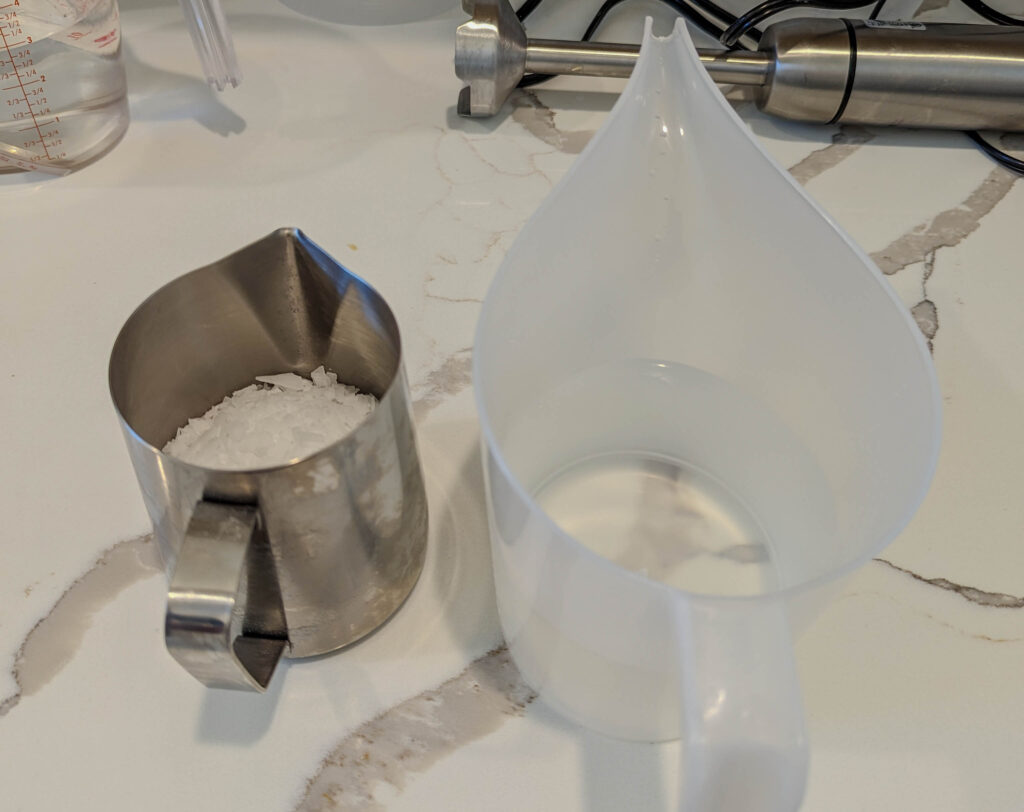
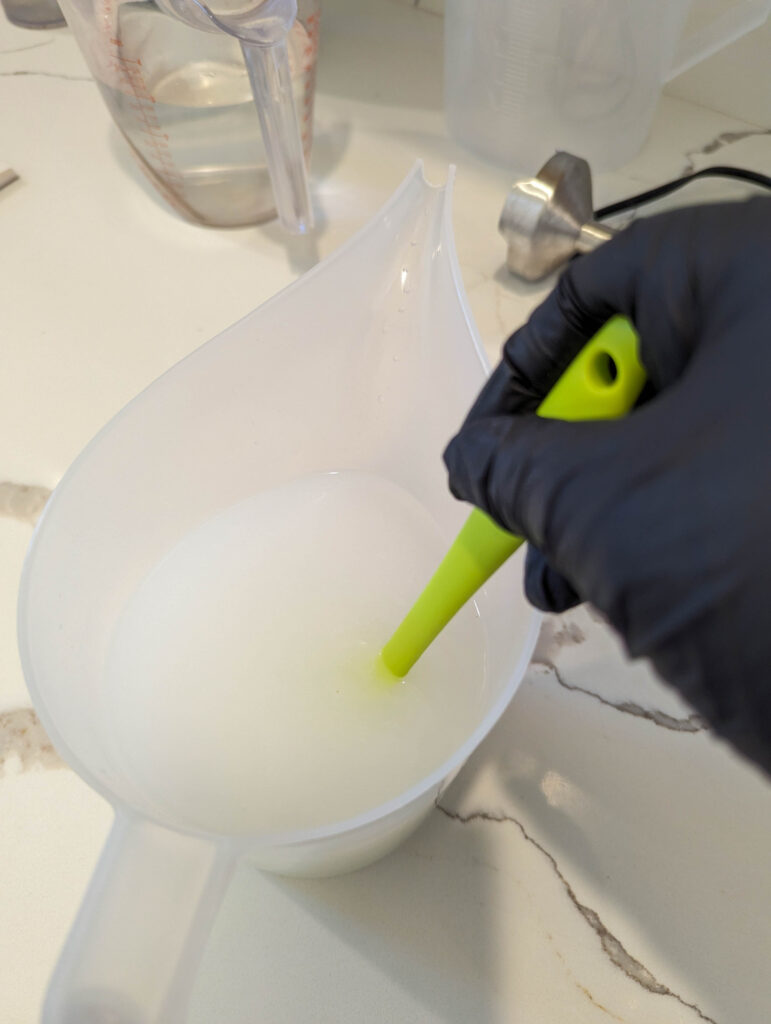
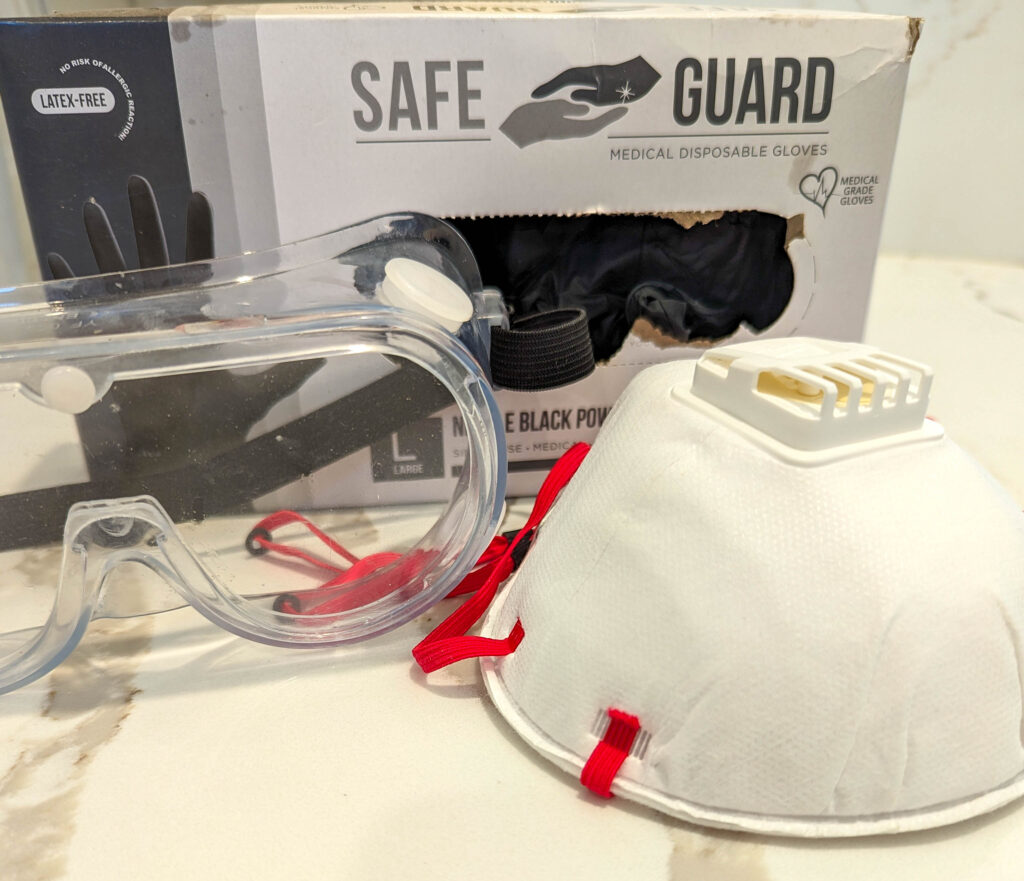
In traditional soap making, you’ll need to use sodium hydroxide (lye) mixed with water to create a chemical reaction called saponification, which turns oils into soap. While lye sounds intimidating, it’s completely safe when handled properly. Always make sure to wear protective gear like gloves, long sleeves, and eye protection when working with lye. Mix the lye solution in a well-ventilated area, and always add the lye to the water—never the other way around.
Herbs
This is where the magic of herbal soap comes in! You can use a variety of fresh and dried herbs or herbal powders to enhance your soap with skin-loving benefits. I love using:
- Lavender: Calming and soothing, both in essential oil form and as dried buds.
- Calendula: Known for its healing properties, calendula is wonderful for irritated or sensitive skin.
- Chamomile: Another calming herb, perfect for adding into soaps meant for relaxation or gentle skin care.
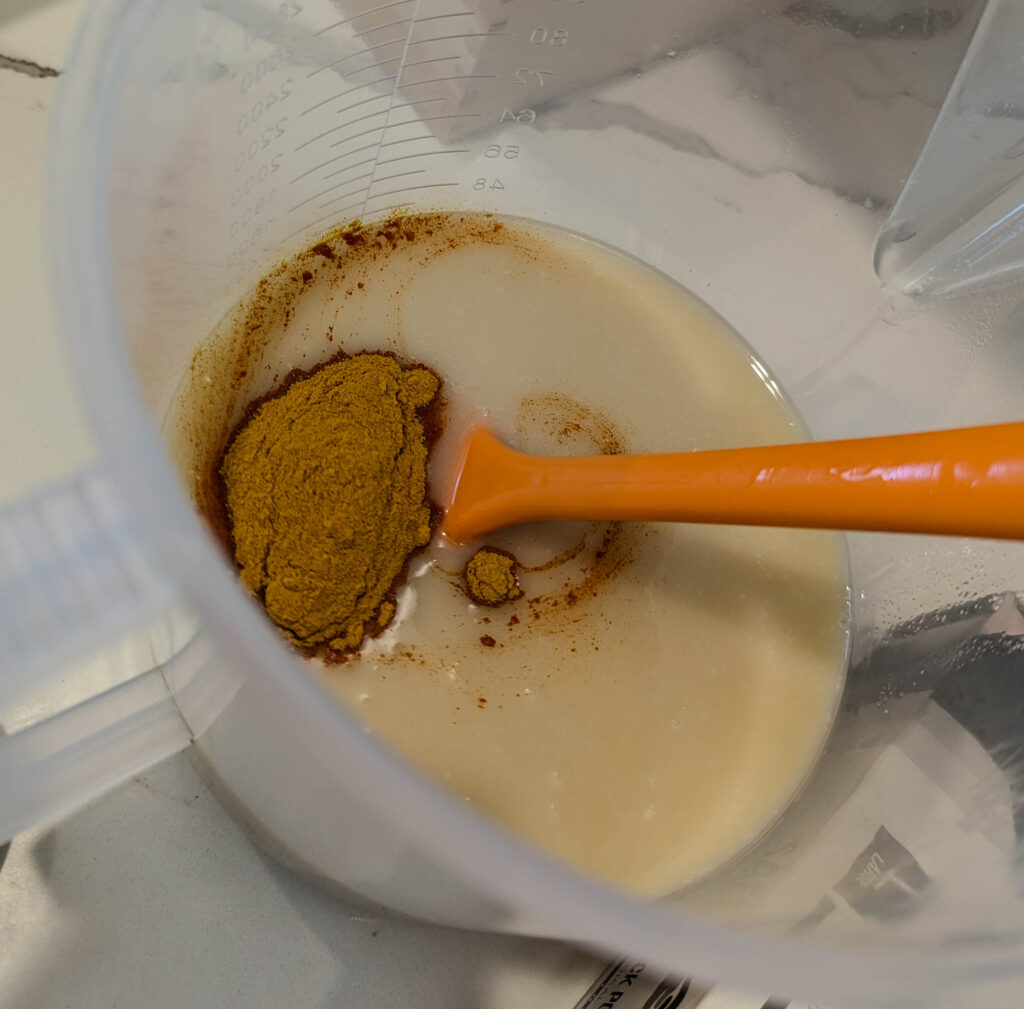
You can also use herbal powders like turmeric for its anti-inflammatory properties, or spirulina for a beautiful green hue and extra nutrients for the skin.
Essential Oils
Adding essential oils to your herbal soap takes the scent and benefits to the next level. I like to use:
- Lavender Essential Oil: Calming and relaxing for both skin and mind.
- Chamomile Essential Oil: Great for soothing sensitive or irritated skin.
- Rose Essential Oil: Adds a beautiful floral aroma and promotes a glowing complexion.
These oils not only provide natural fragrance but also carry the therapeutic properties of the herbs from which they’re derived.
Natural Colorants
If you want to get creative with the look of your soap, there are several natural colorants you can use, like:
- Turmeric: Adds a warm, golden hue and anti-inflammatory properties.
- Spinach Powder: Gives soap a natural green tint and offers antioxidant benefits.
- Activated Charcoal: Creates a striking black color and helps detoxify the skin.
There are many other natural options available to create beautiful, vibrant colors in your soap.
Tools:
To make your herbal soap, you’ll need a few essential tools:
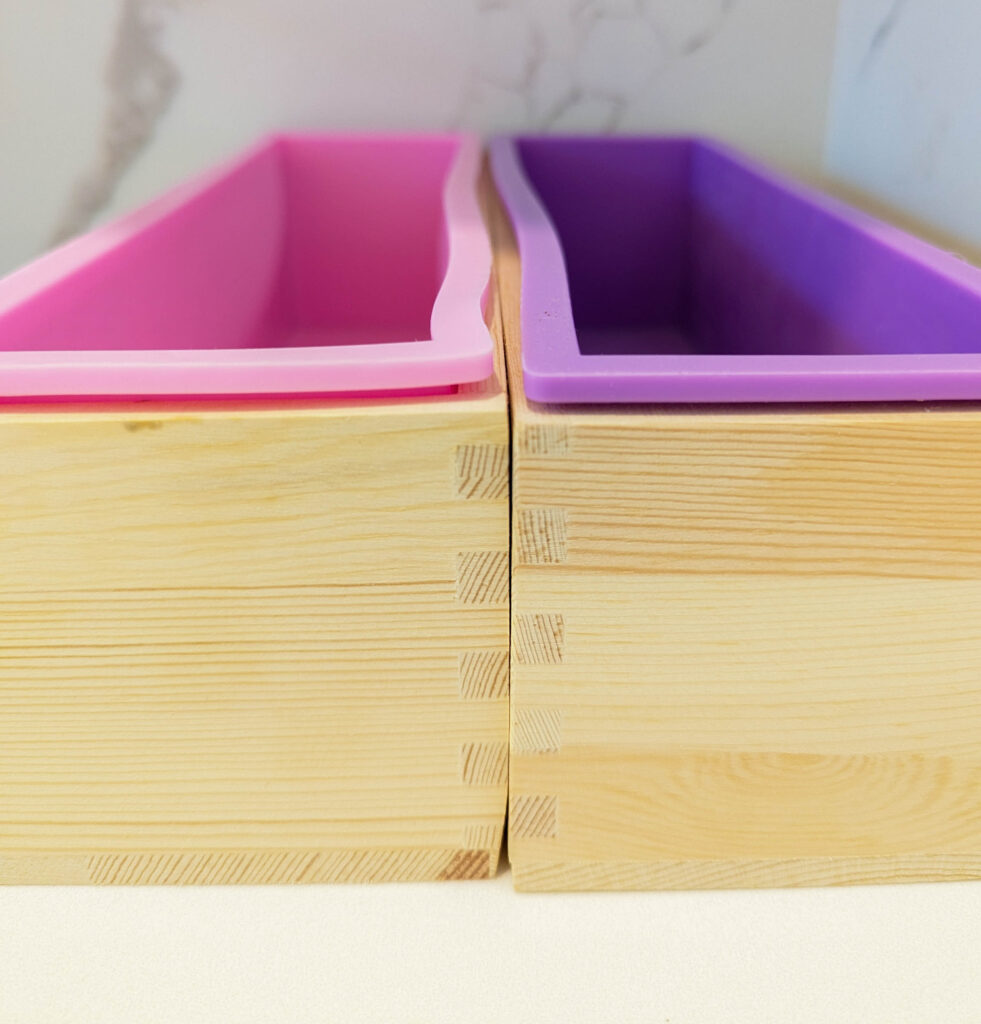
- Soap Molds: These come in all shapes and sizes. You can use silicone molds for easy release or wooden molds lined with parchment paper.
- Immersion Blender: This helps speed up the soap-making process by bringing the mixture to “trace” (the point when the oils and lye are fully mixed).
- Lye-Safe Containers: Use heat-safe, non-reactive containers (like stainless steel or heavy-duty plastic) for mixing the lye solution and oils.
- Long Sleeves, Gloves, and Safety Gear: Safety first! Always wear gloves, eye protection, and long sleeves when working with lye and soap mixtures. A well-ventilated workspace is also crucial.
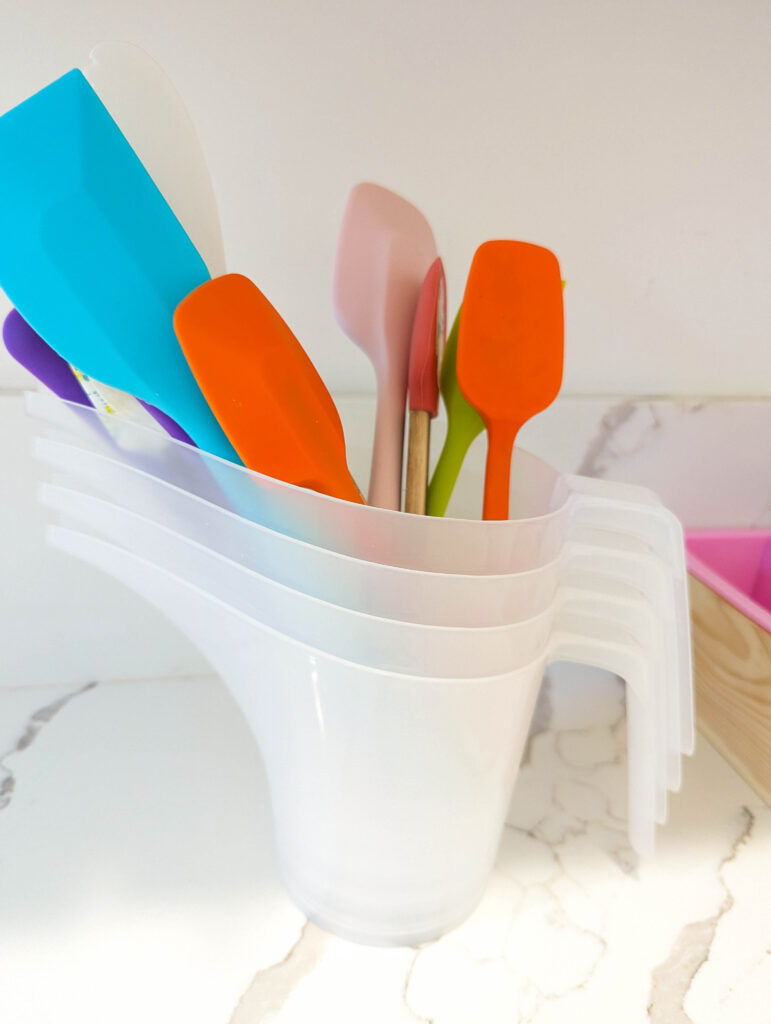
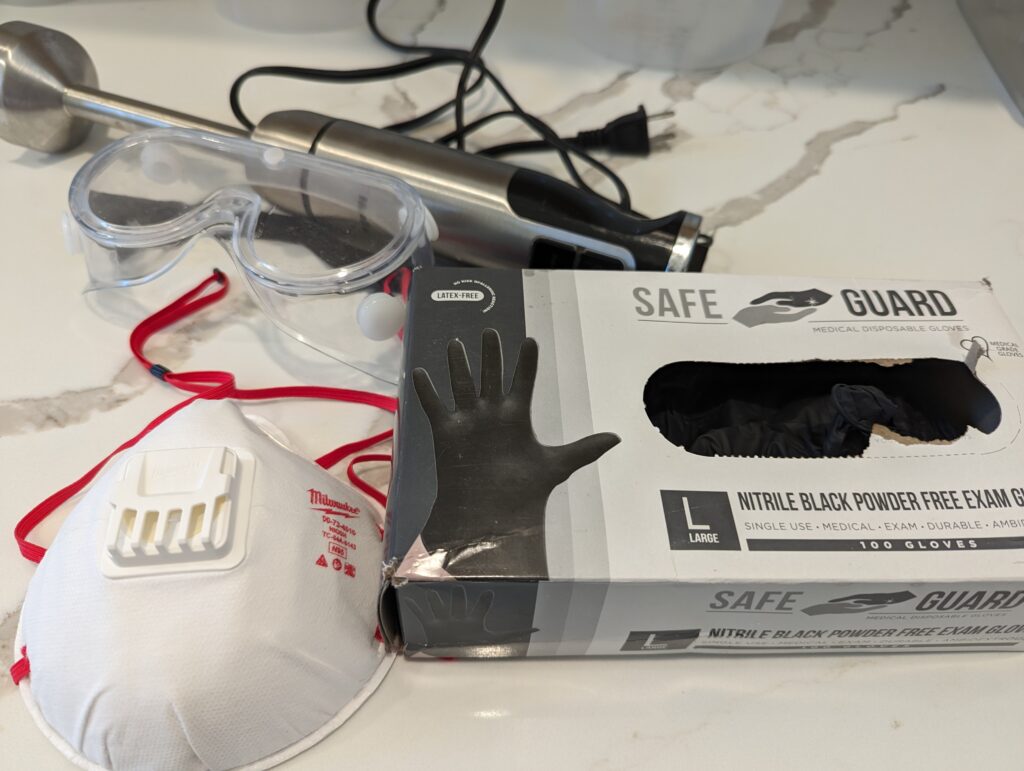
Having the right ingredients and tools makes the process of making herbal soap both safe and enjoyable. Plus, it gives you the opportunity to create beautiful, nourishing soap that you and your family can use every day.
Step-by-Step: How to Make Your Own Herbal Soap
Prepare Your Work Space
- Wear gloves and long sleeves for protection.
- Ensure your workspace is well-ventilated.
- Gather all your tools and ingredients before starting.
Making the Lye Solution
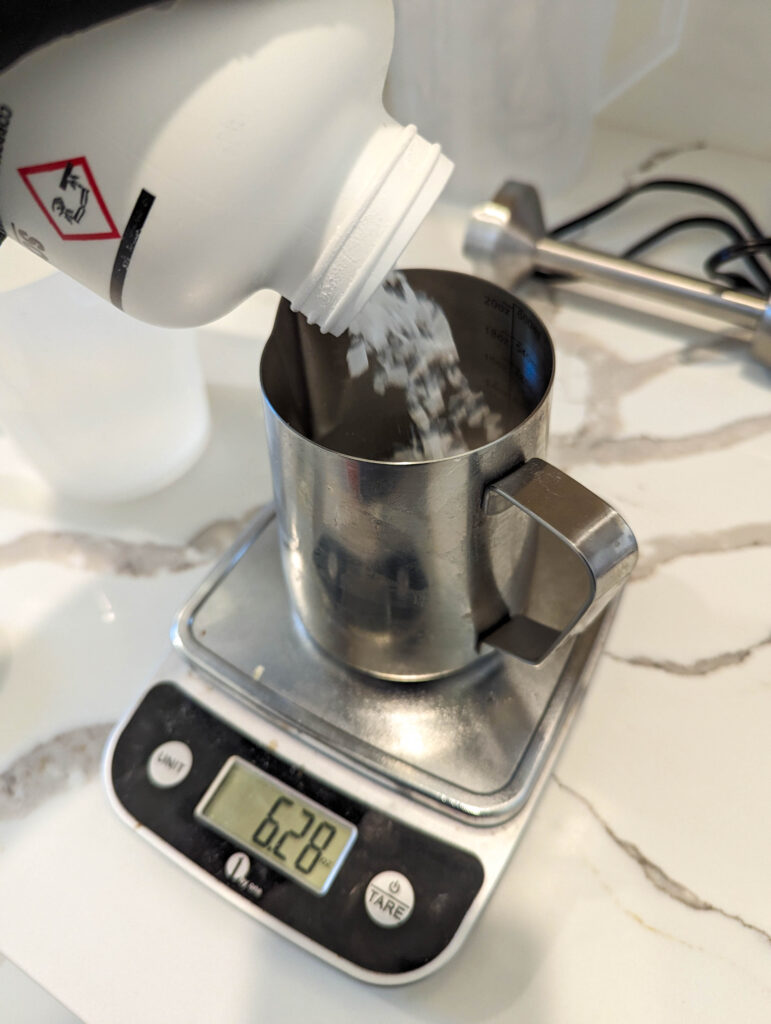
- Measure out the water and lye separately using lye-safe containers.
- Slowly add the lye crystals to the water (never the other way around) while stirring gently, being careful not to splash.
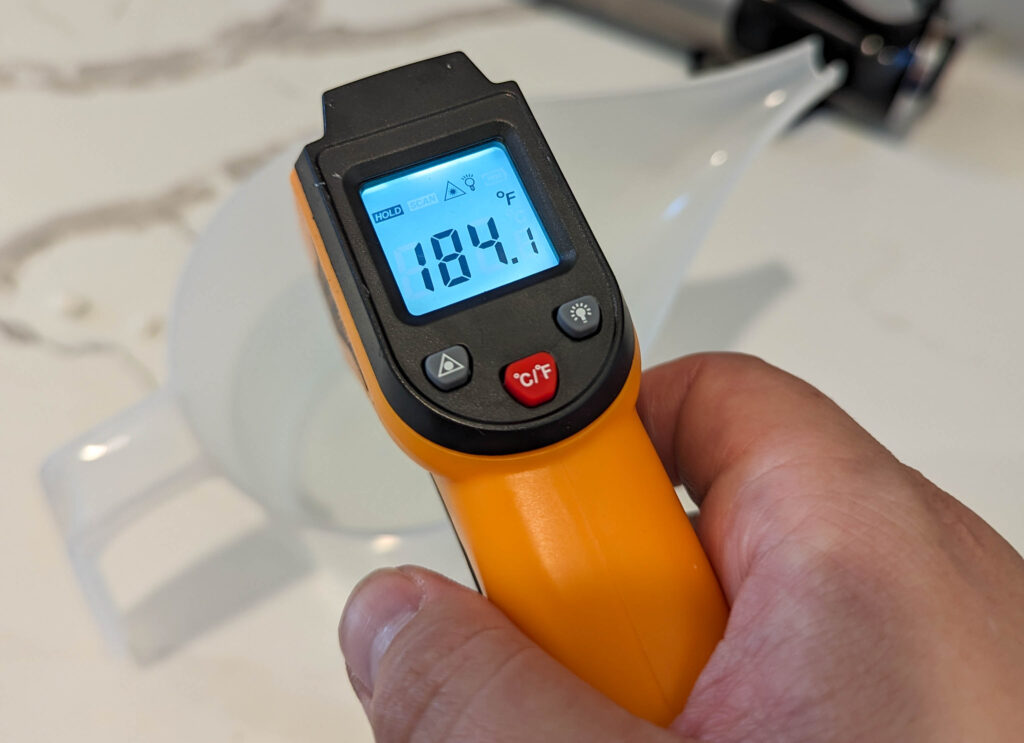
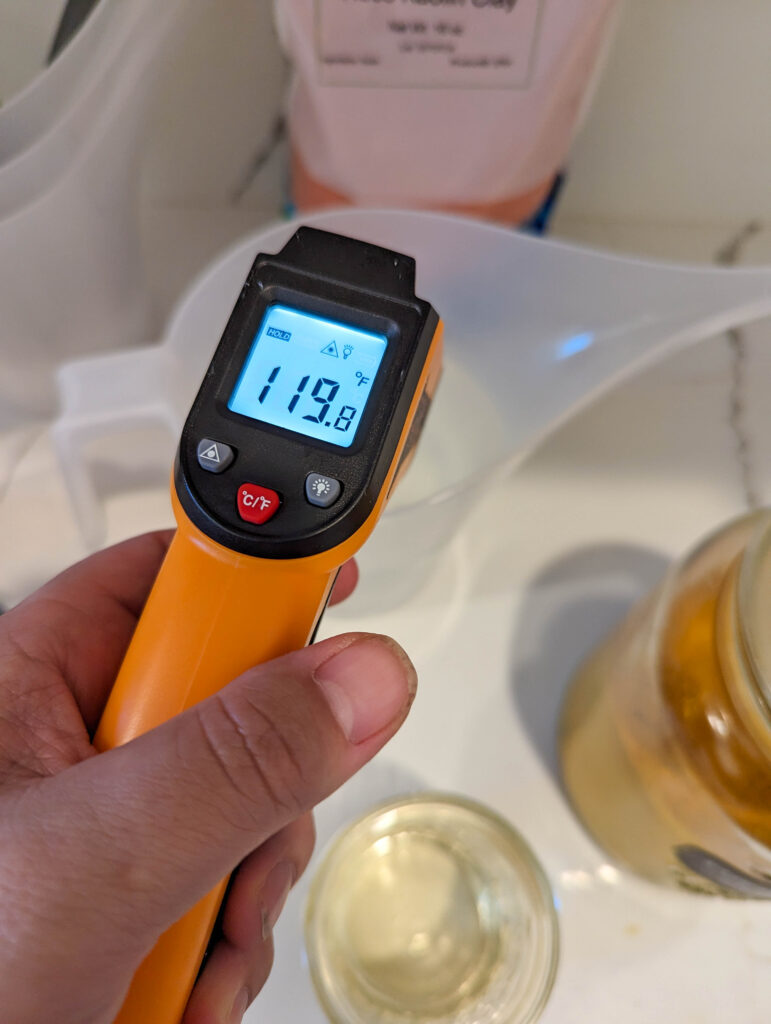
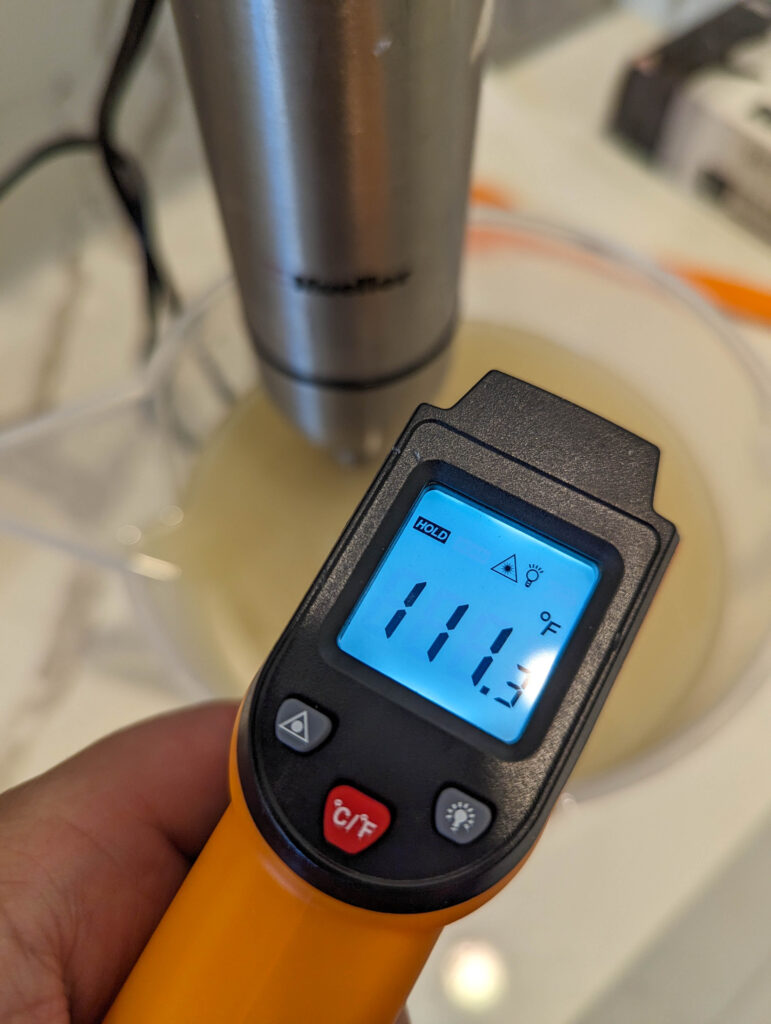
- Allow the lye solution to cool to at least 120°F (49°C) or less before mixing with the oils.


Mixing Oils
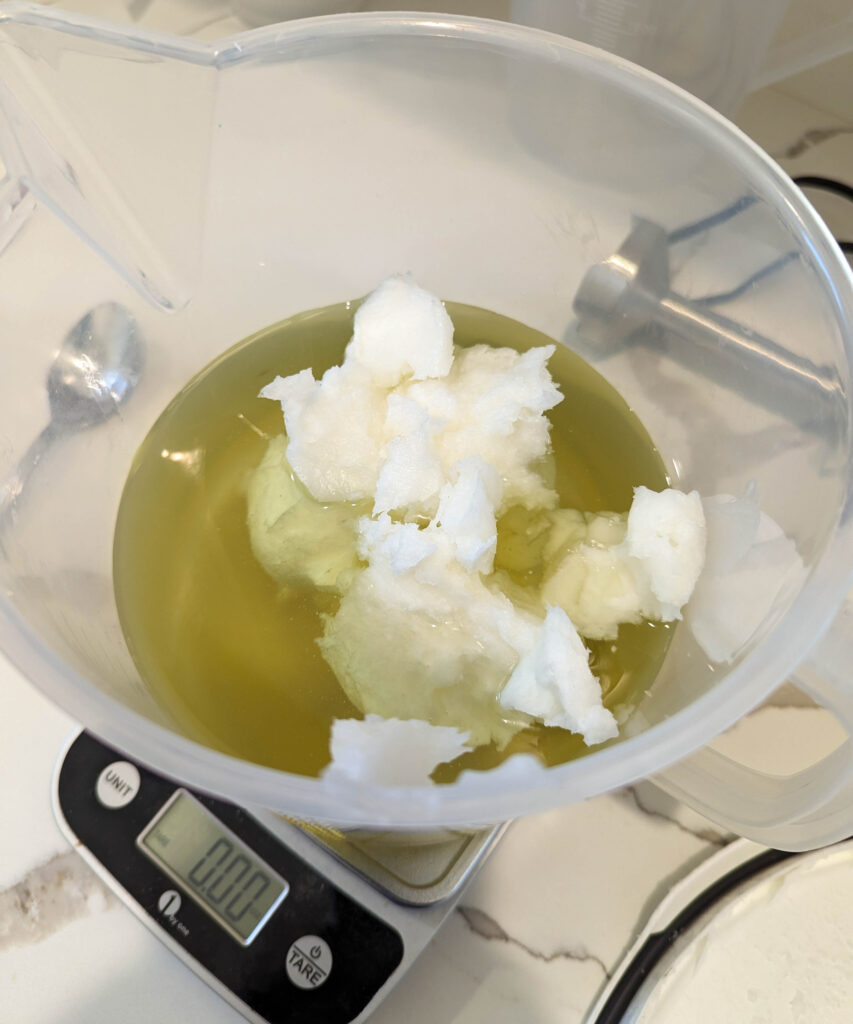
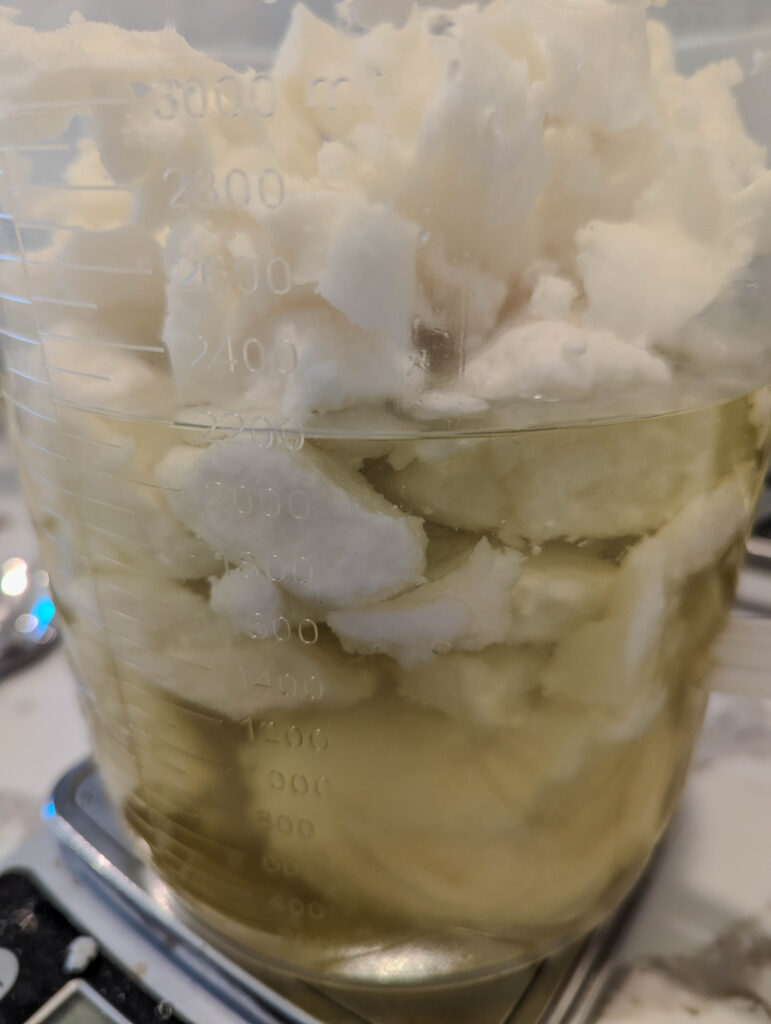
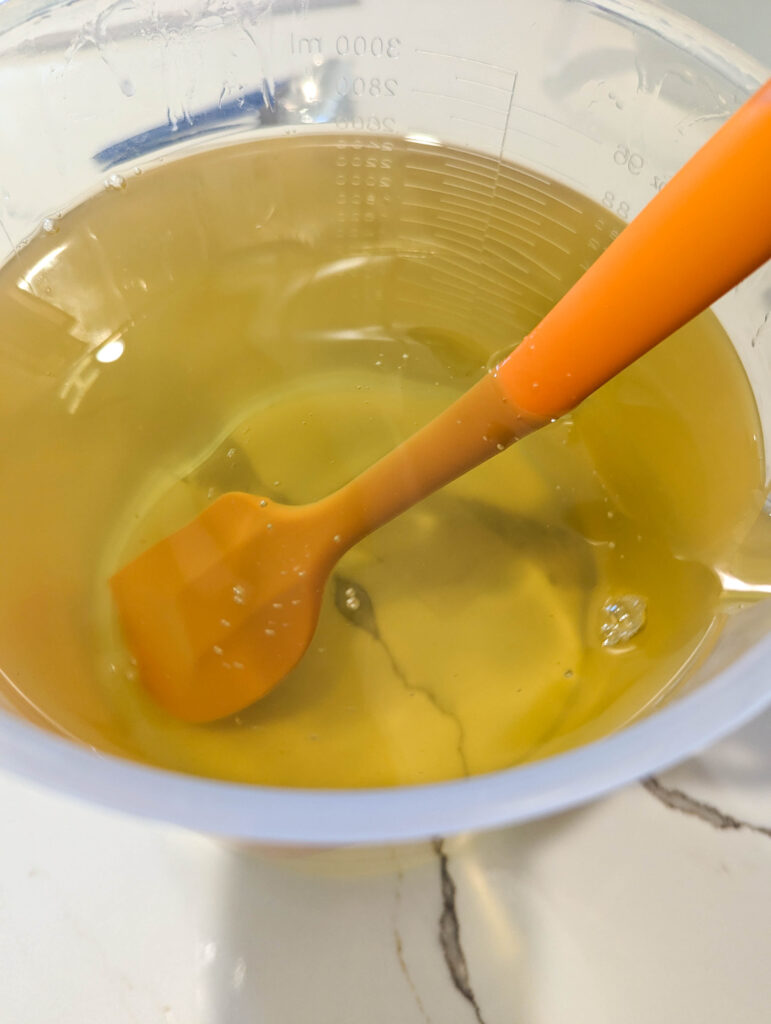
- Combine all your oils in a large, heat-safe container. If your container is large enough, you can melt all the oils together to save on dishes.
- Melt the oils using a microwave or a double boiler on low heat. This includes solid oils like coconut oil and cocoa butter, as well as liquid oils such as olive oil and sweet almond oil.
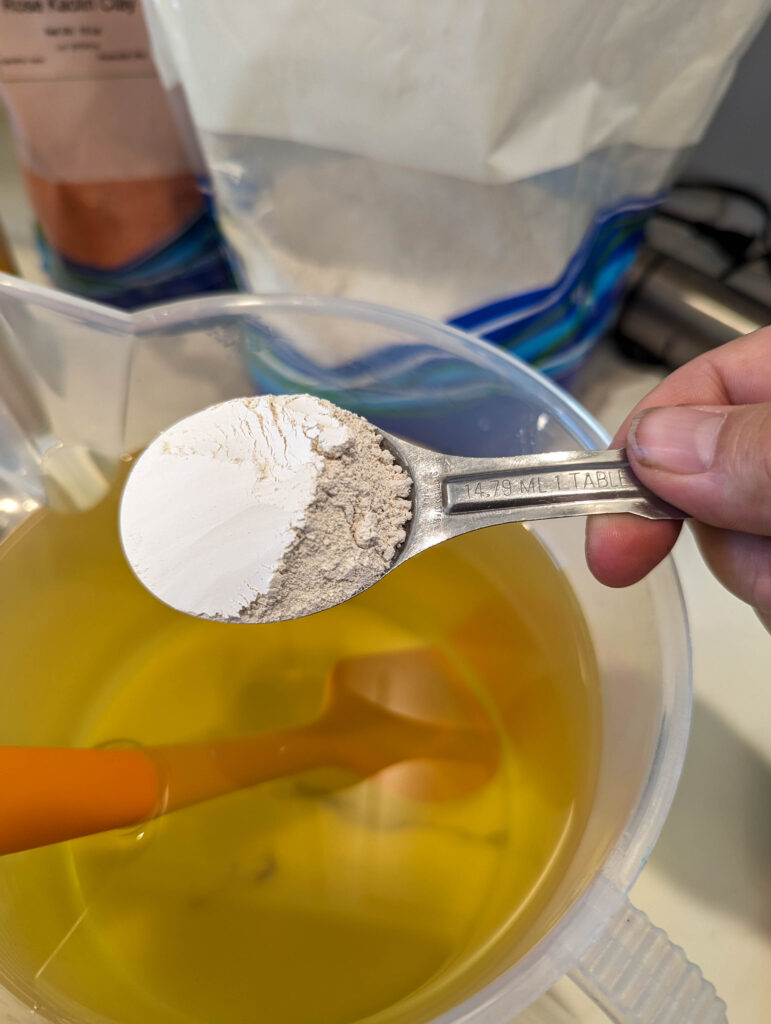
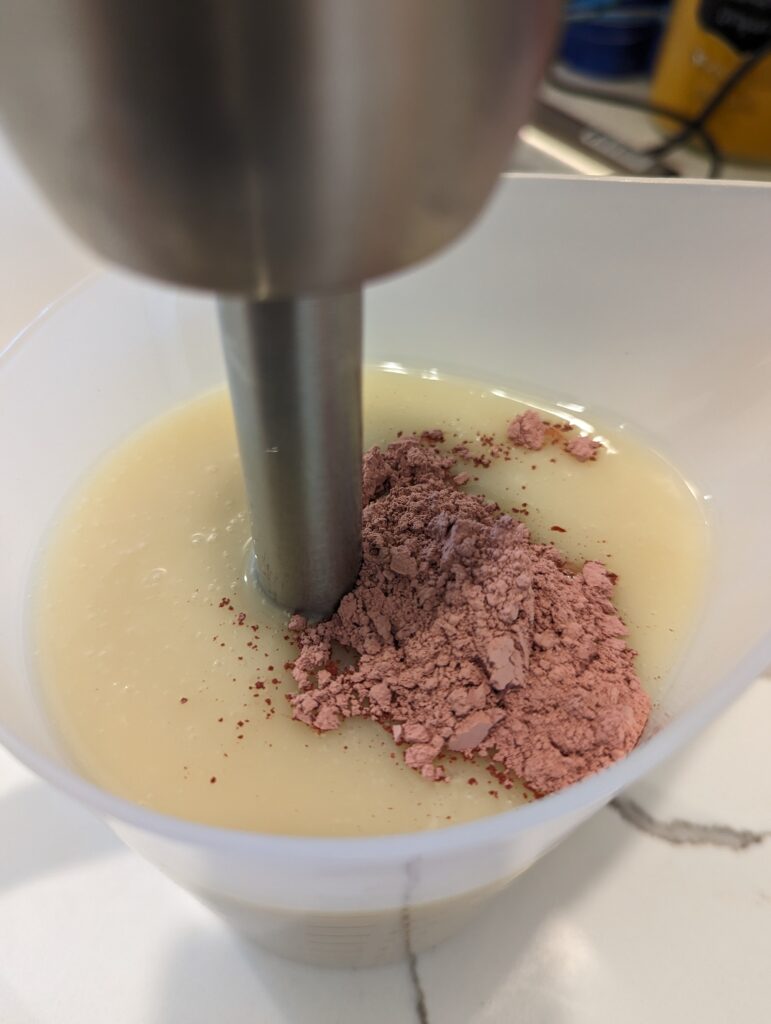
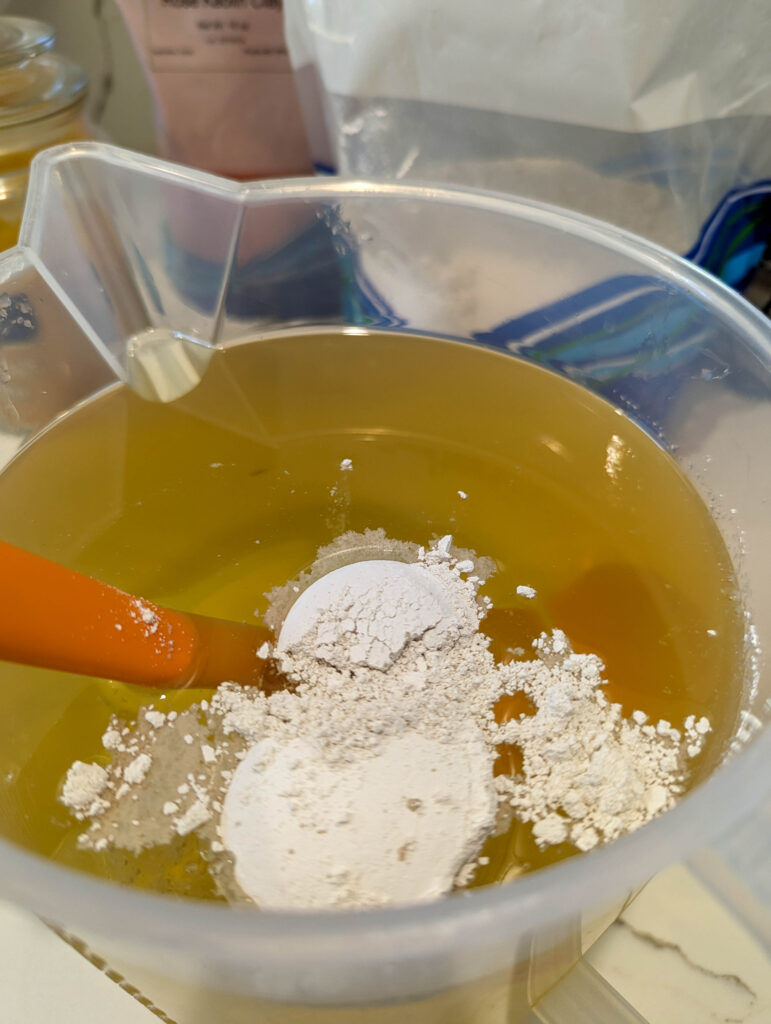
- Once melted, you can add clays, powders, and colorants if desired. A general rule of thumb is to use 1 tablespoon per pound of soap. Mix thoroughly to ensure even distribution. This step can also wait until after adding the oils and lye solution together and have come to trace (next step below).
Combining the Lye Solution with the Oils
- Slowly pour the cooled lye solution into the cooled oils.
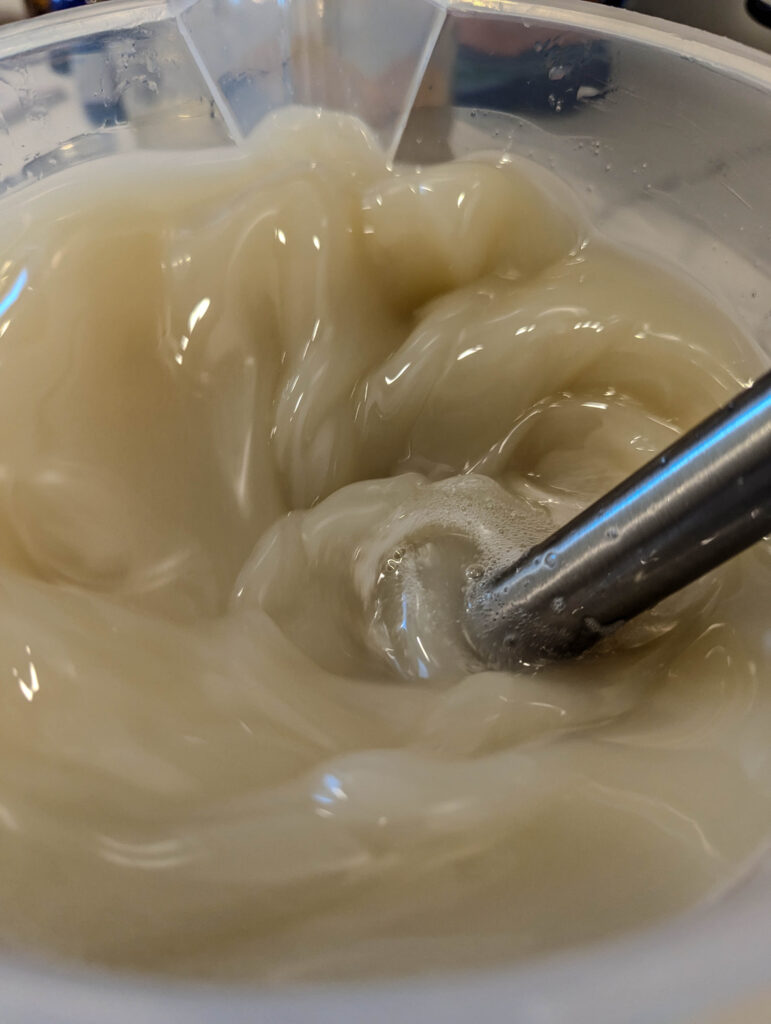
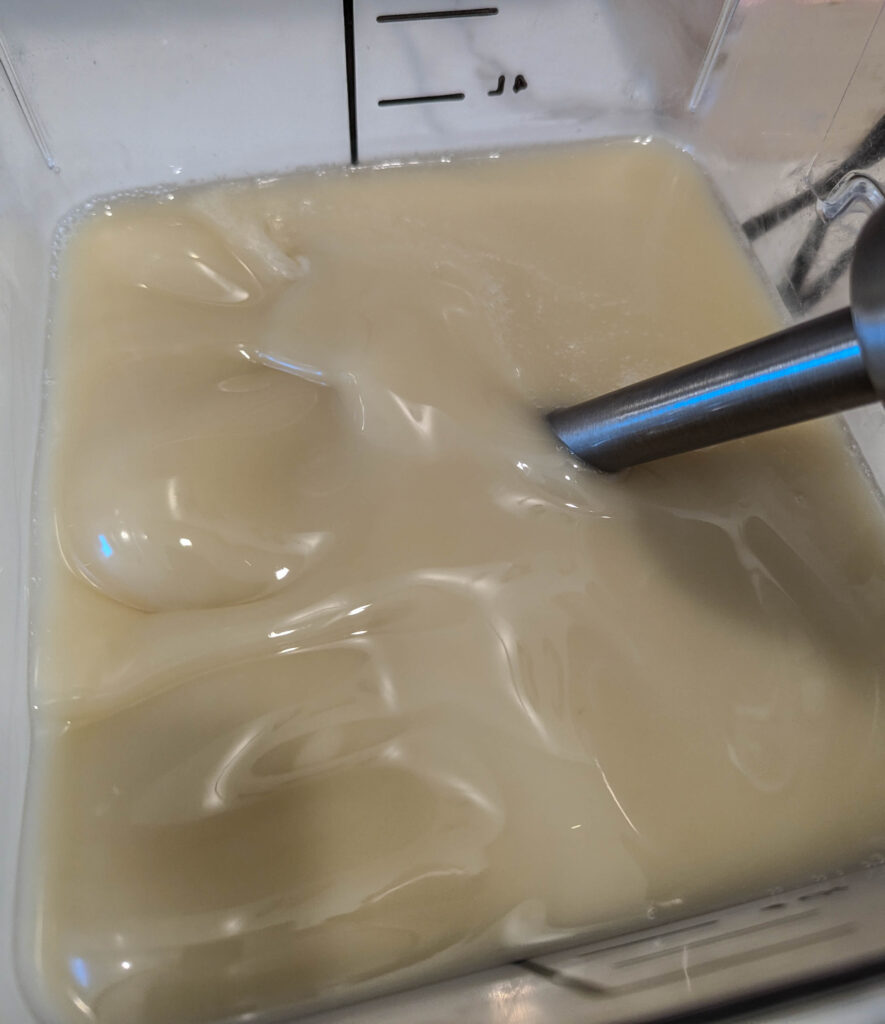
- Blend with an immersion blender in short bursts until the mixture reaches “trace” (when the mixture thickens and leaves a thin trail on the surface).
Adding Herbs and Essential Oils
- Mix in your choice of dried herbs, herbal powders, and essential oils like lavender or chamomile. Make sure to check if your essential oils or other additives will expedite the hardening of your soap solution or even discolor or “rice”.
- Customize your soap with add-ins like rose petals, lavender buds, or even herbal tea for extra benefits.


Pouring and Curing
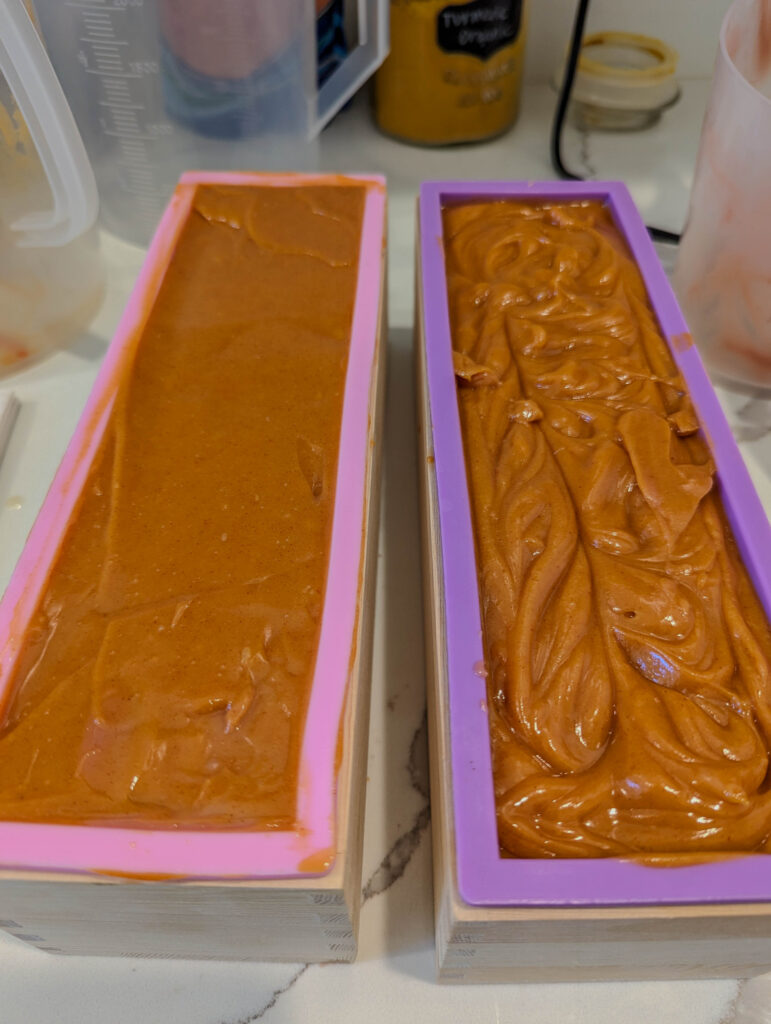
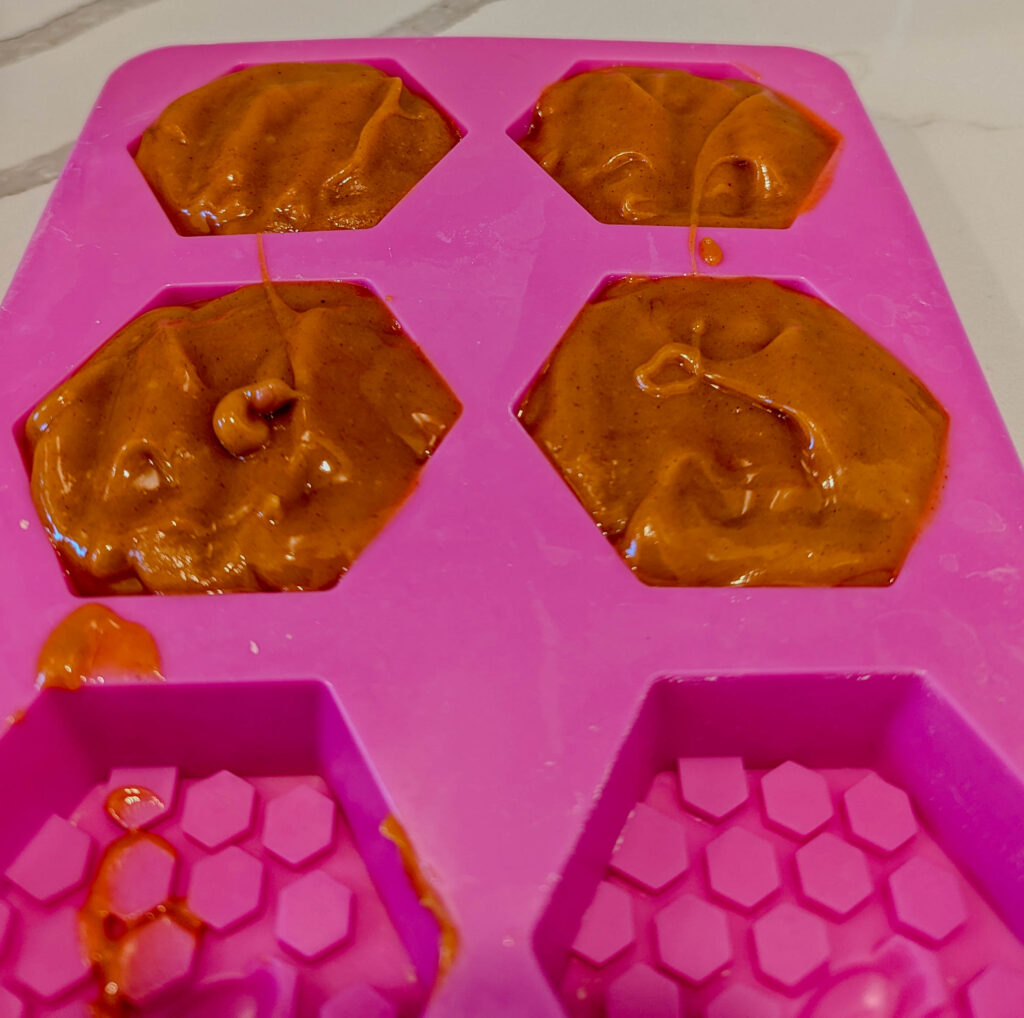
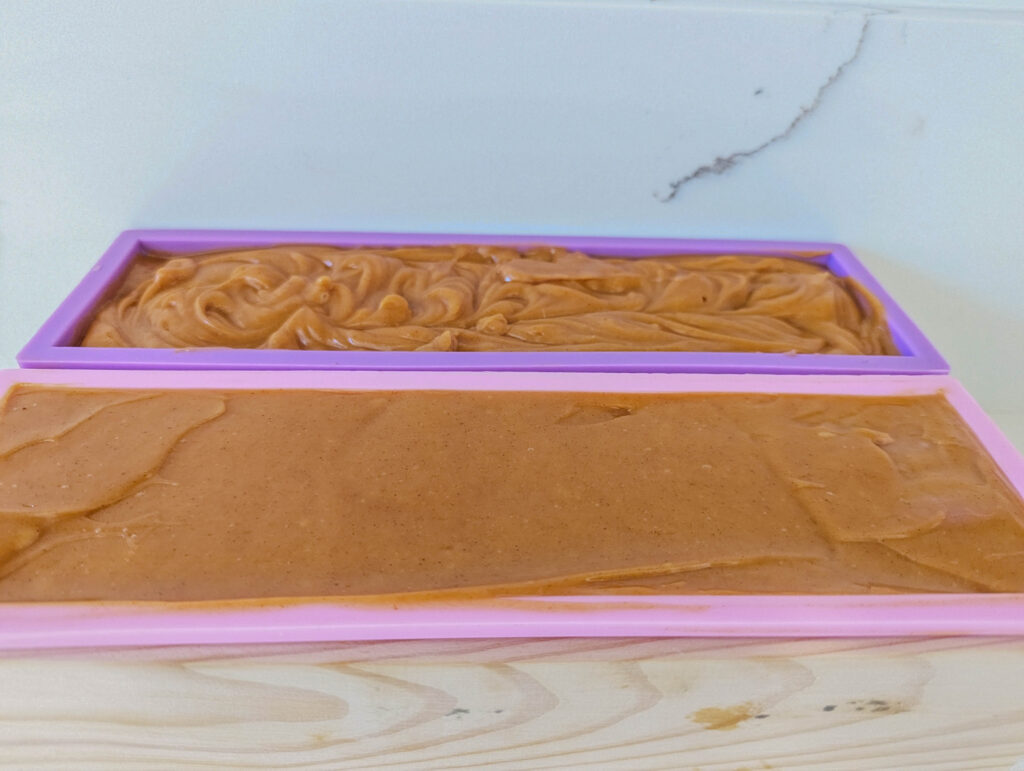
- Pour the soap batter into your molds and tap them gently to remove any air bubbles.
- Decorate the top with flower petals or fresh herbs like lemon balm for an aesthetic touch.
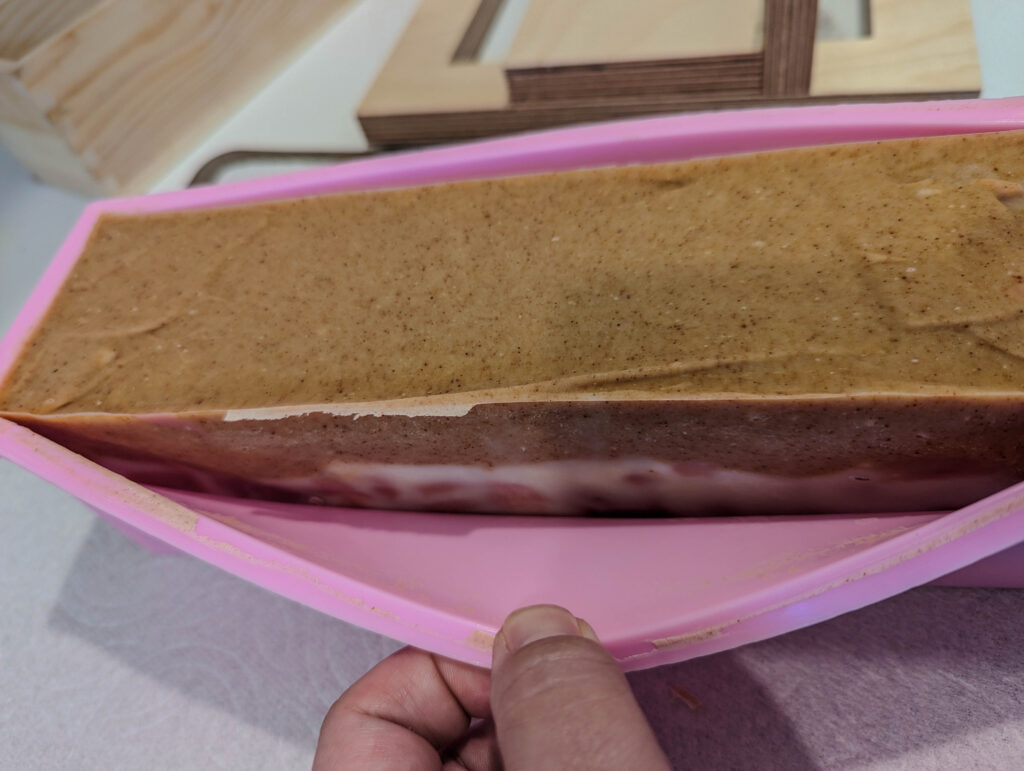
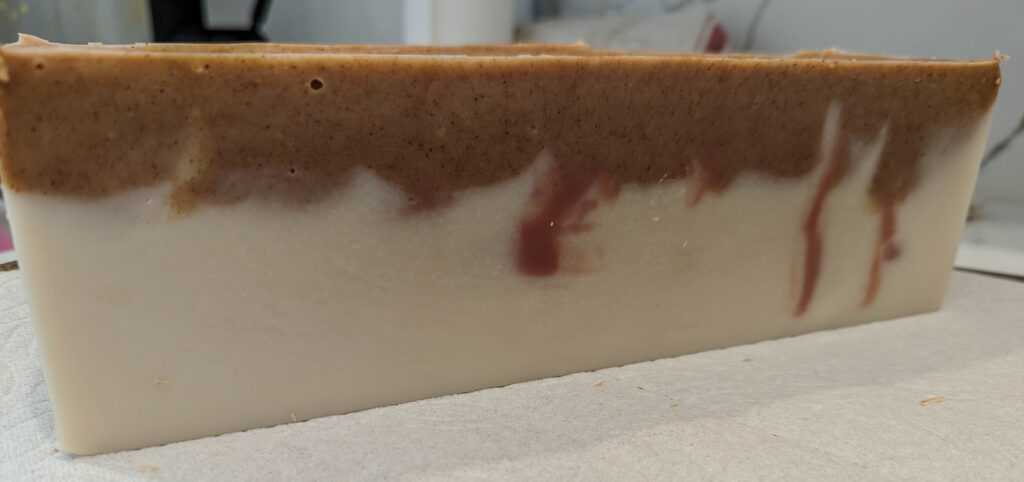
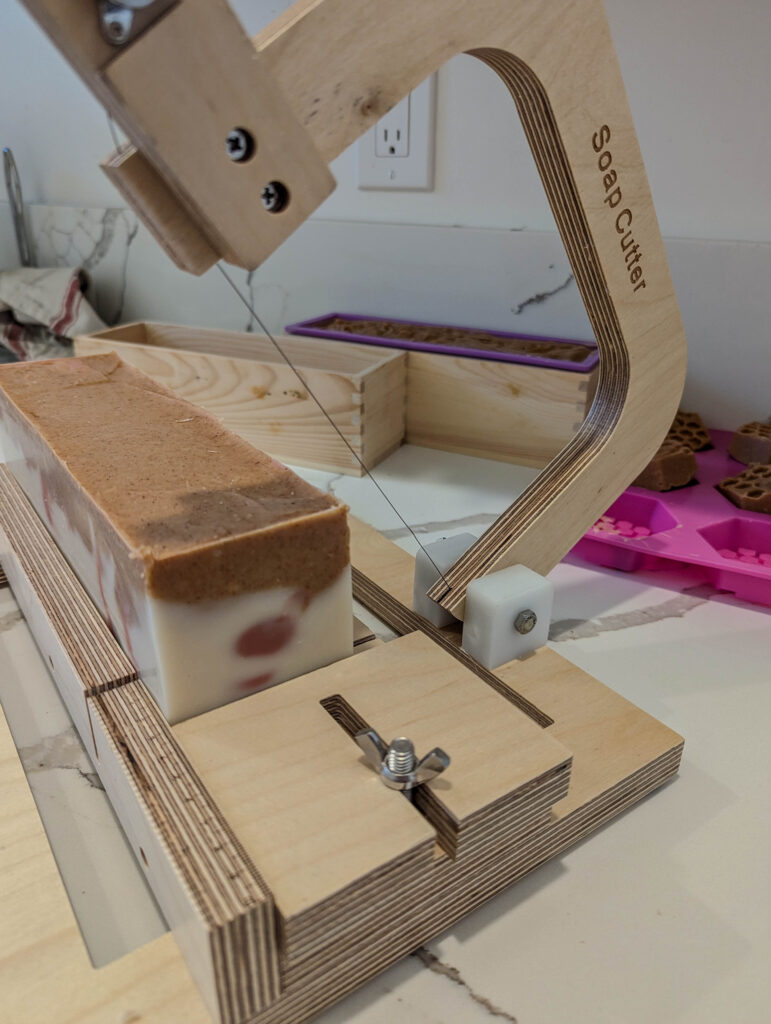
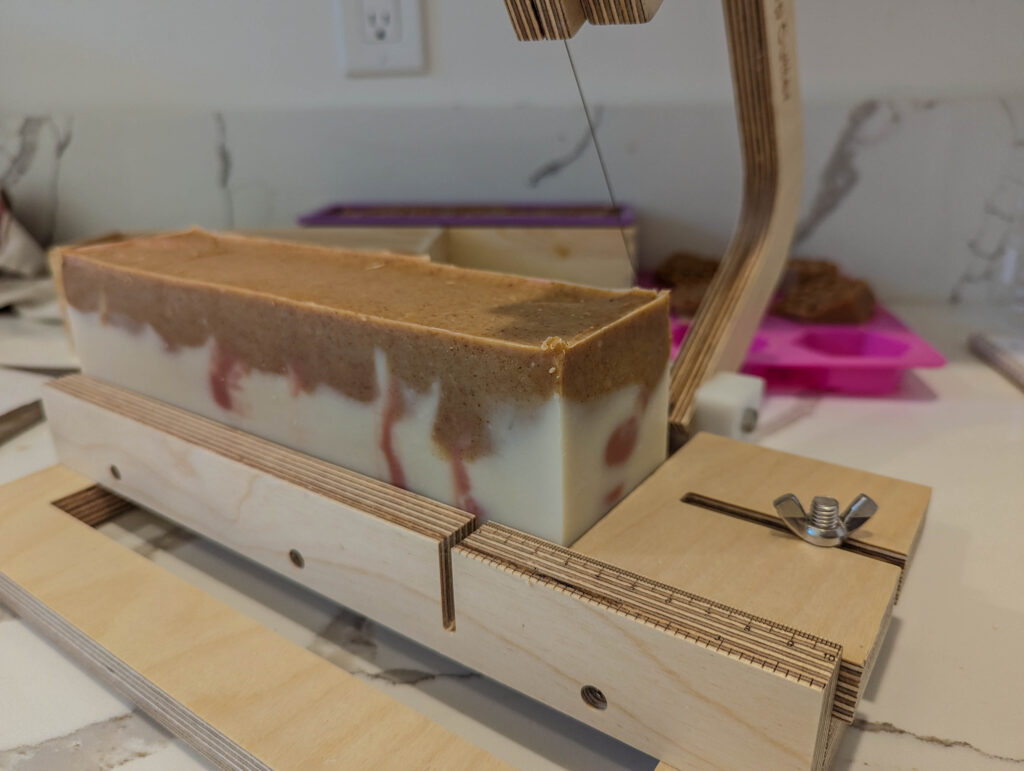
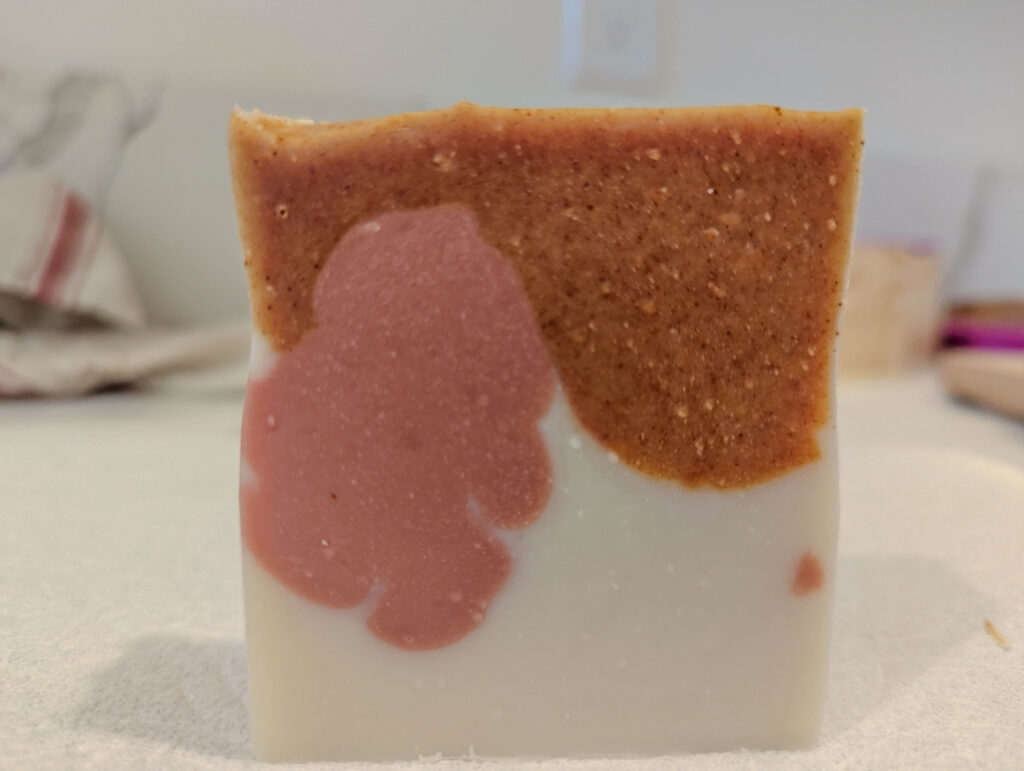
- Let the soap sit for 24-48 hours before unmolding and cutting into desired size and shape if needed (see below).
Curing Process
- Allow the soap bars to cure for 4-6 weeks. This process allows the soap to fully harden and complete the saponification process, making it ready for use.

Tips for Customizing Your Herbal Soap Recipe
Customizing your herbal soap recipe allows you to create a product that’s uniquely suited to your preferences and needs. Here are some tips to help you make your soap stand out.
Herbs from Your Garden
Incorporate fresh herbs from your garden, such as lemon balm or calendula, to enhance your soap’s properties and add a personal touch. Fresh herbs can be added directly to the soap mixture or used as a decorative element on top. If fresh herbs aren’t available, you can use dried herbs as well. Ensure they are finely ground or chopped to prevent them from being too coarse in the final soap.
Infusing Oils with Herbs
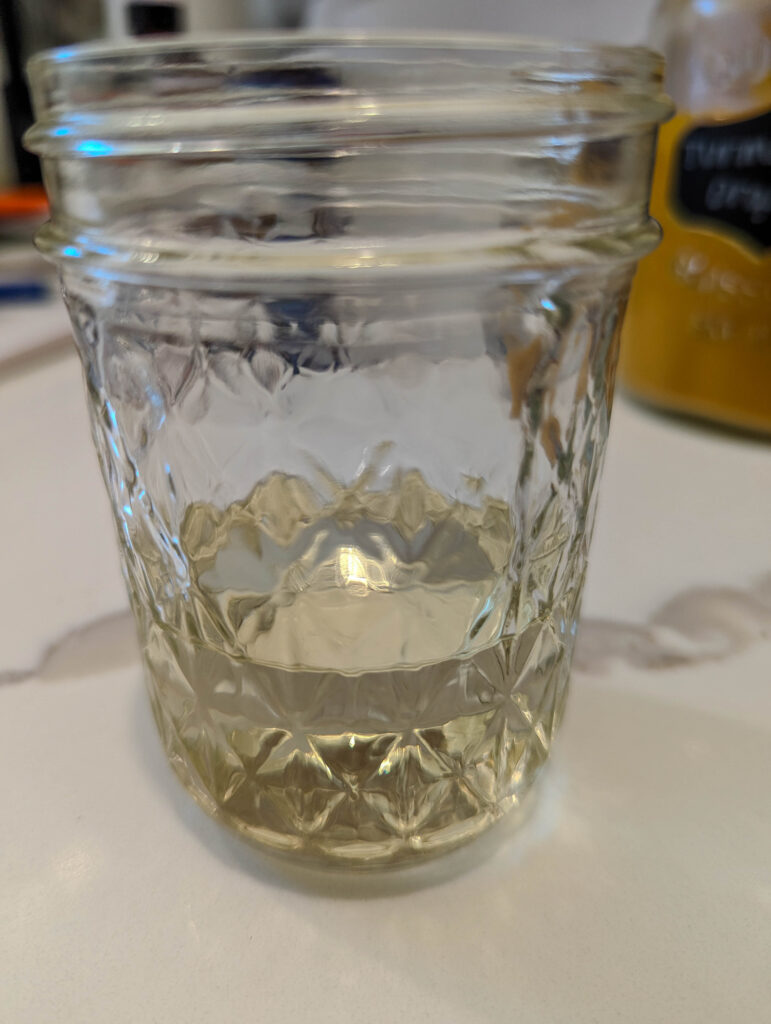
To extract the beneficial properties of herbs, create an oil infusion by steeping herbs like rosemary or juniper berries in a carrier oil, such as olive oil. Place the herbs in a jar, cover with oil, and let the mixture sit in a warm, sunny spot for 1-2 weeks, shaking occasionally. Strain out the herbs before using the infused oil in your soap recipe. Alternatively, you can use the warm infusion method by gently heating the herbs in oil with a double boiler for a quicker infusion, taking care not to overheat the oil to preserve the herbs’ beneficial properties.
Natural Colorants
Experiment with herbal powders to achieve different colors in your soap. Use powders like turmeric for a golden hue or spirulina for a vibrant green. These natural colorants can be added directly to your soap mixture. Additionally, incorporate clays such as French green clay to create beautiful colors and add skin-loving benefits. Mix the clay with a small amount of water before adding it to your soap batter to ensure even distribution.
Customizing your herbal soap not only makes it special but also allows you to tailor it to your skin’s needs and personal preferences. Have fun experimenting with different herbs, colorants, and infusion techniques to create a truly unique and beneficial soap.
Common Soap-Making Mistakes and How to Avoid Them
Brown Spots in Soap
Brown spots in soap can be caused by several factors, such as overcooked oils or excess heat during the melting process. To prevent these spots, ensure you melt your oils at a low temperature and avoid overheating. Consistently monitor your soap mixture to maintain an even temperature throughout the process.
Lye Safety
Handling lye water requires careful attention to safety. Always wear gloves and long sleeves to protect your skin, and work in a well-ventilated area to avoid inhaling fumes. Measure and mix lye and water with caution, adding lye to water and not the other way around to prevent dangerous reactions.
Creating a Smooth Soap Batter
To achieve a smooth soap batter, use your immersion blender in short bursts. This method helps blend the ingredients evenly without over-mixing, which can cause the batter to thicken too quickly or become lumpy. Blend just enough to reach “trace,” where the mixture thickens and leaves a trail on the surface.
Herbal Soap Recipe
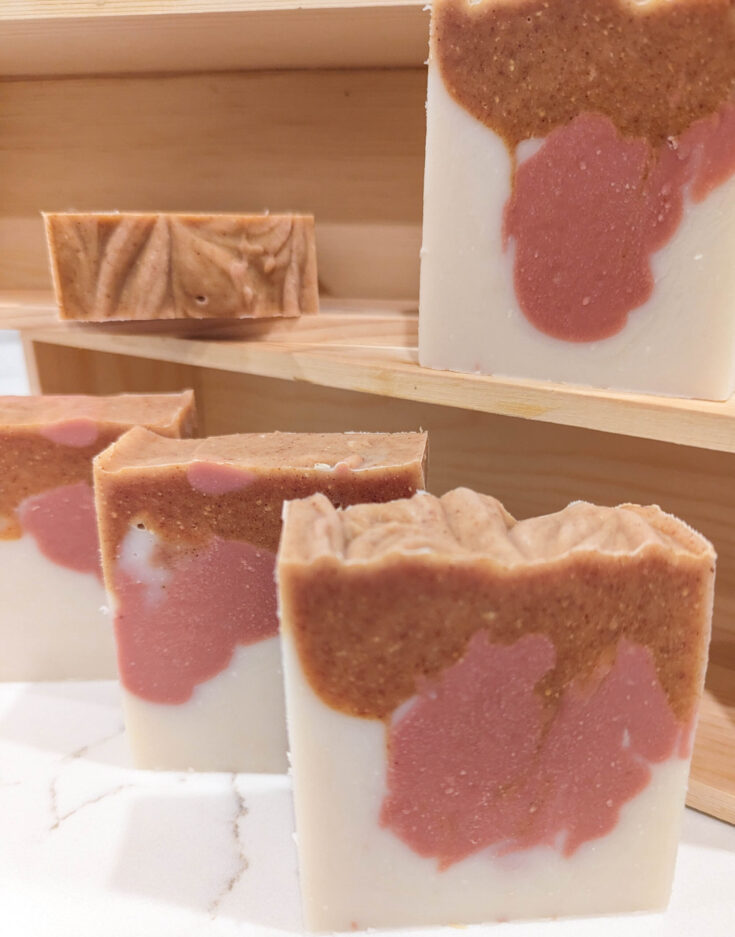
This herbal soap recipe combines the nourishing benefits of herbal-infused avocado oil, rich shea butter, moisturizing castor oil, and cleansing coconut oil. White kaolin clay adds a silky texture, while the refreshing essential oils of peppermint and cedarwood provide a soothing, earthy scent. The result is a gentle, moisturizing soap perfect for everyday use.
Ingredients
- Water 7.82 oz 221.69 g
- Lye - NaOH 5.21 oz 147.79 g
- Avocado Oil 10.00 oz 283.50 g
- Castor Oil 8.00 oz 226.80 g
- Coconut Oil, 76 deg 8.00 oz 226.80 g
- Shea Butter 14.00 oz 396.89 g
- 1 T white kaolin clay (optional)
- Fragrance 1.25 oz 35.44 g (optional)
Instructions
- Prepare your workspace: Wear gloves, long sleeves, and safety goggles. Ensure your area is well-ventilated. Don your safety gear before the next step.
- Measure the water and lye separately: Slowly add the lye to the water, stirring until dissolved. Let the lye solution cool to around 120°F.
- Melt the oils: In a large container, combine the avocado oil, shea butter, castor oil, and coconut oil. Melt them together in a double boiler or microwave until fully liquid.
- Add clay and colorants: Once the oils are melted, stir in the white kaolin clay. Make sure it’s evenly distributed. Use your immersion blender for best results.
- Combine lye solution and oils: When the lye solution and oils are around 120°F or less, slowly pour the lye mixture into the oils. Blend using an immersion blender in short bursts until it reaches "trace" (a thin line forms on top of the solution when you gently hang the immersion blender over and thin layers fall).
- Add essential oils: Stir in the peppermint and cedarwood essential oils (or any EO you are using).
- Pour into molds: Pour the soap batter into your molds, tapping gently to remove air bubbles. Add any designs or other herbs as desired.
- Let the soap set: Allow the soap to set for 24-48 hours before unmolding.
- Cut the Soap: If in a loaf mold, cut the soap after it has hardened, generally 24-48 hours.
- Cure the soap: Place the bars in a cool, dry area to cure for 4-6 weeks before use.
Notes
Sometimes soap ash can form if the soap is left uncovered. I like to place a towel over my soap when curing to help lessen this chance. If it does form, it will not harm the soap at all. You can wash it off or even steam it off.
This recipe is given in both oz and grams. Depending on your preference, just stick to one unit of measure for this recipe.
When using any essential oils or other additives, make sure to check for any trace acceleration, discoloration or any other variations they may cause in the soap beforehand. For example, some essential oils cause the trace to quicken, making it harder to pour and shape into the molds.
Using Soapcalc to Personalize Your Recipe
Creating a custom herbal soap recipe can feel a little intimidating at first, but that’s where Soapcalc comes in. Soapcalc is a free online tool that helps you calculate the exact amounts of lye, water, and oils needed for your soap recipe. This makes it much easier to craft a personalized bar that suits your skin type and preferences.
Steps to Use Soapcalc
- Input Your Ingredients
Start by entering the oils and fats you want to use in your soap. You’ll find a wide range of options on Soapcalc, from coconut oil and olive oil to castor oil and cocoa butter. Once you input your chosen oils, Soapcalc will automatically calculate the percentages of each oil in your recipe. - Adjust for Lye and Water
One of the trickiest parts of soap making is getting the balance of lye and water just right. Soapcalc takes the guesswork out of this by calculating the exact amount of lye (sodium hydroxide) and water needed based on the oils you’re using. This ensures your soap will have the proper consistency and safety. - Check Soap Qualities
Soapcalc also provides a helpful chart that breaks down the different qualities of your soap, such as hardness, lather, and conditioning properties. For example, if you want your soap to be more moisturizing, you might add more olive oil, whereas for a firmer bar, increasing the amount of coconut oil can help. You can tweak your recipe until you’re satisfied with the balance of these qualities.
Why It’s Helpful
Soapcalc takes the guesswork out of formulating soap, making it an essential tool for beginners and seasoned soap makers alike. By balancing oils, lye, and water accurately, you can create a soap that is not only safe but also perfectly tailored to your skin type, whether you need extra moisturizing, more lather, or a harder bar. This tool ensures every batch comes out exactly how you want it, making it an invaluable resource for crafting the perfect herbal soap.
Recap the Benefits of Herbal Soap
Herbal soap made with natural ingredients offers a nourishing and eco-friendly alternative to commercial soaps. By incorporating herbs and essential oils, you create a product that is not only gentle on the skin but also free from synthetic chemicals and additives.
Encouragement to Experiment
I encourage you to experiment with your own favorite essential oils and herbs. Personalizing your soap recipe allows you to create unique blends that cater to your skin’s needs and your personal preferences, making your soap-making experience both fun and fulfilling.
Let Me Know!
Feel free to share your creations or explore more natural remedies and DIY projects on my blog. I’d love to hear about your soap-making adventures and see how you’ve customized your herbal soap recipes!
Green Tea Vs Herbal Tea: The Best Complete Tea Guide
Sharing is caring! Facebook Pinterest X Green Tea Vs Herbal Tea: The Best Complete Tea Guide Understanding the Differences Green tea vs herbal tea is a popular debate among tea lovers worldwide. Both offer unique flavors, health benefits, and caffeine content. Tea has a rich history and is enjoyed in many cultures. From Chinese green…
How to Make Bath Salts Without Epsom Salt: Free Recipe
How to Make Bath Salts Without Epsom Salt: Free Recipe How to Make Bath Salts Without Epsom Salt Homemade bath salts without Epsom salt are a great way to enjoy a luxurious soak. You can use natural ingredients like coarse sea salt, baking soda, and pink Himalayan salt for a soothing experience. A relaxing bath…
Homesteading in California: How to Start at Any Stage
Homesteading in California: How to Start at Any Stage How Homesteading in California is Possible Homesteading in California is a journey that looks different for everyone, depending on where you live in this vast and diverse state. From the deserts dotted with Joshua trees in the south, to the rugged mountain ranges in the north,…
How to Make Peppers Grow Faster: Guide and Easy Tips
How to Make Peppers Grow Faster: Guide and Easy Tips How to make peppers grow faster is a common question among home gardeners seeking to maximize their growing season. Whether you’re nurturing sweet peppers, green peppers, or hot pepper plants, creating ideal conditions is essential for pepper success. The best way to achieve healthy pepper plants…
The Different Types of Cloth Diapers: Ultimate Guide
The Different Types of Cloth Diapers: Ultimate Guide The different types of cloth diapers offer a sustainable and eco-friendly alternative to disposable diapers for your baby. As a mom of five and a Registered Nurse, I’ve seen the many benefits of reusable cloth diapers firsthand. This guide will help you understand the major types of…
The Best Doula Bag Essentials Kit for Birth and Postpartum
The Best Doula Bag Essentials Kit for Birth and Postpartum The Best Doula Bag Essentials Kit for Birth and Postpartum A well-stocked doula bag is essential for supporting women during birth and postpartum. As a Registered Nurse, mother of five, and former Navy Hospital Corpsman, I’ve experienced the birthing world from many angles. I’ve worked…

