Best Complete Guide to Starting Seeds Indoors: How to Start
This is the best complete indoor seed starting guide for beginners using organic gardening methods. The best way to get your garden off with a head start is by starting your seeds indoors.

Starting Seeds Indoors for Beginners
Starting seeds indoors is a fantastic way for beginners to kickstart their gardening journey using organic methods. It provides a sense of satisfaction and control over the entire growing process, from seed to harvest. Here’s an expanded overview of how beginners can get started:
Understanding the Basics of Starting Seeds Indoors
Before diving in, it’s essential to understand the fundamentals of seed starting. This includes learning about soil types, light requirements, watering needs, and the germination process. By grasping these basics, beginners can set themselves up for success from the get-go.
Gathering Supplies
The first step in starting seeds indoors is gathering the necessary supplies. This includes containers for planting, seed starting mix or potting soil, seeds of your choice, lighting setup (if not relying solely on natural light), watering tools, fertilizer, and labels for identifying plants. Ensuring you have all the required materials before beginning will streamline the process and prevent any delays.
Selecting Seeds
Choosing which seeds to start can be an exciting yet daunting task for beginners. It’s advisable to start with vegetables or herbs that are relatively easy to grow, such as tomatoes, peppers, basil, or lettuce. Consider factors like your climate, available space, and personal preferences when making your selections.
Preparing the Growing Environment
Creating an optimal environment for seed germination and growth is crucial. This involves setting up a designated area with proper lighting, temperature control, and ventilation. Whether utilizing a south-facing window or an artificial light setup, ensuring consistent and adequate light exposure is essential for healthy seedling development.
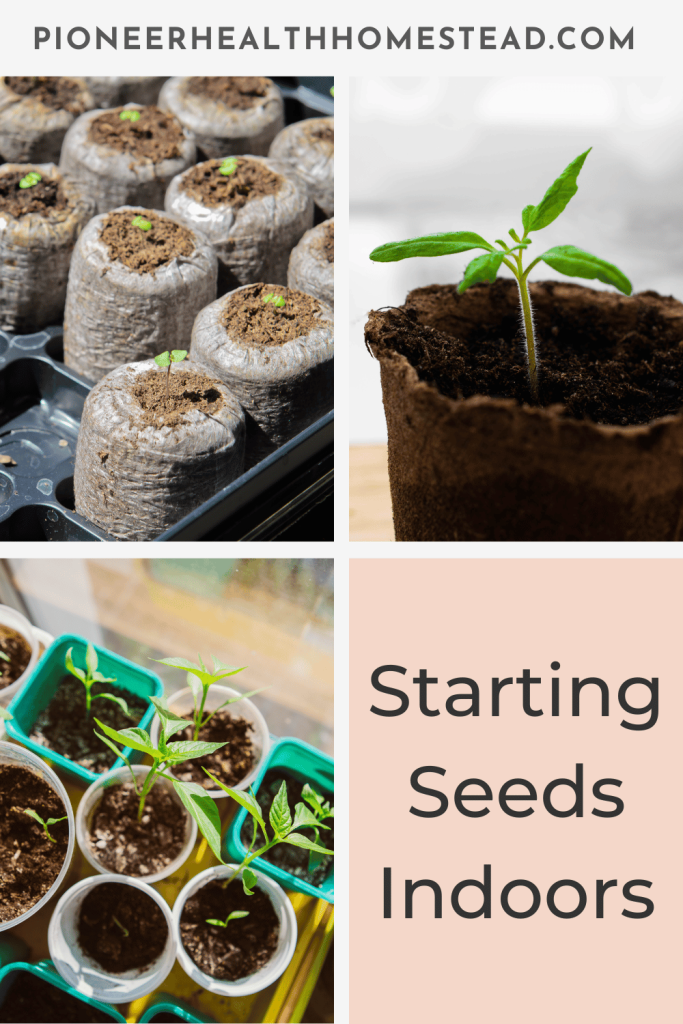
Planting Seeds Indoors
Once everything is in place, it’s time to plant the seeds. Follow the instructions on the seed packets regarding planting depth, spacing, and watering requirements. Using a sterile seed starting mix or potting soil will help prevent diseases and promote healthy root growth. Labeling each container or tray with the plant variety and date of planting will help you keep track of your seedlings as they grow.
Providing Care and Maintenance
Monitoring the seedlings’ progress and providing proper care is key to their success. This includes maintaining consistent moisture levels, ensuring adequate airflow, and adjusting lighting as needed. Regularly inspecting the seedlings for signs of pests or disease and taking prompt action to address any issues will help keep them healthy and thriving.
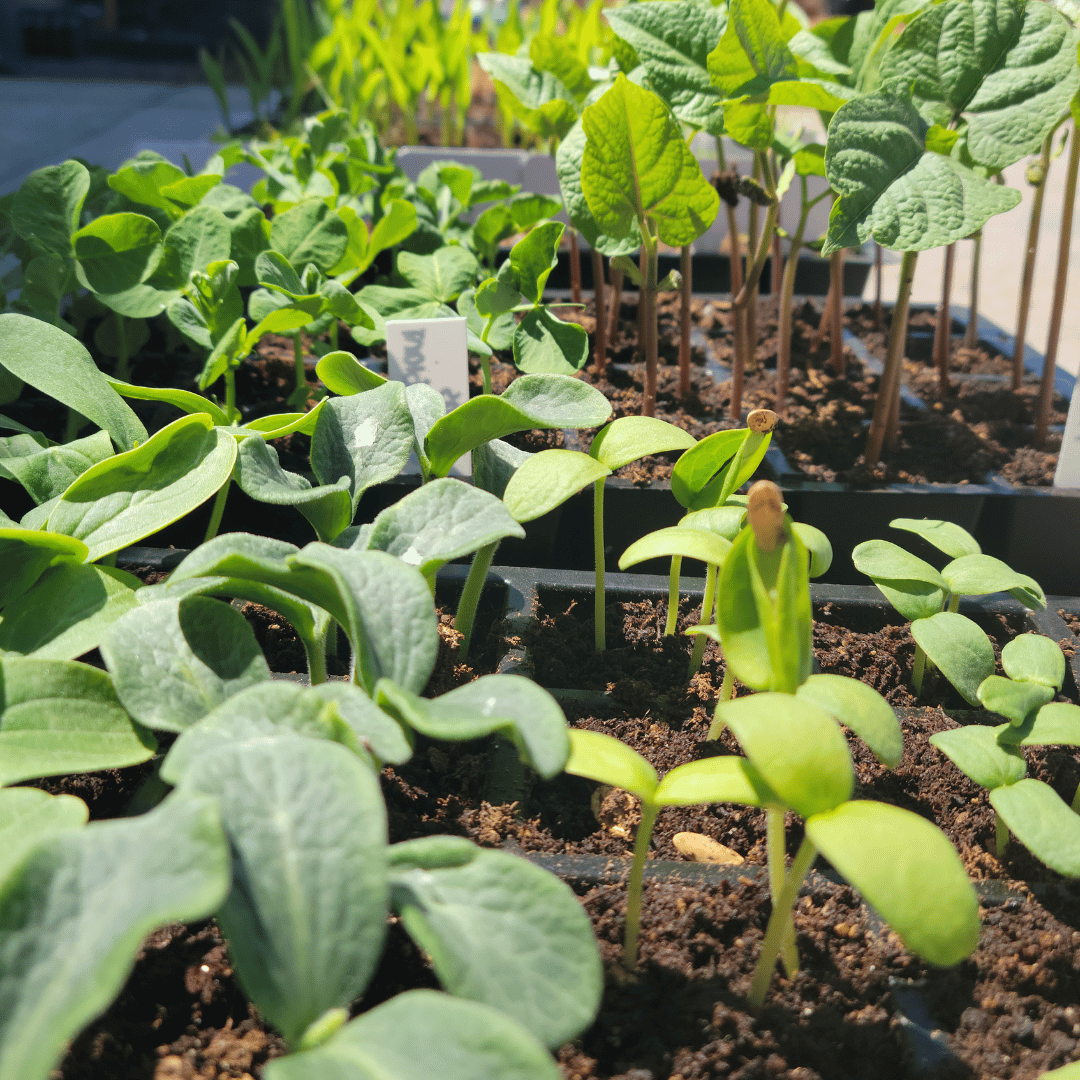
Transplanting Seedlings
As the seedlings grow larger and develop their true leaves, they will eventually outgrow their starter containers and need to be transplanted into larger pots or the garden. This transition should be done gradually to minimize stress on the plants. Harden off the seedlings by gradually exposing them to outdoor conditions before transplanting them into the garden beds or containers.
Unlocking the Potential of Seed Starting
Why would you opt to start plants from seeds rather than simply purchasing established seedlings from your local nursery? This question may linger in the minds of many budding gardeners. The truth is, seed starting indoors offers a lot of benefits that extend far beyond mere cost savings.
Financial Prudence and Variety
First and foremost, starting seeds indoors is a financially prudent decision in the long run. While seedlings from nurseries can cost anywhere from $2 to $6 per plant, seeds offer a much more economical alternative. With just a fraction of the cost, you can acquire seeds for numerous plant varieties, allowing you to cultivate a diverse range of produce in your garden.
Moreover, purchasing seeds opens up a world of possibilities in terms of variety. Unlike garden nurseries, which tend to stock primarily popular and commonly grown plants, seed catalogs boast an extensive array of rare and exotic plant species. From heirloom tomatoes to unique pepper varieties, the options are virtually limitless, offering gardeners the opportunity to explore and experiment with a diverse selection of crops.
Personal Discovery and Culinary Delights
My journey into seed starting began with a simple curiosity. I never had a particular affinity for tomatoes until I ventured into growing them myself. It was only after tasting a newly discovered tomato variety that I realized the true depth of flavor and culinary potential that tomatoes possess. This personal discovery is a testament to the power of seed starting, which not only nurtures plants but also fosters a deeper connection with the food we grow and consume.
Exploring the Possibilities
If you’re still unsure about where to begin or what possibilities lie ahead, fear not. Seed catalogs and packets serve as treasure troves of inspiration, offering a glimpse into the vast world of plant diversity. From heirloom gems to exotic rarities, these catalogs showcase an abundance of options waiting to be explored and cultivated in your garden.
Now that we’ve uncovered the “why” behind seed starting, it’s time to delve into the practicalities of “how.” Join me as we embark on a journey into the art and science of starting seeds indoors, unlocking the secrets to successful cultivation and bountiful harvests.
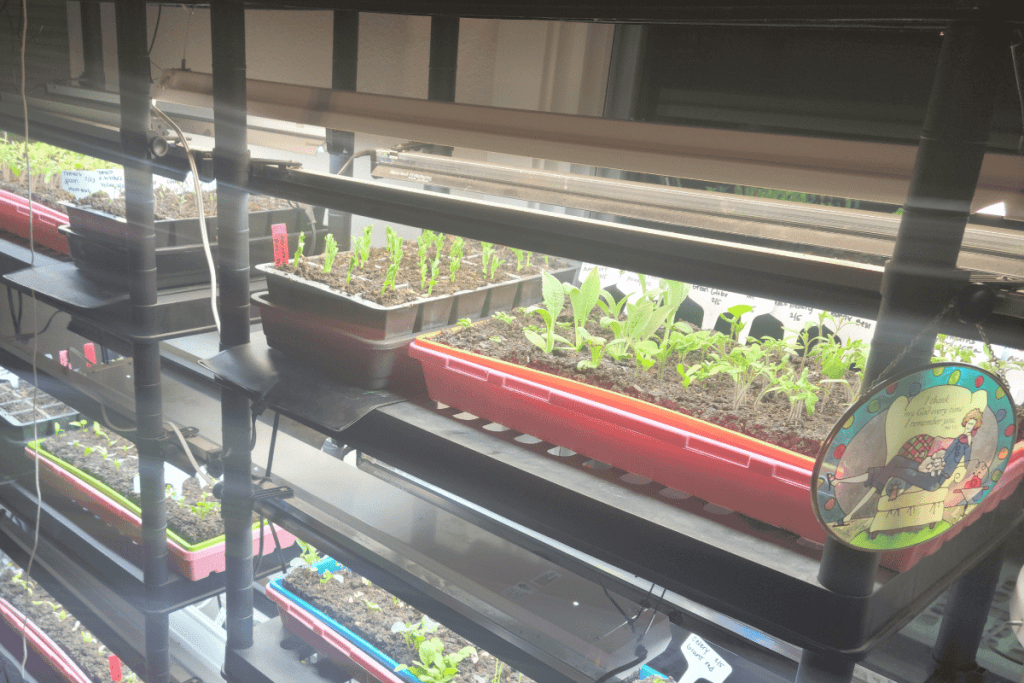
Navigating Window vs. Indoor Light Setup
When it comes to providing light for your indoor seedlings, two primary options often emerge: utilizing a south-facing window or setting up an indoor light system. Each method has its own advantages and considerations, making it essential to weigh the pros and cons before making a decision.
Using Natural Light: The Window Approach
The allure of utilizing a south-facing window for seed starting lies in its simplicity and accessibility. With no additional equipment required, all you need is a spacious windowsill to accommodate your seedlings and let nature’s sunlight work its magic.
However, while this method may seem straightforward, it’s not without its limitations. Not everyone has the luxury of an ideal south-facing window, and even for those who do, the winter months can pose challenges. With shorter daylight hours, providing the 12+ hours of light necessary for robust seedling growth becomes a struggle. Additionally, space constraints may limit the number of seedlings you can accommodate, hindering your gardening endeavors.
Indoor Light Setups
Enter indoor light setups, offering many different possibilities and customization options. Whether you opt for a pre-made kit or embark on a DIY adventure, the flexibility of indoor light setups can be limitless.
One of the most significant advantages of indoor light setups is their scalability. You can start small and expand your setup over time, much like adding new members to your household. This adaptability allows you to tailor your setup to suit your evolving gardening needs, whether you’re cultivating a few herbs or starting a full-fledged vegetable garden.
When considering your light setup, the type of lights used is paramount. Whether you opt for LED or CFL bulbs, ensuring they provide the right spectrum of light (measured in lumens and kelvin) is crucial for seedling health and vigor.
As you begin seed starting, consider the long-term implications of your lighting choice. While a south-facing window may offer convenience, an indoor light setup provides versatility and control, giving you to nurture your seedlings with precision and care. Stay tuned as we go deeper into indoor light setups and successful seedling cultivation.
Selecting the Right Lights
Choosing the appropriate lighting for your indoor seedlings is paramount to their health and development. While any old light bulb won’t suffice, selecting the right type of bulb can make all the difference in nurturing robust and thriving plants. Let’s explore the key factors to consider when it comes to selecting lights for your seed-starting.
Lumens and Kelvin
When evaluating lighting options, two crucial metrics come into play: lumens and kelvin.
Lumens measure the brightness of light emitted by a bulb. Seedlings require ample light intensity, especially during the germination stage, to kickstart their growth journey. Aim for light bulbs with a lumen output ranging between 1500-3000 to ensure your seedlings receive the optimal brightness needed for vigorous development.
Kelvin, on the other hand, refers to the color temperature of the light emitted by the bulb. Mimicking the natural sunlight spectrum is key to promoting healthy growth and photosynthesis in your seedlings. Opt for bulbs with a kelvin range between 4500-6500K, as this closely resembles the sunlight spectrum essential for robust plant growth. Higher kelvin values signify a light source that closely mirrors natural sunlight, providing your seedlings with the ideal conditions for thriving indoors.
Exploring Lighting Options: LED vs. CFL
When it comes to using a grow light system, lighting choices, both LED (Light Emitting Diode) and CFL (Compact Fluorescent Lamp) bulbs offer viable options for indoor seed starting.
LED bulbs are renowned for their energy efficiency and longevity, making them a sustainable choice for long-term use. Alternatively, CFL bulbs provide a cost-effective option with favorable light output for seedling growth.
Whether you opt for LED or CFL bulbs, ensure they meet the recommended lumens and kelvin specifications for optimal seedling development. Investing in quality bulbs is essential to providing your seedlings with the ideal lighting environment for robust growth and healthy plant development.
Discover Effortless Setup with Convenient Lighting Kits
For those eager to start indoor seedlings without the hassle of piecing together individual components, consider ready-made lighting kits. These kits come complete with all the necessary parts for a comprehensive lighting system, ensuring a straightforward setup process.
Crafted with simplicity in mind, these kits include essential components like light fixtures, bulbs, and often adjustable stands or racks. This eliminates the need for tedious assembly or sourcing individual parts, allowing you to focus on nurturing your seedlings.
Whether you prefer shopping at your local gardening store or browsing online retailers like Gardeners.com, you’ll find a wide array of options tailored to various needs and preferences. From compact setups ideal for small spaces to larger kits suited for extensive cultivation, there’s a solution for every indoor gardener.
As you equip your indoor space for seedling growth, prioritize quality lighting that meets essential requirements for lumens and kelvin. By investing in a reliable lighting kit, you’ll provide optimal conditions for your seedlings to thrive, paving the way for a successful harvest in your garden.
Exploring Essential Mediums for Successful Seed Starting
When it comes to nurturing seedlings from their earliest stages, the choice of the medium plays a crucial role in their development. From providing nutrients to ensuring proper aeration and moisture retention, selecting the right medium is essential for fostering healthy and robust plants. Let’s delve into some of the key mediums commonly used for seed starting:
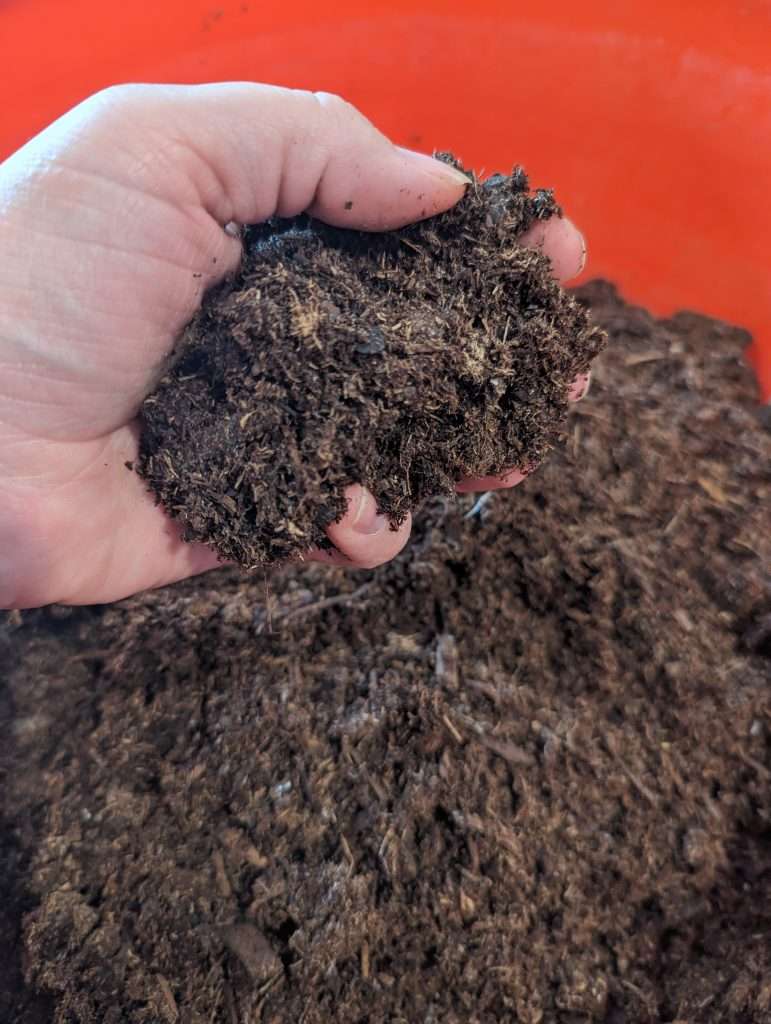
1. Seed Starting Mix
A high-quality seed starting mix serves as the foundation for healthy seedlings. This specialized blend is lightweight, well-draining, and formulated to provide the perfect environment for germination and early growth. Look for mixes that contain a balance of ingredients such as peat moss, perlite, and vermiculite, which promote root development and prevent compaction.
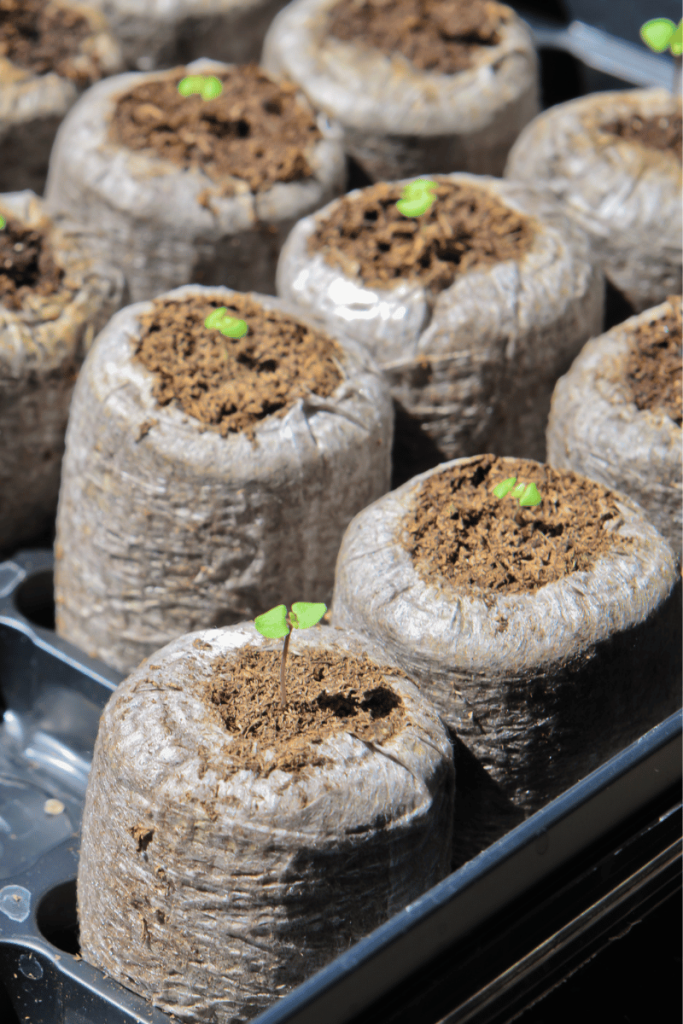
2. Containers
The choice of containers for seed starting can vary depending on personal preference and space constraints. From repurposed household items to purpose-made trays, the options are diverse:
- Old Yogurt-Type Containers: Recycling old yogurt containers is not only eco-friendly but also budget-friendly. These containers can be easily cleaned and reused, making them a sustainable choice for seed starting.
- Bought 2-4” Plastic Containers: Small plastic containers purchased from gardening stores are convenient options for individual seedlings. Their compact size makes them ideal for starting seeds in limited space.
- Seed Starting Trays: Seed starting trays with individual cells provide organized compartments for germinating multiple seeds. These trays are available in various sizes and configurations, catering to different gardening needs.
- Egg cartons: Using egg cartons to start seeds in is a great way to repurpose and recycle them. They easily break down with the potting mix so you will want to use quick-growing plants for a short period with this method.
3. Potting Soil
While a seed-starting mix is ideal for germination, potting soil becomes essential as seedlings grow and require more nutrients. Opt for a high-quality potting soil that is well-balanced and enriched with organic matter. This ensures that your seedlings have access to the nutrients they need for healthy growth. Using organic materials whenever possible will generally produce the best results for your family.
4. Alternative Mediums
In addition to traditional seed starting mix and potting soil, there are alternative mediums worth exploring:
- Soil Blocks: Soil blocks are compressed cubes of potting soil that provide a self-contained growing environment for seedlings. They offer excellent aeration and root development, making transplanting easy and stress-free.
- Peat Pellets: Peat pellets are compact discs made from compressed peat moss. When hydrated, they expand to provide a lightweight and fertile medium for seed starting. Peat pellets are convenient and mess-free, making them popular among gardeners.
- Peat Pots: Peat pots are biodegradable containers made from compressed peat moss. They can be planted directly into the soil along with the seedling, reducing transplant shock and promoting healthy root growth.
By carefully selecting the appropriate mediums for seed starting, you’ll provide your seedlings with the best possible start in life. Experiment with different options to find what works best for your gardening style and preferences, and watch as your seedlings thrive and flourish under your care.
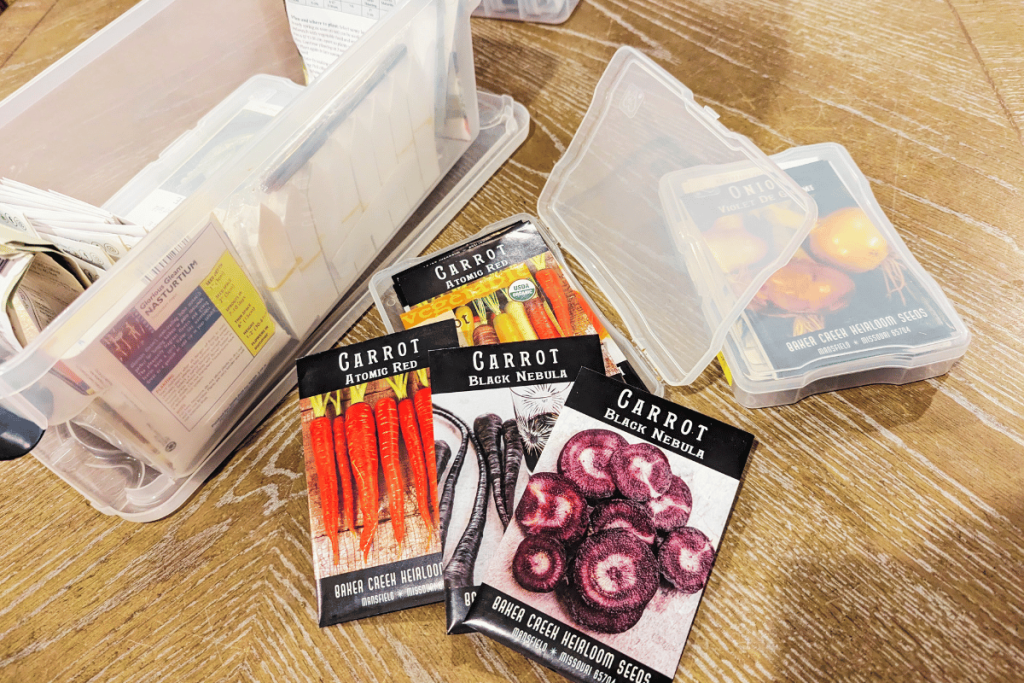
Navigating Seed Selection
As a beginner gardener, the prospect of choosing which seeds to grow can feel daunting. With countless options available, it’s easy to feel overwhelmed by the array of choices. However, with a bit of guidance and consideration, selecting the perfect seeds for your garden can become an enjoyable and rewarding endeavor.
Assess Your Needs and Preferences
Before diving into seed selection, it’s essential to assess your needs and preferences. Take stock of your culinary preferences and consider what fruits, vegetables, and herbs your family enjoys most often. By focusing on crops that align with your dietary preferences, you’ll ensure that your garden yields a bountiful harvest of produce you’ll love to eat.
Additionally, consider your local climate and growing conditions. Research which crops thrive in your specific area and take note of any particular challenges or considerations unique to your region. Choosing plants that are well-suited to your local climate will increase your chances of success and minimize the risk of disappointment.
Understanding Seed Types: Heirloom vs. Hybrid
When selecting seeds, you’ll encounter two primary types: heirloom and hybrid. Understanding the distinctions between these varieties is crucial for making informed choices:
- Heirloom Seeds: Heirloom seeds are prized for their history and heritage. These seeds come from plants that have been cultivated for generations, often withstanding the test of time. One of the defining characteristics of heirloom seeds is their stability; when saved and replanted, they reliably produce plants with consistent traits year after year. Heirloom seeds offer gardeners the opportunity to connect with the rich traditions of gardening and preserve the genetic diversity of plant species.
- Hybrid Seeds: Hybrid seeds, on the other hand, are the product of cross-breeding between two different plant varieties. While hybrids can offer benefits such as disease resistance and increased yield, they lack the stability of heirloom seeds. Plants grown from hybrid seeds may exhibit a wide range of traits, making them less predictable for seed saving. However, hybrids are often bred for specific characteristics such as uniformity in size or color, making them popular choices for commercial growers.
Navigating the Organic Debate
In today’s gardening landscape, the term “organic” carries significant weight for many gardeners. While most seeds are inherently organic, it’s essential to consider any treatments or coatings applied to the seeds. Look for seed packets labeled as “organic” to ensure that they were grown using organic practices and free from synthetic pesticides or fertilizers.
However, it’s worth noting that the absence of an “organic” label doesn’t necessarily indicate inferior quality. Many reputable seed companies prioritize sustainable and environmentally friendly practices, even if their seeds are not certified organic.
By taking the time to understand the nuances of seed selection and considering factors such as your dietary preferences, local climate, and gardening philosophy, you’ll be well-equipped to make informed choices for your garden. Whether you opt for heirloom or hybrid varieties, organic or conventional seeds, each selection represents an exciting opportunity to nurture and cultivate your piece of green paradise.
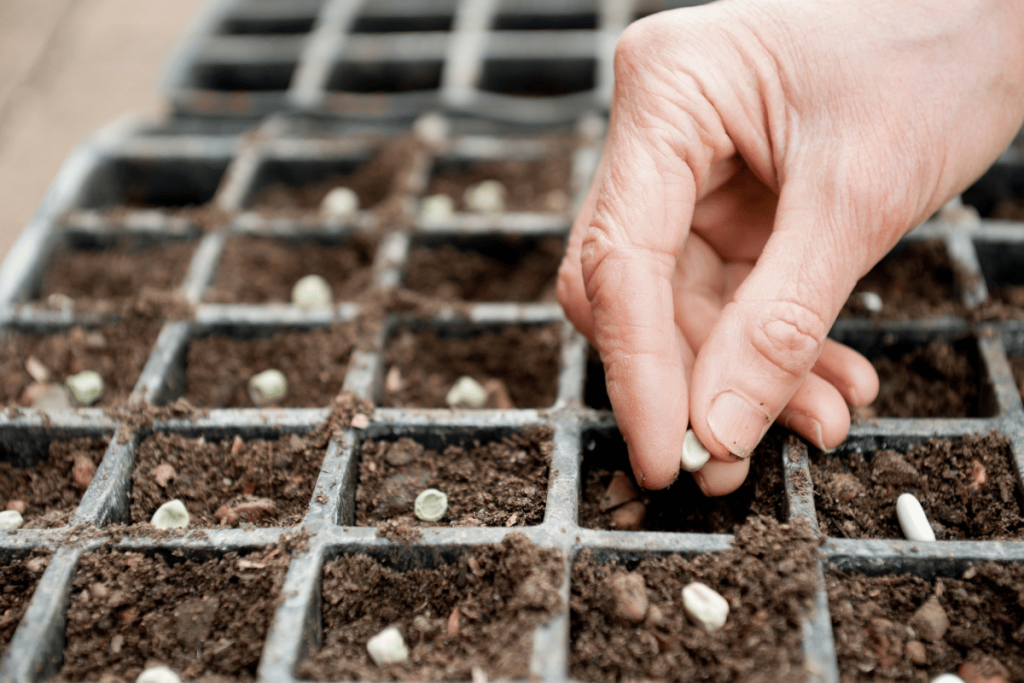
Deciphering Seed Packet Instructions
Seed packets serve as invaluable guides for gardeners, providing essential information to ensure the successful growth of your plants. Here’s a quick rundown on how to decode the back of your seed packet instructions:
Planting Depth and Spacing
Seed packets typically specify the recommended planting depth and spacing for each type of seed. Follow these guidelines carefully to ensure proper germination and healthy plant growth. Planting too deep or too shallow can affect seedling emergence, while overcrowding can lead to competition for resources.
Germination Time and Temperature
Look for information on the expected germination time and temperature requirements for the seeds. This will help you plan your planting schedule and provide optimal conditions for seedling development. Some seeds may require warmer temperatures or specific conditions to germinate successfully.
Watering and Fertilization Needs
Seed packets may provide recommendations for watering and fertilization to support healthy plant growth. Pay attention to these guidelines and adjust your watering and fertilization practices accordingly. Overwatering or overfertilizing can be detrimental to seedlings, so follow the instructions provided.
Sunlight Requirements
Check the seed packet for information on the sunlight requirements of the plants. Some seeds may prefer full sun, while others thrive in partial shade. Tailor your garden layout and planting locations accordingly to ensure that each plant receives the appropriate amount of sunlight for optimal growth.
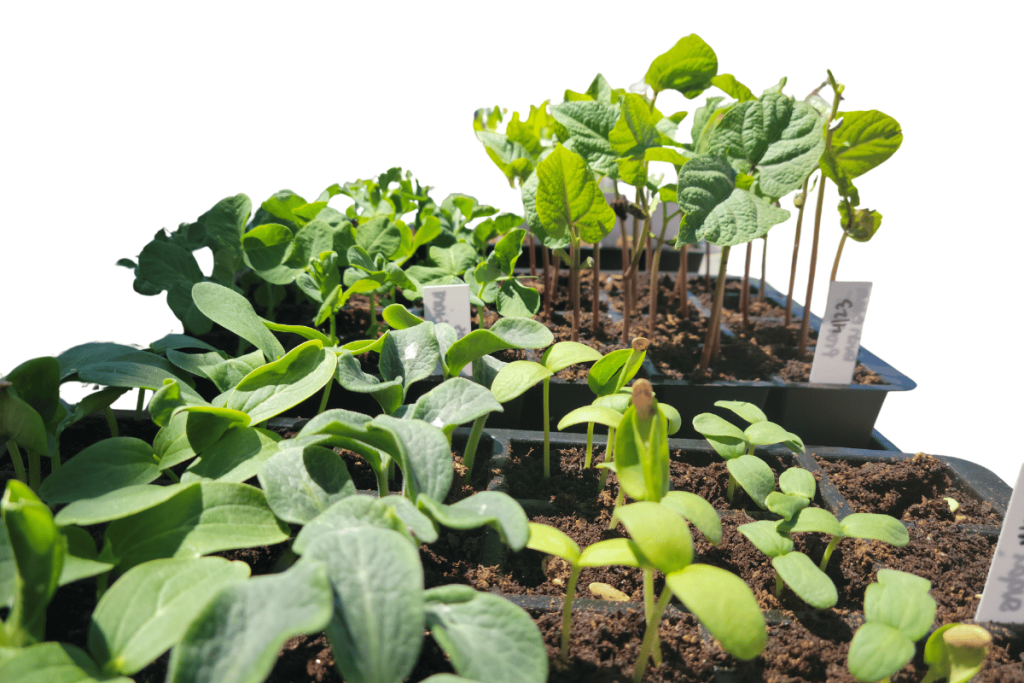
Thin Out and Transplanting Instructions
As your seedlings grow, you may need to thin them out to prevent overcrowding and promote healthy development. Seed packets may include instructions on when and how to thin out seedlings, as well as guidance on transplanting seedlings into larger containers or the outdoor garden.
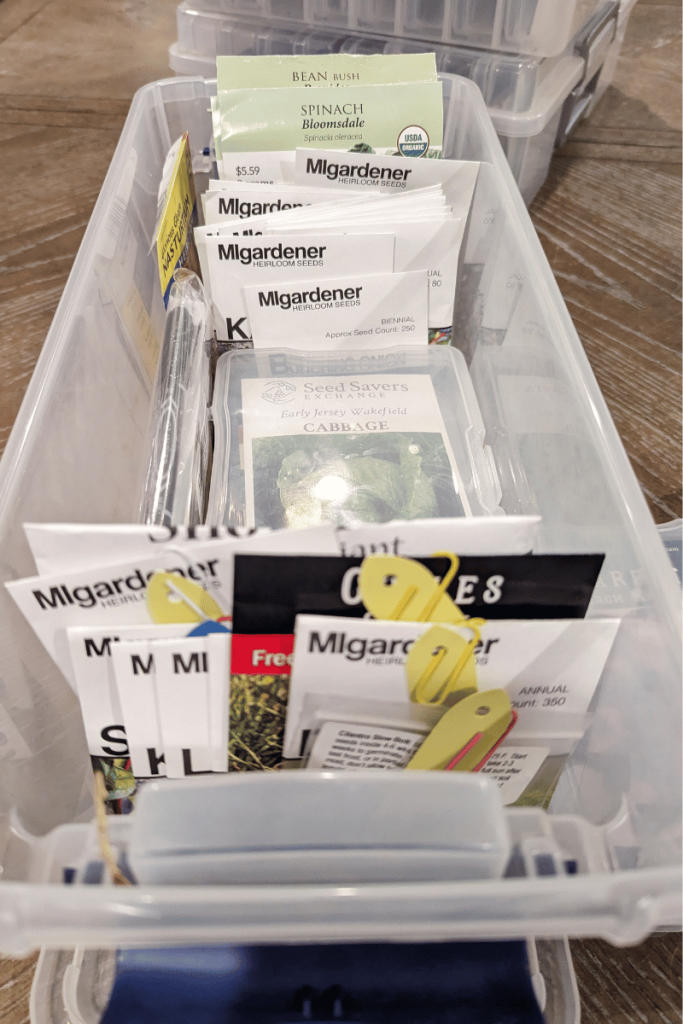
Some of my favorite websites for seeds are:
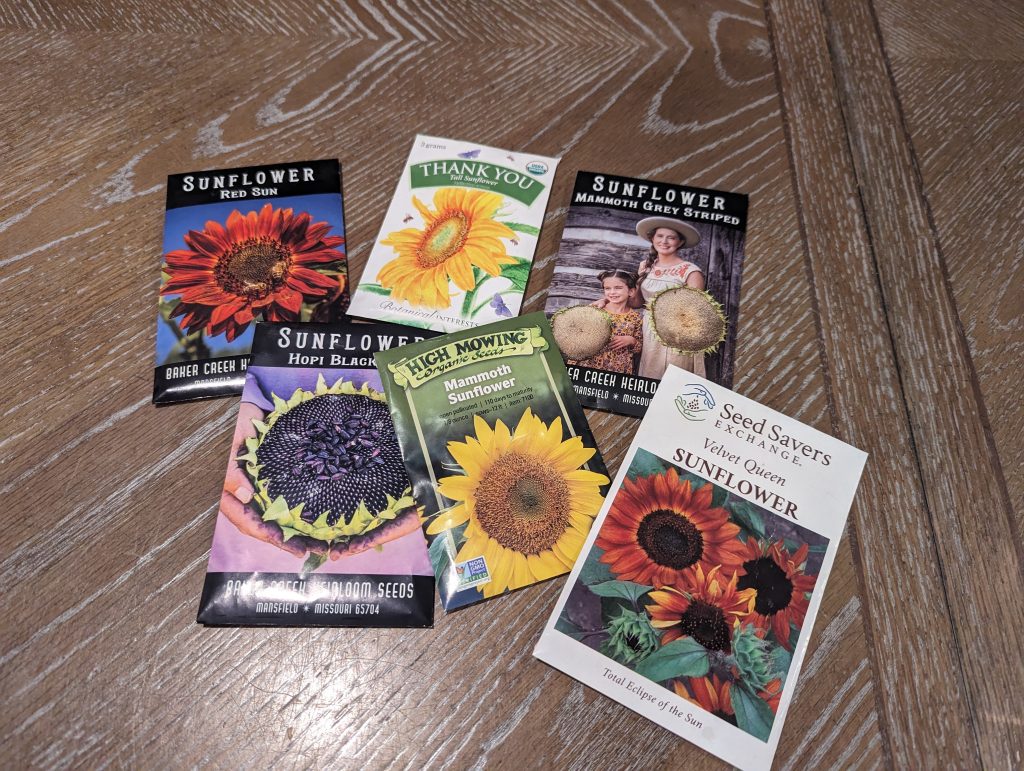
Check out my post on growing sunflowers indoors for specific information.
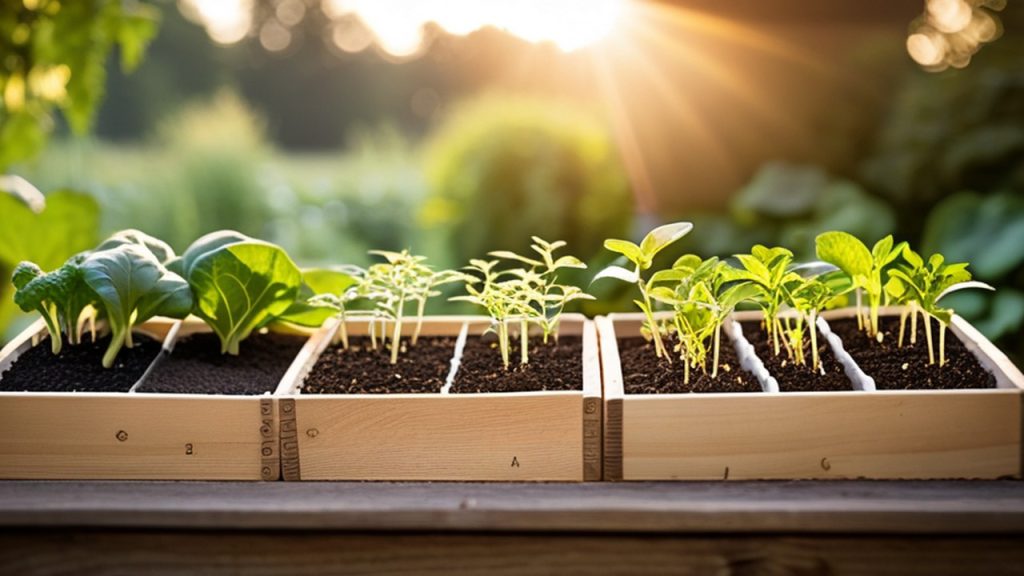
Essential Supplies for Successful Seed Starting
Embarking on the journey of indoor seed starting requires careful consideration of the supplies needed to nurture your seedlings from germination to maturity. While the list of potential supplies can be extensive, focusing on the essentials ensures a strong foundation for your gardening efforts.
The Basics
- Containers: Selecting the right containers is essential for providing your seedlings with adequate space to grow. Whether you opt for repurposed household items or seed trays, ensure that each container provides proper drainage to prevent waterlogging.
- Medium: A high-quality growing medium is vital for seedling health and development. Choose a well-draining seed starting mix or potting soil to provide the ideal environment for germination and root growth.
- Seeds: The heart of any garden, selecting seeds tailored to your preferences and growing conditions is key. Whether you prefer heirloom or hybrid varieties, ensure that your chosen seeds are suited to your local climate and soil conditions.
- Light Setup: Providing enough light is crucial for promoting healthy seedling growth. Whether you rely on natural sunlight or invest in artificial lighting setups, ensure that your seedlings receive at least 12 hours of light per day to thrive.
- Watering Capabilities: Consistent moisture is essential for seedling success. Invest in watering cans or a spray bottle to provide gentle hydration to your seedlings, avoiding overwatering or underwatering which can lead to damping off and other issues.
- Fertilizer (Liquid): While not always necessary, liquid fertilizer, or water-soluble fertilizer, can provide a boost of nutrients to support vigorous growth. Choose a balanced fertilizer suitable for seedlings and dilute according to the manufacturer’s instructions.
- Labels: Proper labeling ensures that you can keep track of your seedlings as they grow. Use waterproof labels or popsicle sticks to identify each plant’s variety and planting date, facilitating organization and planning.
Additional Recommendations
While the basics are essential for successful seed starting, certain additional supplies can enhance your gardening experience:
- Fans: Circulating air around your seedlings can help prevent mold and mildew while strengthening stems and promoting airflow.
- Heating Pads: Especially useful in cooler climates, a heat mat can provide gentle warmth to encourage germination and root growth.
For those seeking quality supplies, reputable online retailers like Bootstrapfarmer offer a wide range of options to suit every gardening need.
Whether you’re a seasoned gardener or just starting, investing in the right supplies ensures a successful and rewarding indoor gardening experience. With a bit of planning and preparation, you can start your garden for pennies, even in today’s inflationary environment.
Timing is Everything
Determining the optimal time to start your seeds indoors is a crucial step in ensuring a successful growing season. Fortunately, with a bit of basic math and the help of online resources, you can pinpoint the perfect timing to kickstart your gardening journey.
Consulting Nature’s Calendar
At the heart of effective seed starting lies a fundamental understanding of your local climate and growing season. To determine the ideal timing for indoor seed starting, begin by identifying the average date of the last frost in your area. One convenient way to do this is by visiting reputable gardening websites such as Almanac.com or utilizing search engines to find your local frost dates by zip code.
Crunching the Numbers
Once armed with this information, it’s time to put your math skills to work. When planning for a spring or summer garden, you’ll want to count backward from the last frost date to determine when to start your seeds indoors. This ensures that your seedlings have ample time to grow and develop before being transplanted into the outdoor garden.
For example, if the last frost date in your area is May 15th and a seed packet recommends starting seeds indoors 6-8 weeks before the last frost date, you would want to begin your indoor seed starting process around early to mid-March. By adhering to these timelines, you’ll avoid the risk of starting your seeds either too early or too late, maximizing their chances of success once they’re moved outdoors.
Planning for Success
It’s important to remember that while the last frost date serves as a helpful guideline, local climate variations and microclimates may impact your specific growing conditions. Be sure to monitor weather patterns and adjust your planting schedule accordingly to account for any unforeseen changes.
Additionally, keep in mind that certain crops, such as cold-hardy vegetables like kale and spinach, can be started earlier indoors and transplanted outdoors before the last frost date. Conversely, tender plants like tomatoes and peppers may require a longer indoor growing period to ensure they’re sufficiently established before being moved outdoors.
Embracing Precision and Preparation
By harnessing the power of timing and precision planning, you’ll set yourself up for a successful and productive gardening season. Armed with knowledge of your local frost dates and a strategic approach to indoor seed starting, you’ll be well-equipped to nurture thriving seedlings that will ultimately flourish in your outdoor garden. So, roll up your sleeves, sharpen your pencils, and let’s embark on this exciting journey of growth and abundance together.
Watering and Nutrition: Nourishing Seedlings for Success
Ensuring adequate water and nutrients are essential components of fostering robust seedling growth and vitality. Understanding proper watering and fertilization practices can make a significant difference in the health and resilience of your young plants.
Watering Frequency and Technique:
Consistent, yet mindful watering is key to maintaining optimal moisture levels for seedling development. Seedlings are particularly sensitive to fluctuations in moisture, so it’s crucial to strike the right balance. Here are some watering tips to keep in mind:
- Frequency: Seedlings typically require frequent, light watering to keep the growing medium evenly moist. Aim to water seedlings whenever the top layer of soil feels dry to the touch, usually once or twice a day depending on environmental conditions.
- Technique: Use a gentle watering technique to avoid disturbing delicate seedlings and compacting the soil. A fine mist or watering can with a narrow spout can help deliver water directly to the base of the plants without causing damage.
- Drainage: Ensure that your containers have adequate drainage holes to prevent waterlogging, which can lead to root rot and other moisture-related issues. Allow excess water to drain freely from the containers after watering to avoid water accumulation.
Selecting Appropriate Fertilizers:
While seedlings derive initial nutrients from the seed itself, they will eventually require additional fertilization to sustain healthy growth. Choosing the right fertilizer for young plants is crucial to providing them with the essential nutrients they need. Consider the following when selecting fertilizers:
- Balanced Formulas: Look for balanced fertilizers specifically formulated for seedlings, such as those with an equal ratio of nitrogen (N), phosphorus (P), and potassium (K). These nutrients are essential for promoting vigorous root development, strong stems, and vibrant foliage.
- Organic Options: Consider using organic fertilizers, which provide slow-release nutrients and promote soil health. Organic fertilizers derived from natural sources such as compost, fish emulsion, or seaweed extract are gentle on young seedlings and minimize the risk of fertilizer burn.
- Application: Apply fertilizer sparingly to avoid overfeeding and damaging delicate seedlings. Follow the manufacturer’s recommendations for application rates and frequency, and always dilute fertilizers to the appropriate strength to prevent nutrient imbalances.
By implementing proper watering techniques and selecting suitable fertilizers, you can provide your seedlings with the essential hydration and nutrients they need to thrive. With careful attention to their needs, you’ll nurture healthy, resilient plants ready to flourish in your garden.
Seedling Transplanting Tips: Nurturing Seedlings for Outdoor Success
Transitioning seedlings from the sheltered environment of indoor growing to the outdoor garden requires careful preparation and acclimatization to ensure their success in the new environment. Here are some essential tips to guide you through the process:
Gradual Exposure to Direct Sunlight
Seedlings grown indoors are accustomed to controlled lighting conditions, which may not adequately prepare them for the intensity of direct sunlight outdoors. To prevent shock and sunburn, gradually expose seedlings to increasing amounts of sunlight over several days to a week. Start by placing them in a partially shaded area for a few hours each day, gradually increasing their exposure until they can withstand full sun exposure without wilting or damage.
Monitoring the First True Leaves
The appearance of the first true leaves, which emerge after the seedling’s initial cotyledon or seed leaves, is an indicator that the plant is ready for transplanting. These leaves are the plant’s first set of true leaves, responsible for photosynthesis and nutrient production. Wait until the seedlings have developed several sets of true leaves before transplanting them outdoors to ensure they are strong and resilient enough to thrive in the garden.
Hardening Off Procedures
Hardening off is the process of gradually exposing seedlings to outdoor conditions, including fluctuations in temperature, wind, and sunlight. This gradual transition toughens up the seedlings, preparing them for the rigors of outdoor life. Begin the hardening off process about one to two weeks before the planned transplanting date. Start by placing seedlings outdoors in a sheltered location for a few hours each day, gradually increasing their exposure and duration over time. Be sure to protect seedlings from strong winds and extreme temperatures during this period.
Proper Transplanting Techniques
When transplanting seedlings into the garden, handle them carefully to avoid damaging their delicate roots and stems. Dig a hole slightly larger than the root ball of the seedling and gently remove it from its container, being careful not to disturb the roots. Place the seedling in the hole and backfill with soil, pressing gently to ensure good soil-to-root contact. Water the transplanted seedlings thoroughly to help settle the soil and reduce transplant shock.
Begin Your Indoor Gardening Journey Today!
Mastering the art of seed starting indoors opens up a world of possibilities for gardeners, offering the opportunity to grow a diverse array of plants right from the comfort of home. By following the comprehensive steps outlined in this guide, from selecting seeds to nurturing seedlings, gardeners can embark on a rewarding journey toward a thriving garden. Whether you’re a beginner or a seasoned gardener, starting seeds indoors empowers you to save money, explore new varieties, and enjoy the satisfaction of watching your plants flourish from tiny seeds to bountiful harvests. So, roll up your sleeves, gather your supplies, and let the seed-starting adventure begin! Happy growing!